
Thanksgiving Desserts Mini: 7 Sweet Bites of Joy

Tiny pumpkin tarts that pack all the warm spice of Thanksgiving into a single bite. Perfect for gatherings, make-ahead holiday trays, and sharing.

Why You'll Love This Recipe
- Ready in under an hour from start to finish, including a 25 to 30 minute bake time, so they are perfect for last-minute entertaining.
- Uses pantry staples like canned pumpkin and common spices, which makes it easy to assemble without a special trip to the store.
- Mini portions mean less waste, simple plating for parties, and a chance for everyone to sample multiple desserts at once.
- Make-ahead friendly: you can fill the crusts and refrigerate before baking, or bake and freeze for up to three months.
- Flexible for dietary swaps; use a store-bought gluten-free shell or coconut whipped topping to adapt to preferences.
- Great for kids to help assemble because each tart is a single spoon-and-bake action, making cooking together fun and fast.
When I first served these at that friendsgiving, I watched as my neighbor commented on how the crust stayed crisp while the filling remained creamy. My partner liked that they were small enough to eat while mingling. It turned out to be the easiest dessert to offer at a crowded table, and friends still ask for the recipe every year.
Ingredients
- Pumpkin puree: Use plain canned pumpkin puree for a consistent, smooth texture and deep flavor. Look for labels without added sugar or spices so you can control the seasoning; Libby is a reliable brand to find in most supermarkets.
- Brown sugar: Light brown sugar adds molasses notes that deepen the filling. Pack the cup lightly when measuring to ensure sweetness and moisture balance.
- Granulated sugar: Balances the brown sugar and helps the filling set. Measure with a dry measuring cup for accuracy.
- Warm spices: Cinnamon, nutmeg, and ground cloves provide the classic pumpkin spice profile; use freshly ground nutmeg if you can for a brighter aroma.
- Eggs: Two large eggs act as the primary binder and give a silky, custard-like structure when combined with cream.
- Heavy cream: Adds richness and helps the filling set without becoming too dense. You can substitute half-and-half for a lighter version but expect a slightly softer set.
- Mini pie crusts: Store-bought mini shells save time and give uniform results. Choose premade tartlet shells in a 12-count package for even baking.
- Whipped cream: For topping, use stabilized whipped cream if you need the topping to hold its shape for hours, especially for a buffet-style service.
Instructions
Preheat the oven: Set the oven to 350°F (175°C) and place a rack in the middle position. Preheating ensures even baking and proper set of the custard. Allow the oven to reach temperature fully before inserting the tray for predictable color and texture. Combine dry spices and sugars: In a medium mixing bowl, whisk together 1/2 cup brown sugar, 1/4 cup granulated sugar, 1 teaspoon cinnamon, 1/2 teaspoon nutmeg, and 1/4 teaspoon ground cloves. Mixing the dry ingredients first helps the spices distribute evenly so every tart tastes consistent. Mix pumpkin and sugars: Add 1 cup pumpkin puree to the sugar-spice mixture and stir until smooth. This step prevents clumping and creates a uniform base before adding the eggs and cream. Scrape the sides of the bowl to incorporate every bit of pumpkin. Incorporate eggs and cream: Beat in 2 large eggs and 1/2 cup heavy cream until glossy and homogeneous. Avoid overwhipping; a gentle mix is sufficient. The mixture should be pourable but not runny, with a thickness similar to heavy crepe batter. Fill the shells: Arrange 12 mini pie crusts on a rimmed baking tray. Divide the pumpkin filling evenly, filling each shell about three quarters full to allow the custard to rise slightly without spilling over. Bake until set: Bake for 25 to 30 minutes, rotating the tray halfway through if your oven runs hot. Check for doneness by gently shaking the pan; the centers should be slightly wobbly but not liquid. The edges will be matte and the top will lose its glossy sheen. Cool and top: Let the tarts cool on a wire rack for at least 30 minutes to finish setting. Top with whipped cream just before serving. If making ahead, refrigerate uncovered for an hour to speed cooling, then cover and store.
You Must Know
- These mini tarts freeze very well; wrap tightly and freeze up to three months for best quality.
- They are best stored refrigerated in an airtight container for up to four days if topped with whipped cream, or up to five days if stored without topping.
- The shallow shells bake faster than a full pie, so don’t increase bake time; instead check for a slight wobble in the center to avoid overcooking.
- High in vitamin A from pumpkin and moderate in calories per mini tart, they make a smaller-portion option for sweet cravings.
My favorite part is how these tiny bites become the centerpiece of conversation. Guests often compare their preferences for spice ratios or topping choices, and I treasure those exchanged tips. One year my niece started a tradition of sprinkling a tiny pinch of flaky sea salt on top, which became an instant hit and added a pleasantly surprising contrast to the sweet custard.

Storage Tips
Store cooled tarts in a single layer in an airtight container in the refrigerator. If stacking is necessary, place a sheet of parchment between layers to prevent sticking and preserve the whipped topping. For longer storage, freeze baked tarts on a tray until solid, then transfer to a freezer-safe container and label with the date. Reheat frozen tarts in a 325°F oven for 10 to 12 minutes until warmed through, or thaw overnight in the fridge and serve chilled. Avoid microwaving to preserve crust texture.
Ingredient Substitutions
If you need a lighter version, swap heavy cream for half-and-half or a combination of milk and a tablespoon of cornstarch to maintain body. For dairy-free adaptations use canned coconut cream and top with coconut whipped topping. Replace the mini shells with a gluten-free prebaked tartlet shell to accommodate gluten sensitivity; cook times remain similar but check for a firmer edge earlier. To cut sugar slightly, reduce brown sugar to 1/3 cup and increase vanilla or spice to maintain perceived sweetness.
Serving Suggestions
Present the tarts on a rustic wooden board or tiered dessert stand for a charming holiday display. Garnish each with a small dollop of whipped cream and a light dusting of cinnamon, or add a few toasted pecan halves for texture. Pair with coffee or a lightly spiced mulled cider. For a refined touch offer a small spoon of salted caramel on the side so guests can drizzle as they like. These mini portions are ideal for dessert buffets and allow guests to sample multiple sweets without feeling overwhelmed.
Seasonal Adaptations
In winter, stir a teaspoon of orange zest into the filling for brightness. For spring gatherings use pumpkin sparingly and sub with sweet potato puree for a floral aroma. During holiday parties consider adding finely chopped crystallized ginger or swapping cloves for a pinch of ground cardamom to change the spice profile. For a lighter summer adaptation, serve the tarts chilled with a lemon-scented whipped cream for contrast.
Meal Prep Tips
Assemble the filling and refrigerate in an airtight container for up to 24 hours before filling shells; this saves time on the day of service. Pre-fill shells and bake off just before guests arrive, or bake earlier in the day and reheat briefly in the oven for a freshly warmed finish. Invest in disposable tart trays for large gatherings for easy cleanup, and use a small cookie scoop to portion filling evenly and speed assembly.
Success Stories
One Thanksgiving I made two dozen of these for a family reunion; they disappeared faster than the roast. A friend told me she makes them every year now as a safe bet for kids and adults, often doubling the recipe and freezing half for later. Another reader adapted the recipe into mini cheesecake-style tarts by folding a little cream cheese into the filling, creating a cousin that still retains the beloved pumpkin notes. Hearing these variations makes me glad the recipe is flexible and welcoming to improvisation.
These tiny pumpkin tarts are meant to be shared, adapted, and remembered. They take the soul-warming flavors of the season and present them in a format that invites conversation and seconds. Give them a try at your next gathering and watch how quickly they become a requested tradition.
Pro Tips
Use a cookie scoop to portion filling evenly for uniform tarts.
Rotate the baking tray halfway through to promote even browning.
Allow tarts to cool on a wire rack to finish setting before topping.
If freezing, flash freeze on a tray before transferring to containers to prevent crushing.
This nourishing thanksgiving desserts mini: 7 sweet bites of joy recipe is sure to be a staple in your kitchen. Enjoy every moist, high protein slice — it is perfect for breakfast or as a wholesome snack any time.
FAQs about Recipes
Can I make these ahead of time?
Yes. You can prepare the filling and refrigerate for up to 24 hours or prepare baked tarts and freeze for up to three months.
How do I know when they are done?
Use a toothpick or the wobble test; the centers should be slightly wobbly but not liquid. Bake 25 to 30 minutes.
Tags
Thanksgiving Desserts Mini: 7 Sweet Bites of Joy
This Thanksgiving Desserts Mini: 7 Sweet Bites of Joy recipe makes perfectly juicy, tender, and flavorful steak every time! Serve with potatoes and a side salad for an unforgettable dinner in under 30 minutes.
Ingredients
Filling
Crust & Topping
Instructions
Preheat the oven
Preheat the oven to 350°F (175°C) and position a rack in the center to ensure even heat circulation.
Mix dry ingredients
Combine brown sugar, granulated sugar, cinnamon, nutmeg, and cloves in a bowl to distribute spices evenly throughout the filling.
Add pumpkin
Stir in the pumpkin puree until smooth and no lumps remain, scraping the bowl to incorporate all spices.
Incorporate eggs and cream
Beat in the two eggs and heavy cream just until homogeneous; avoid vigorous whisking to prevent excess air from forming.
Fill shells
Place mini crusts on a baking tray and divide the filling evenly, filling each shell about three quarters full to prevent overflow.
Bake until set
Bake for 25 to 30 minutes, rotating halfway if needed. Look for a slight wobble in the center; edges should be matte and set.
Cool and top
Cool on a wire rack for at least 30 minutes to finish setting, then top with whipped cream just before serving.
Last Step: Please leave a rating and comment letting us know how you liked this recipe! This helps our business to thrive and continue providing free, high-quality recipes for you.
Nutrition
Did You Make This?
Leave a comment & rating below or tag
@yumelle on social media!
Categories:
You might also like...
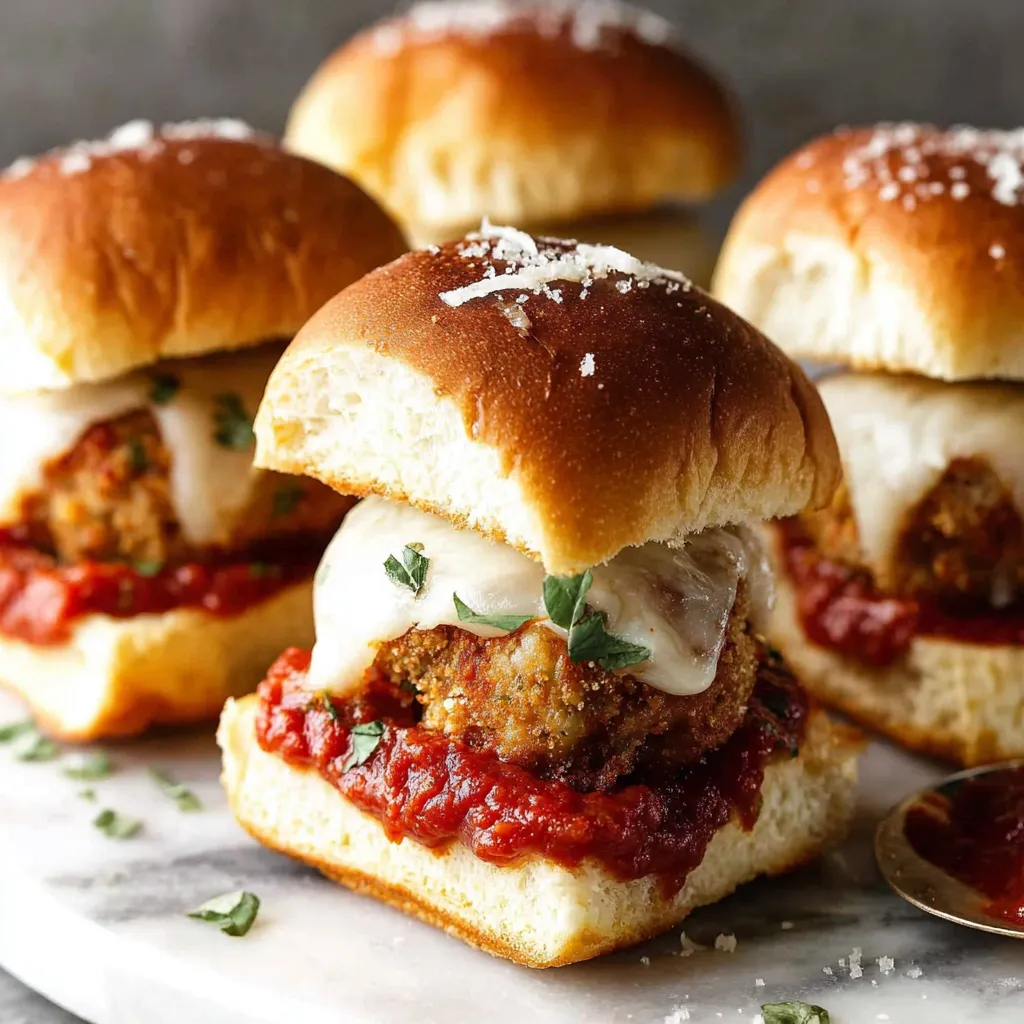
Chicken Parmesan Meatball Sliders
Juicy chicken meatballs baked with Parmesan and herbs, spooned with marinara, and covered in melty mozzarella on toasted slider rolls. Irresistible for parties.
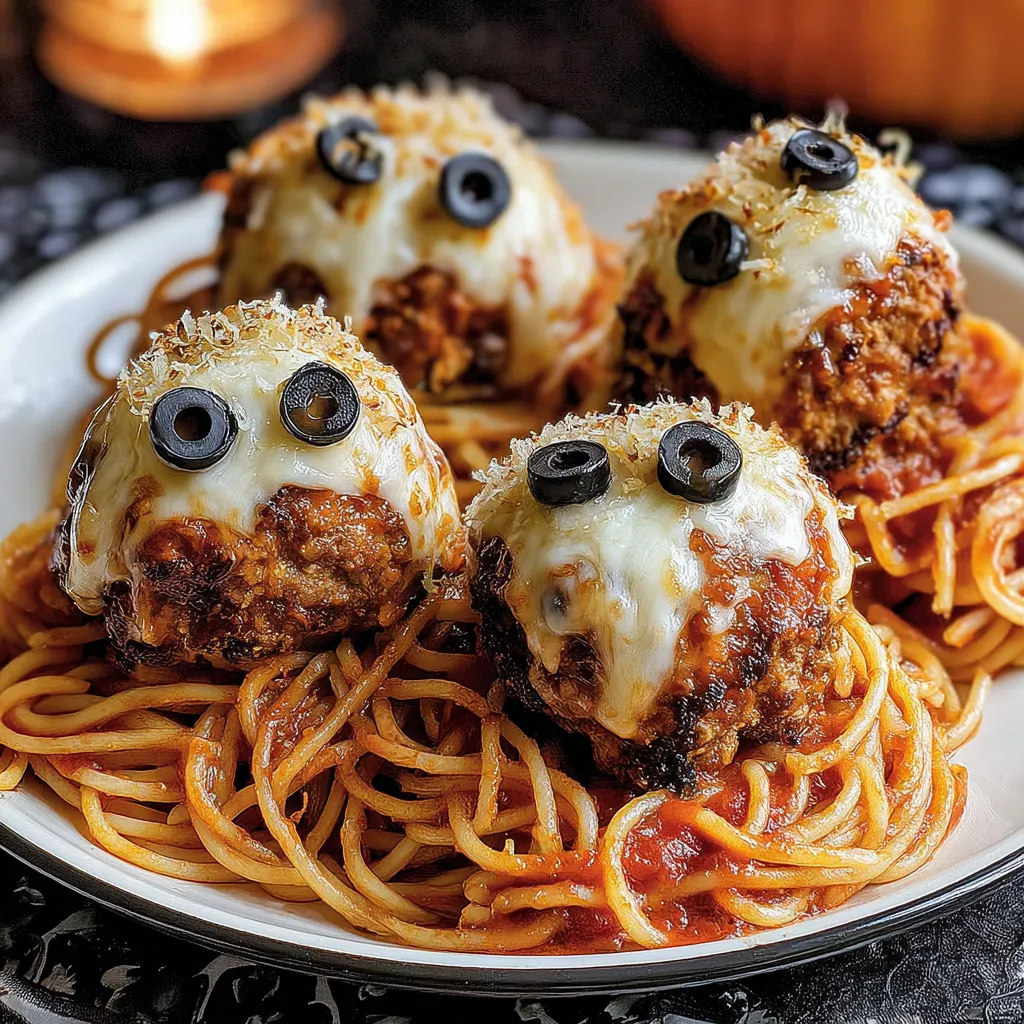
Spooky Spaghetti Monster Meatballs
Twirl eerie-colored spaghetti and top it with gooey, cheese-stuffed monster meatballs complete with olive eyes for a delightfully spooky family dinner.

10-Minute Egg Drop Soup
Silky egg ribbons swirl through savory chicken broth, scented with sesame and scallions. Simple pantry staples, ready in just 10 minutes.
Did You Make This?
Leave a comment & rating below or tag @yumelle on social media!
Rate This Recipe
Share This Recipe
Enjoyed this recipe? Share it with friends and family, and don't forget to leave a review!
Comments (1)
This recipe looks amazing! Can't wait to try it.
Comments are stored locally in your browser. Server comments are displayed alongside your local comments.

Hi, I'm Hannah!
What's Popular
30-Minute Meals!
Join to receive our email series which contains a round-up of some of our quick and easy family favorite recipes.