
>>

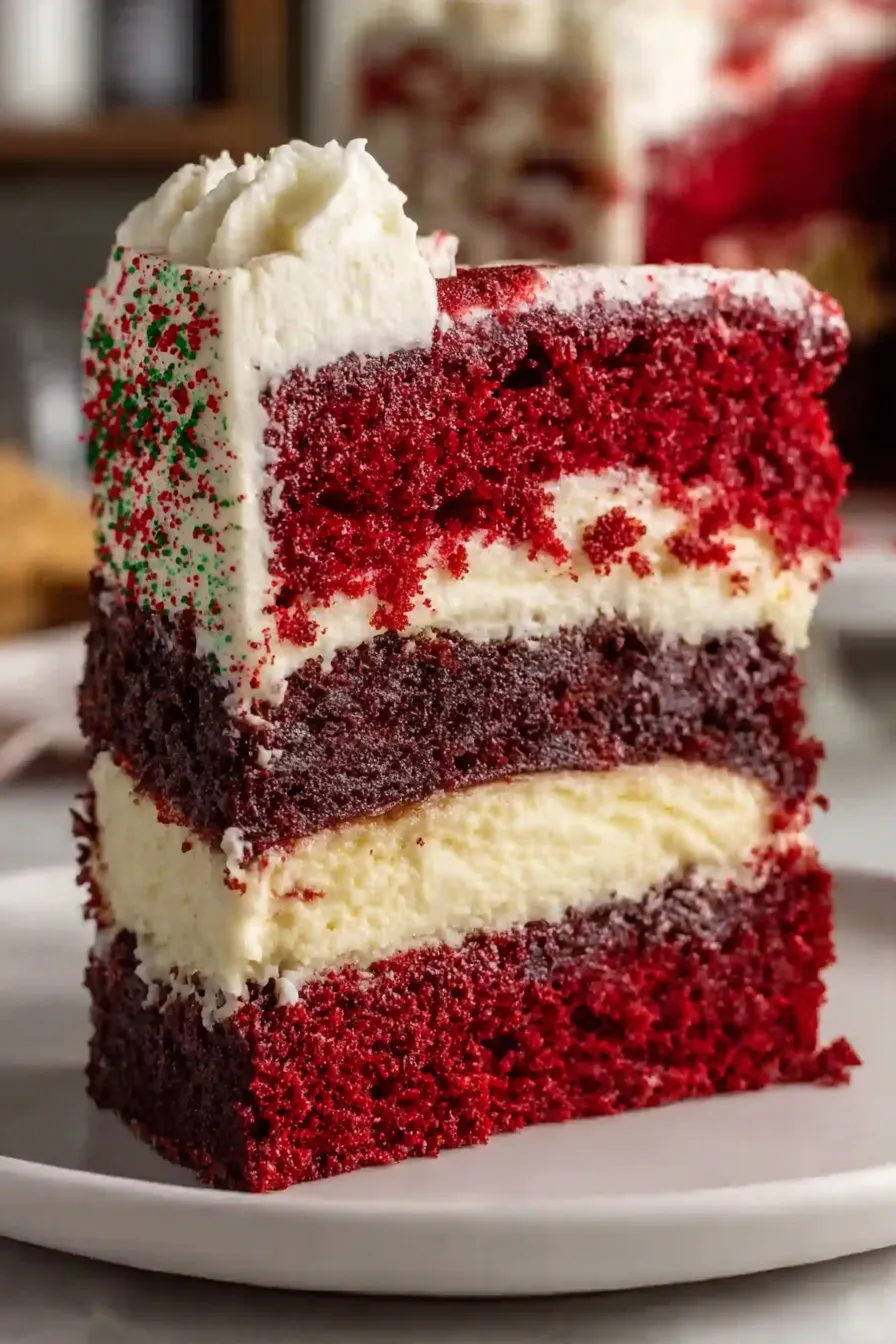
A festive Red Velvet Cheesecake Cake with a silky cheesecake layer sandwiched between two layers of tender red velvet — finished with a smooth cream cheese frosting. Perfect for celebrations and holiday gatherings.
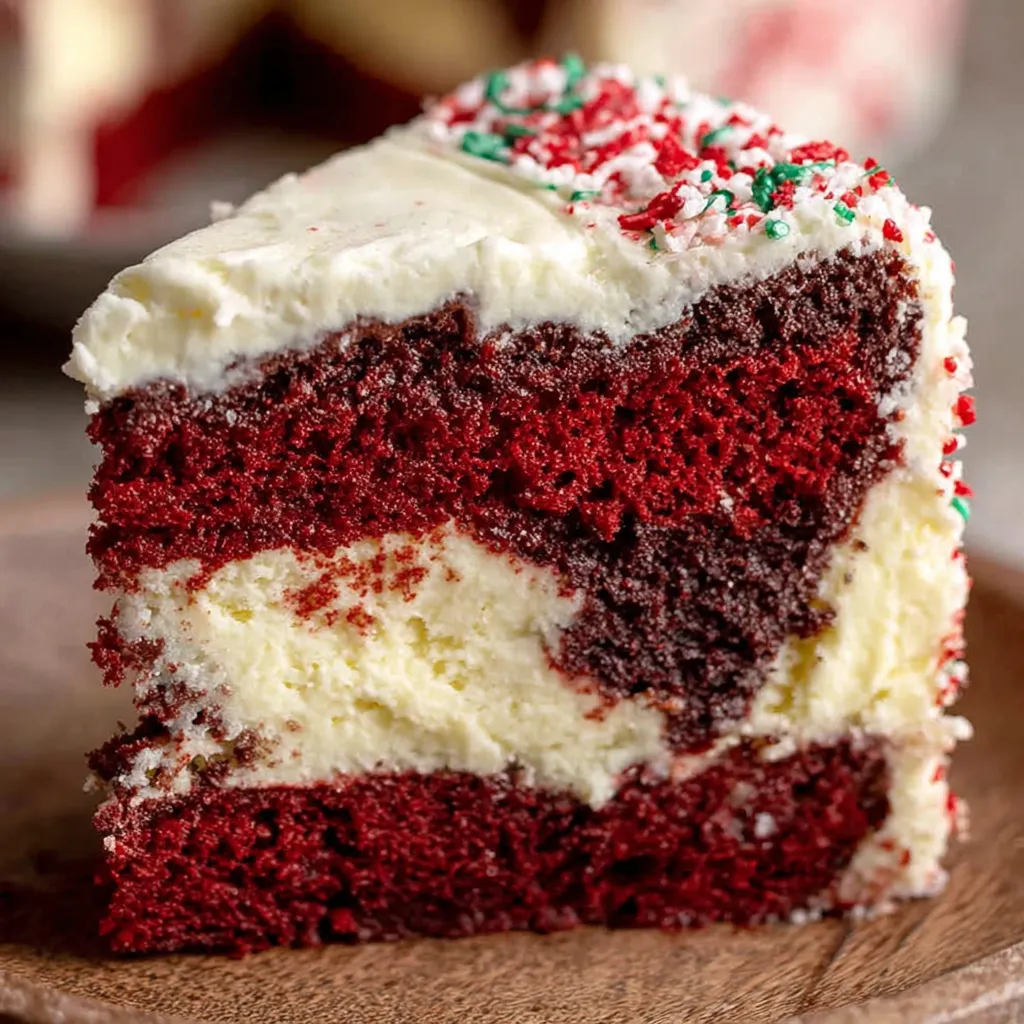
This Red Velvet Cheesecake Cake has been my go-to dessert for celebrations ever since I first combined two of my favorite things — a tangy cheesecake and a tender red velvet crumb. I discovered the idea one winter when I wanted something that felt both elegant and familiar: the deep cocoa notes and crimson color of red velvet, paired with a dense, creamy cheesecake layer. The contrast of textures — moist cake against a smooth cream cheese center — makes every forkful memorable. I remember bringing this to a holiday dinner and watching strangers’ faces light up the moment the first slice was cut; someone even asked for the recipe on the spot.
What makes this version special is attention to temperature and technique: room-temperature dairy and eggs keep the cheesecake silky, while gentle folding preserves the cake’s tender crumb. The recipe scales comfortably for a 9×9-inch pan, and the cream cheese frosting ties everything together with a light sweetness that never overwhelms. I reach for this dessert when I want something that looks celebratory but comes together without fussy equipment — just a few bowls, an offset spatula, and a hand or stand mixer.
I first made this for a winter dinner and the contrast between the vibrant red cake and creamy middle was an instant hit. Family members commented on how professional it looked despite the simple method; that reaction convinced me to keep this on the holiday rotation. Over time I adjusted mixing order and oven time for a reliably even bake and softer crumb.
My favorite thing about this cake is how it reads as a special occasion dessert but comes together with straightforward techniques. I’ve made it for birthdays, holiday dinners, and a friend’s engagement party — each time the room goes quiet the first time someone tastes it, then erupting into compliments. The balance between tangy cheesecake and cocoa-kissed cake keeps returning guests asking for the recipe.
To maintain texture and flavor, store the cake covered in the refrigerator on a cake stand or in an airtight container. If cutting into individual slices, wrap each slice tightly with plastic wrap and place in a sealed container to prevent fridge odors from penetrating the frosting. For freezing, flash-freeze uncovered slices for one hour on a sheet pan, then wrap each slice in plastic and foil; freeze up to 3 months. Thaw in the refrigerator overnight and bring to room temperature for about 30 minutes before serving to restore a soft, creamy mouthfeel.
If you don’t have buttermilk, make a quick substitute by adding 1 tablespoon white vinegar to 1 cup milk and letting it sit 5 minutes. Sour cream can be swapped for plain full-fat Greek yogurt at a 1:1 ratio; expect a slightly tangier note. For dairy-free versions, use vegan cream cheese and plant-based butter, but note the texture will change and the cake may be less rich. To reduce sugar, decrease granulated sugar slightly and adjust powdered sugar amounts carefully to maintain frosting stability.
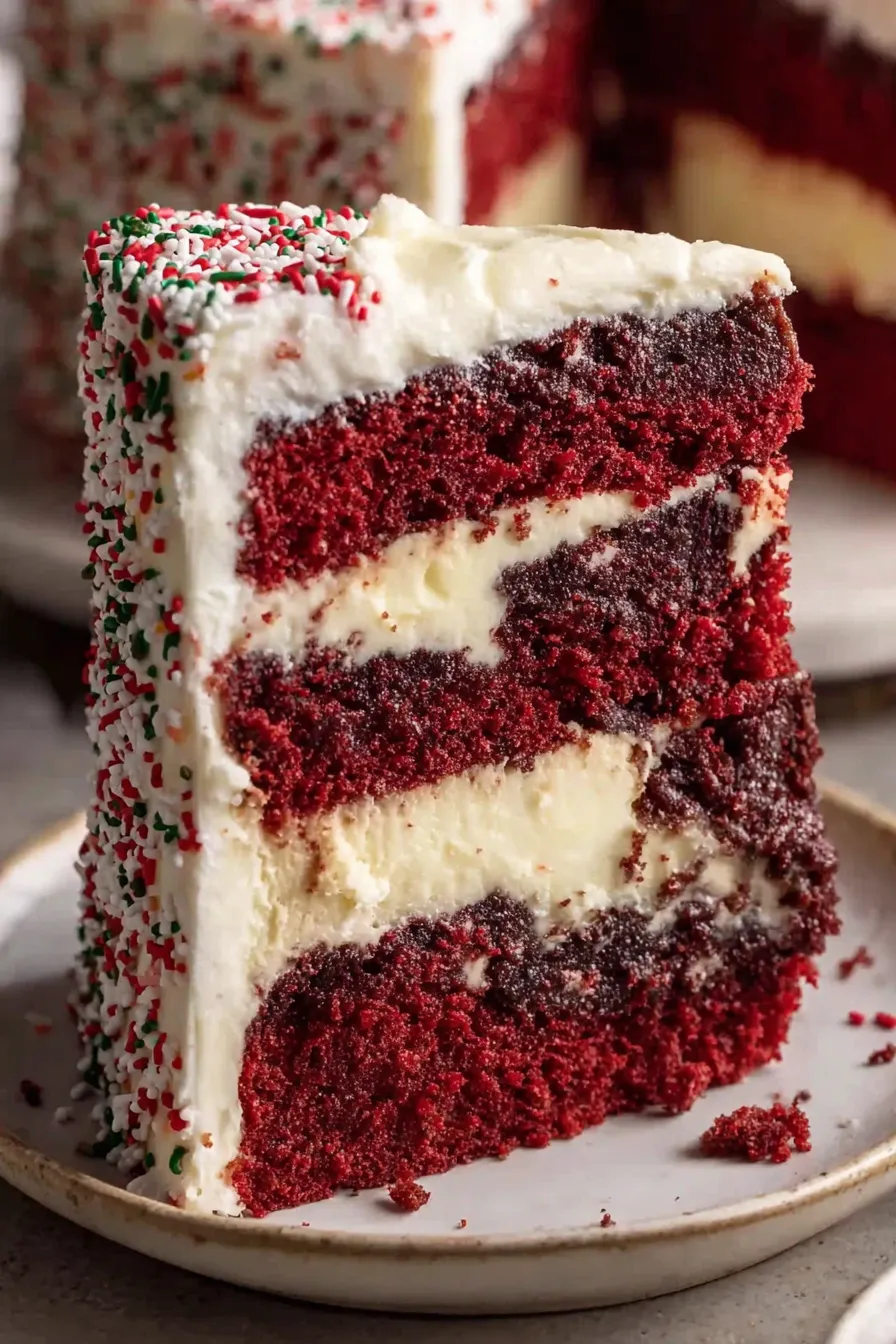
Serve this dessert slightly chilled with a dollop of lightly whipped cream or a dusting of fine cocoa around the plate. Fresh berries, particularly raspberries, add a bright counterpoint to the richness and look beautiful against the red crumb. For holiday tables, top with festive sprinkles or edible gold leaf for an elegant touch. Pair slices with a cup of robust coffee or a dessert wine like late-harvest Riesling for complementary sweetness and acidity.
Red velvet’s origins trace to early twentieth-century American baking and became especially popular in the South, where the subtle chocolate flavor and signature crimson hue became associated with celebratory cakes. The classic pairing of red velvet with cream cheese frosting stems from the contrast between the cake’s tender crumb and the frosting’s tang. Combining that profile with a cheesecake layer is a modern twist that borrows the dense, creamy elements of New York-style cheesecake while celebrating the Americana of red velvet.
In winter, add warm spices such as a pinch of cinnamon or 1/8 teaspoon ground nutmeg to the cake batter for a cozy note. For spring or summer, swap the sprinkles for fresh berries and a bright citrus glaze. For Valentine’s Day, use heart-shaped sprinkles or a glossy glaze of warmed raspberry jam. Small technique changes, such as chilling the cake longer in hot weather, help maintain structure when frosting in warmer kitchens.
To prep ahead, bake and cool the cake up to two days before serving and store it well-wrapped in the refrigerator. Make the frosting the day before, keep it chilled, and whip it briefly before spreading to restore lightness. For transportable portions, slice the cake into bars and layer with parchment between layers in a shallow box. This cake also freezes well; wrap the whole cake in several layers and thaw in the refrigerator the night before a big event.
This Red Velvet Cheesecake Cake is one of those desserts that reliably impresses while staying approachable to make. Once you’ve tried the balance of textures and flavors, you’ll find reasons to make it for celebrations and simple weeknight treats alike. Enjoy sharing a slice with friends and family — it’s one of those recipes that builds memories as much as it does satisfaction.
Always bring cream cheese, eggs, butter, and sour cream to room temperature before mixing to ensure a smooth filling and frosting.
Dollop cheesecake batter rather than pouring — spreading gently with an offset spatula prevents breaking the cake layer.
Use a hot, clean knife for slicing; dip in hot water and wipe dry between cuts for clean edges.
This nourishing red velvet cheesecake cake recipe is sure to be a staple in your kitchen. Enjoy every moist, high protein slice — it is perfect for breakfast or as a wholesome snack any time.
Room-temperature ingredients help the cheesecake batter become smooth and incorporate evenly. Cold ingredients can cause lumps and uneven texture.
Yes — you can freeze the baked cake wrapped tightly in plastic and foil for up to 3 months. Thaw overnight in the refrigerator.
This Red Velvet Cheesecake Cake recipe makes perfectly juicy, tender, and flavorful steak every time! Serve with potatoes and a side salad for an unforgettable dinner in under 30 minutes.
Beat cream cheese and sugar until smooth, add flour and vanilla, then the egg. Mix on low until just combined and set aside.
Preheat oven to 350°F (175°C). Spray a 9×9-inch pan, line with parchment, and spray again to ensure easy release.
Whisk together flour, Dutch-process cocoa, baking powder, baking soda, and salt until evenly combined.
Whisk oil, sugar, vinegar, vanilla, sour cream, eggs, buttermilk, and red gel food coloring until smooth and uniform.
Gently fold dry ingredients into wet mixture with a rubber spatula until just combined to avoid developing gluten.
Spread half the red velvet batter into the pan, dollop cheesecake batter and smooth, then top with remaining red velvet batter. Bake 30–35 minutes.
Cool 10 minutes in pan, transfer to rack to cool completely. Make frosting and spread over cooled cake. Chill briefly before serving.
Last Step: Please leave a rating and comment letting us know how you liked this recipe! This helps our business to thrive and continue providing free, high-quality recipes for you.
Leave a comment & rating below or tag
@yumelle on social media!

Juicy chicken meatballs baked with Parmesan and herbs, spooned with marinara, and covered in melty mozzarella on toasted slider rolls. Irresistible for parties.

Twirl eerie-colored spaghetti and top it with gooey, cheese-stuffed monster meatballs complete with olive eyes for a delightfully spooky family dinner.

Silky egg ribbons swirl through savory chicken broth, scented with sesame and scallions. Simple pantry staples, ready in just 10 minutes.
Leave a comment & rating below or tag @yumelle on social media!
Enjoyed this recipe? Share it with friends and family, and don't forget to leave a review!
This recipe looks amazing! Can't wait to try it.
Comments are stored locally in your browser. Server comments are displayed alongside your local comments.

Join to receive our email series which contains a round-up of some of our quick and easy family favorite recipes.
