
>>

Classic no-bake cookies made with oats, peanut butter, and a simple stovetop sugar mixture — ready in minutes and perfect for quick desserts or lunchbox treats.
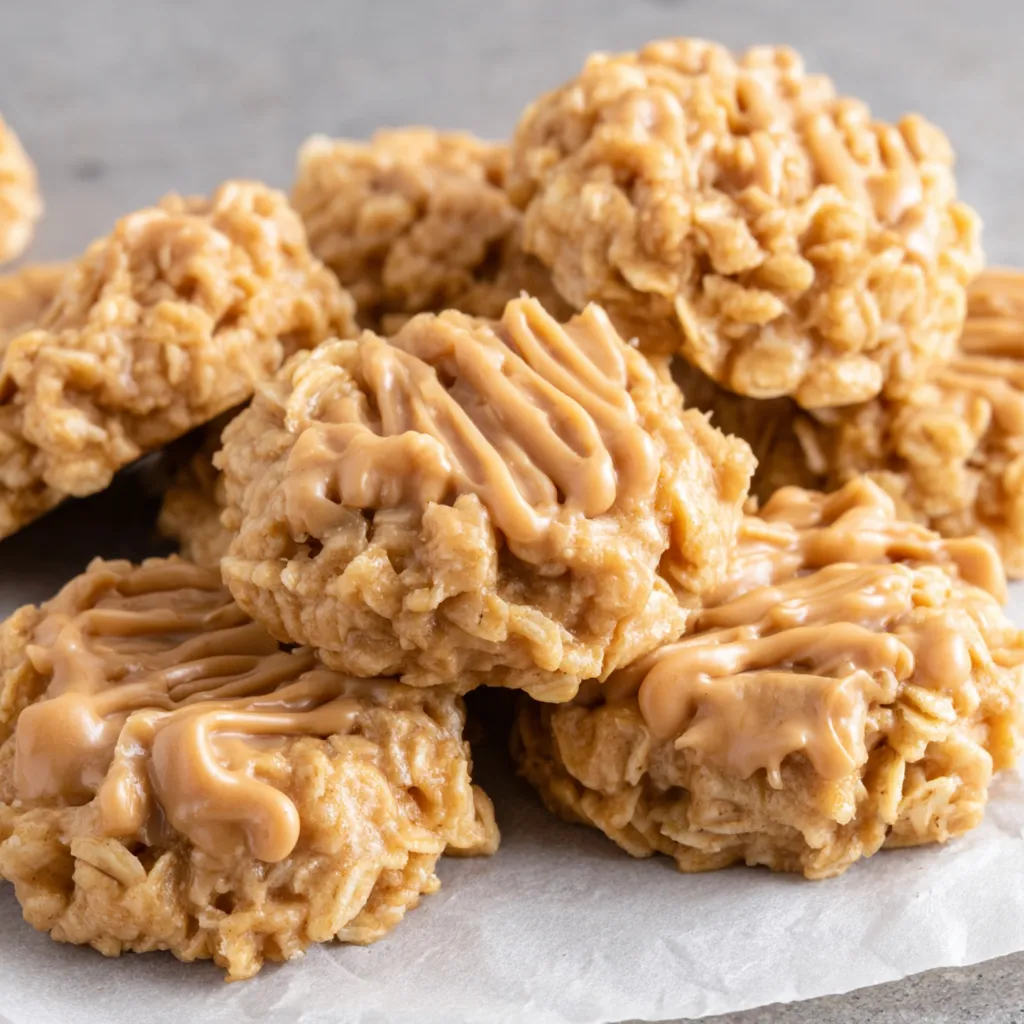
This peanut butter no-bake cookie has been my go-to panic dessert for years, the kind I reach for when the oven is mistaken for a distant relative and time is short. I first learned this version during a rainy afternoon when the kids insisted on baking and the pantry offered only oats, peanut butter, and a handful of staples. The result was a batch of soft, glossy cookies with a satisfying chew and the rich, nutty warmth of peanut butter that everyone devoured before the plates even cooled.
What makes these so special is the contrast of textures — a silky sugar-butter mixture that binds the oats and peanut butter into a set-but-tender cookie. They're sweet without being cloying, portable, and forgiving: if you measure loosely or stir a bit longer, they'll still turn out. I often make a double batch for potlucks, and they disappear faster than anything I bake in the oven. This recipe is a family favorite for school treats, last-minute celebrations, and rainy day consolations.
My family always asks for seconds and the occasional midnight plate. Watching friends gather around the counter, waiting for the spoonfuls to set, is one of those small pleasures that makes this recipe more than just quick food — it's a memory-maker.
My favorite part is that the youngest family members can help at almost every step — mixing the oats, watching the saucepan with supervision, and scooping the cookies. Those afternoons when everyone crowded the counter, sharing tips and little triumphs, are what turned a simple recipe into a family tradition.
After the cookies have cooled and set, store them in a single layer or separated with parchment paper in an airtight container. In a cool kitchen, they keep well at room temperature for a day, but refrigeration extends shelf life to about one week and preserves texture. For longer storage, freeze on a baking sheet until firm, then transfer to a resealable freezer bag for up to three months. When reheating from frozen, allow to thaw in the refrigerator or at room temperature for 30–60 minutes — avoid microwaving for long periods, as that can make them greasy.
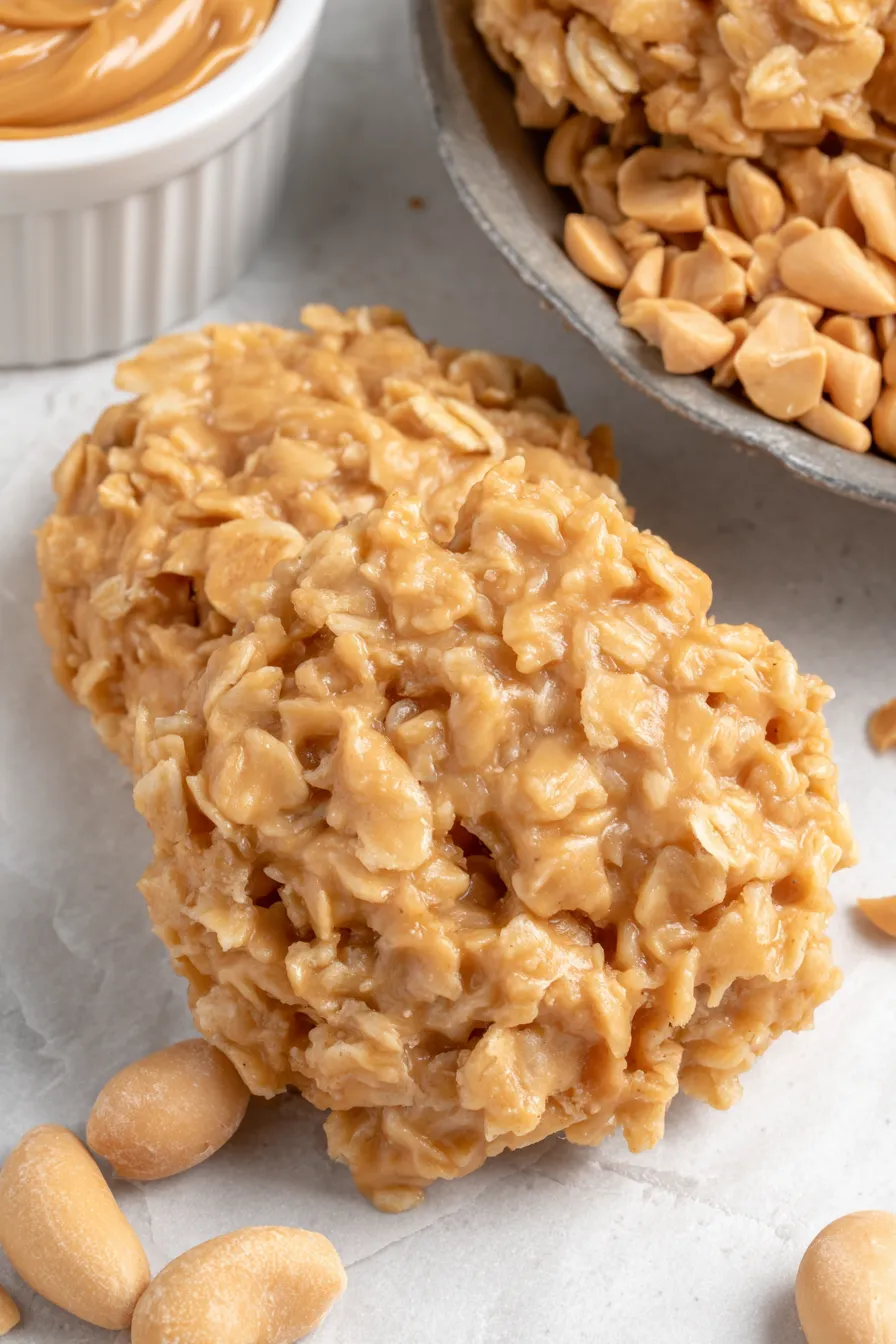
If you need to adapt ingredients, try natural peanut butter (stirred) for a more pronounced peanut flavor, though you may need to chill extra to help the cookies set. Swap creamy peanut butter for chunky for added crunch. For a lower-sugar version, reduce sugar slightly and add 1–2 tablespoons of honey (note this changes the boiling behavior and set). For a nut-free option, use sunflower seed butter, and for dairy-free, use vegan butter and plant milk — expect a slightly softer texture and adjust chilling time accordingly.
Serve these cookies on a simple white platter with a dusting of powdered sugar for celebration trays, paired with cold milk or a café-style coffee. They’re excellent in lunchboxes, alongside fruit, or stacked between parchment with thin layers of chocolate spread for a quick dessert sandwich. For an adult twist, sprinkle a tiny pinch of flaky sea salt over each drop as they set to amplify the nutty sweetness.
No-bake cookies like this have roots in mid-20th-century American home cooking when quick, stovetop candy techniques were popular for busy households. They were solutions to limited oven access and a way to stretch pantry staples into comforting treats. Over time, regional variations emerged using coconut, oats, cocoa, or nuts, but the peanut butter-and-oat version remains a nostalgic staple in many homes for its simplicity and dependable results.
In colder months, add a teaspoon of ground cinnamon or a pinch of nutmeg to the oats for warming spice. In summer, press a few mini chocolate chips into the tops as they set for a cooler, chocolate-studded variation. During holiday seasons, mix in 1/2 cup dried cranberries or chopped roasted peanuts for color and texture. These swaps keep the base technique intact while highlighting seasonal produce and flavors.
Make a double batch and portion into individual snack bags for quick grab-and-go treats. Use silicone scoops to ensure even sizes for consistent chilling and portion control. When preparing for a week’s worth of snacks, keep them refrigerated in a shallow, airtight container lined with paper towels to absorb any excess moisture and maintain the ideal chewy texture.
These cookies are small joys that come together quickly and carry big memories. Share them, tweak them, and make them your own — they’ll always remind you that sometimes the best treats require only a saucepan and a few pantry staples.
Bring the sugar mixture to a full boil and maintain it for about 60 seconds for a reliable set.
Line the baking sheet with wax paper or parchment so cookies release easily — avoid greasing the paper.
If using natural peanut butter, stir it well beforehand and chill the finished cookies longer to firm up.
Use a medium cookie scoop for uniform sizes so cookies cool and set at the same rate.
This nourishing peanut butter no-bake cookies recipe is sure to be a staple in your kitchen. Enjoy every moist, high protein slice — it is perfect for breakfast or as a wholesome snack any time.
If cookies are still sticky after cooling, refrigerate them for another 30–60 minutes. Make sure the sugar mixture reached a full boil for 60 seconds during cooking.
Yes — swap butter and milk for vegan butter and a plant-based milk, but expect a slightly softer set and refrigerate longer.
This Peanut Butter No-Bake Cookies recipe makes perfectly juicy, tender, and flavorful steak every time! Serve with potatoes and a side salad for an unforgettable dinner in under 30 minutes.
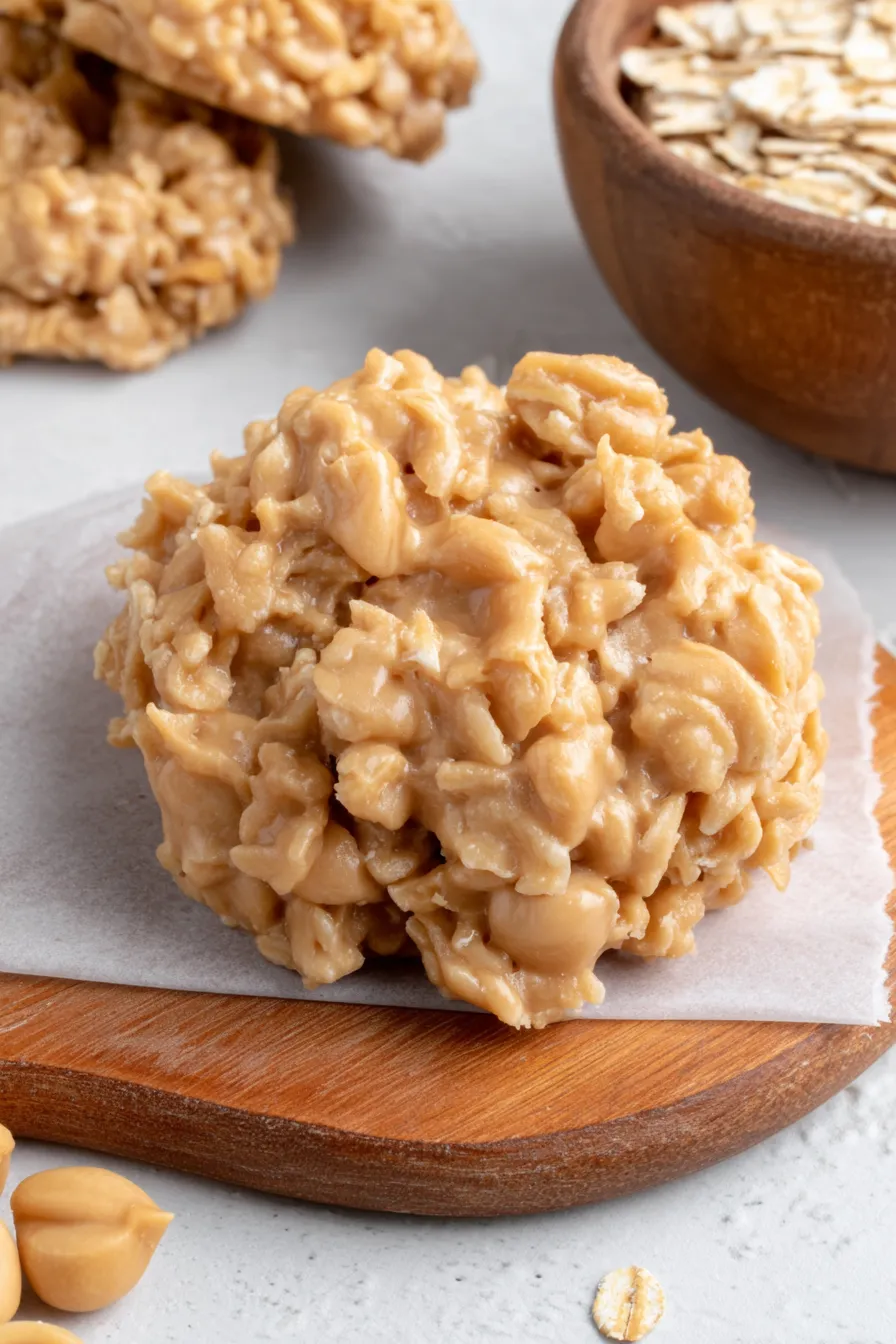
Stir together 3 cups quick-cook oats and 1/4 teaspoon salt in a large bowl; set aside near the stove for quick combining.
In a small saucepan, whisk 1/2 cup butter, 2 cups sugar, and 1/2 cup milk over medium-high heat, bring to a full boil and maintain for about 60 seconds, then remove from heat.
Off heat, whisk in 1 cup peanut butter and 2 teaspoons vanilla until smooth and glossy.
Pour the hot mixture over the oats and stir quickly with a spatula until all oats are evenly coated.
Drop scoops onto wax paper-lined baking sheet and allow to cool at room temperature until set, then refrigerate if needed.
Last Step: Please leave a rating and comment letting us know how you liked this recipe! This helps our business to thrive and continue providing free, high-quality recipes for you.
Leave a comment & rating below or tag
@yumelle on social media!

Juicy chicken meatballs baked with Parmesan and herbs, spooned with marinara, and covered in melty mozzarella on toasted slider rolls. Irresistible for parties.

Twirl eerie-colored spaghetti and top it with gooey, cheese-stuffed monster meatballs complete with olive eyes for a delightfully spooky family dinner.

Silky egg ribbons swirl through savory chicken broth, scented with sesame and scallions. Simple pantry staples, ready in just 10 minutes.
Leave a comment & rating below or tag @yumelle on social media!
Enjoyed this recipe? Share it with friends and family, and don't forget to leave a review!
This recipe looks amazing! Can't wait to try it.
Comments are stored locally in your browser. Server comments are displayed alongside your local comments.

Join to receive our email series which contains a round-up of some of our quick and easy family favorite recipes.
