
>>

Festive, no-bake cheesecake bites coated in colorful candy melts — an easy, make-ahead holiday treat that's perfect for parties and gift boxes.
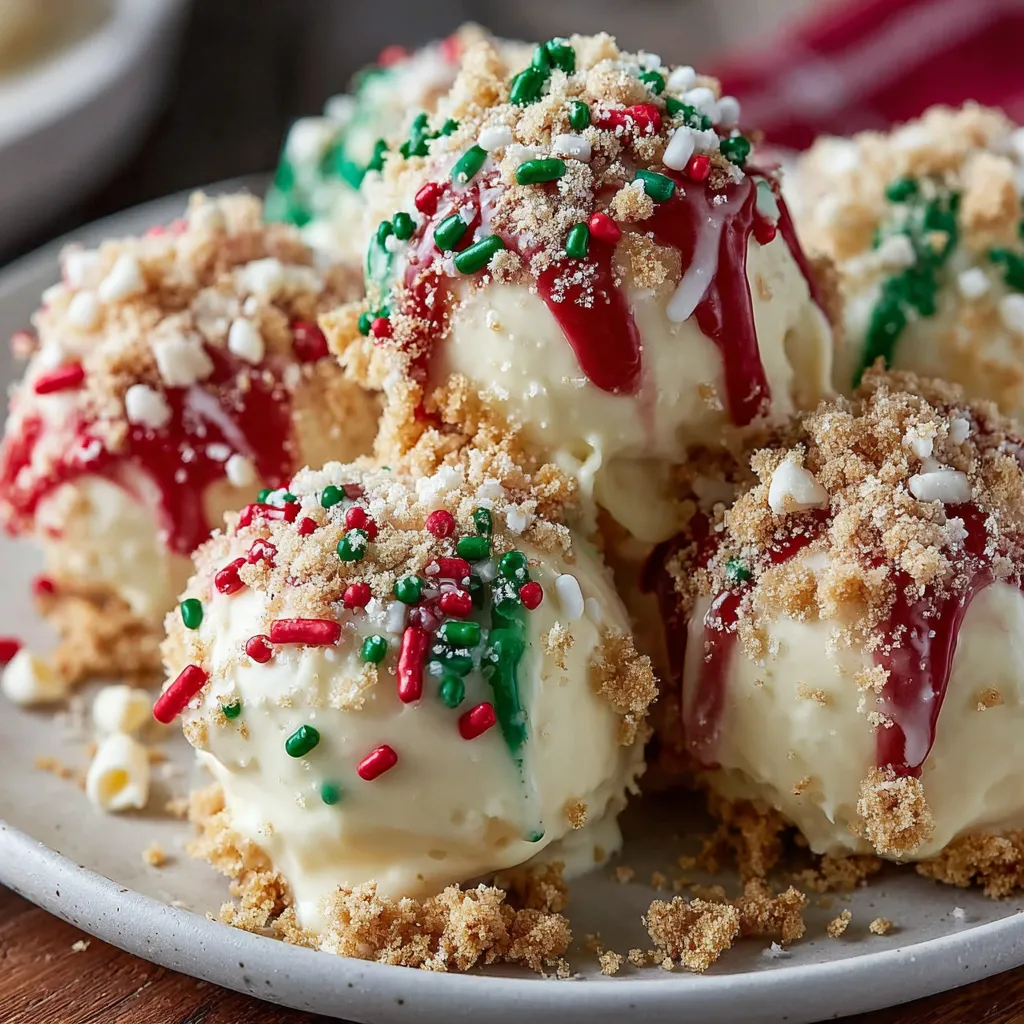
I remember bringing a tray to a small office party; they disappeared first. Coworkers loved that they were not overly sweet but still festive — the white chocolate inside tempers the classic cheesecake tang and makes each bite feel indulgent without being heavy.
My favorite part is how the simple white interior contrasts with a bright holiday shell. One Christmas Eve my niece insisted on making a whole tray herself; seeing her pride as she lined up perfectly coated bites was one of those small memories that makes seasonal baking so rewarding. The process of dipping and decorating is almost as fun as the eating.
Store in a single layer in an airtight container lined with parchment to prevent sticking. At room temperature they are fine for a short party display (2–4 hours), but for longer storage keep refrigerated. To freeze, flash freeze the balls on a tray until solid, then layer with parchment in a sealed container; thaw in the fridge overnight before dipping or serving. Reheat is unnecessary — serve chilled or at cool room temperature for the best texture.
If you need dairy-free options, use a block-style dairy-free cream cheese and dairy-free whipped topping, plus dairy-free white chocolate or skip the white chocolate and add an extra 2 tablespoons of powdered sugar for structure. To avoid gluten, swap in gluten-free graham or cookie crumbs using a 1:1 substitution. For a richer interior, replace half the whipped topping with whipped cream stabilized with a teaspoon of cornstarch; texture will be a touch denser. To cut sweetness slightly, use 3/8 cup powdered sugar and increase vanilla to 1 1/2 teaspoons.
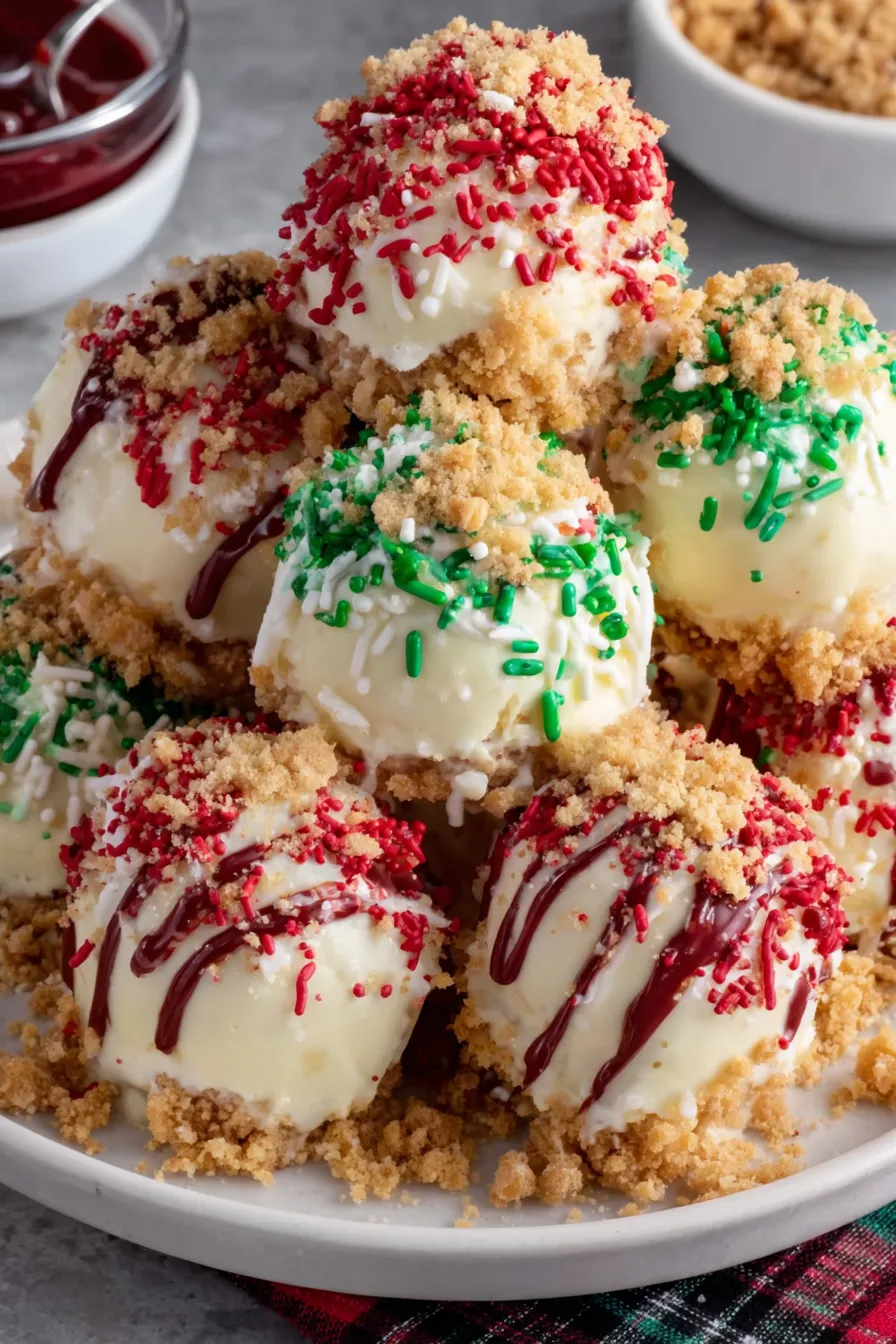
Arrange bites on a decorative platter or serve in mini paper liners for easy picking. Pair with a warm drink like spiced cider or espresso for contrast. They make lovely additions to cookie exchanges or dessert boards alongside salted nuts and dried fruit. For elegant gatherings, drizzle with dark chocolate for contrast and garnish with edible gold flakes.
No-bake treats have long been part of American holiday tables, offering convenience when ovens are fully tasked with roast and pies. These bites are a modern, portable spin on the classic cheesecake concept: a creamy, flavored center and a textural contrast from crumbs and coatings — an evolution of bite-sized confections served at parties since the late 20th century.
Swap colored coatings for autumnal hues in fall, use pastel coatings for spring celebrations, or choose silver and blue for winter parties. Add seasonal spices such as 1/4 teaspoon cinnamon and a pinch of nutmeg to the base for a cozy variation. For Valentine’s Day, melt pink candy melts and top with heart sprinkles.
Prepare the base up to three days ahead and keep it chilled. Form balls the night before and store on a tray covered with plastic wrap; dip within 24 hours for the freshest finish. For large batches, melt small amounts of candy melts at a time to maintain proper dipping viscosity and discard any coating that becomes grainy or thickened.
These tiny sweets bring big smiles and are a dependable go-to when you want something pretty, portable, and utterly festive. Make a double batch — they’re the first thing to vanish at every holiday gathering.
Soften cream cheese to room temperature for lump-free mixing.
Chill the mixture before rolling so it forms clean balls without sticking to your hands.
Use a small offset spatula or fork to tap off excess coating for neater finishes.
Keep candy melts warm in short bursts in the microwave or over a double boiler to maintain flow.
Flash-freeze balls before coating if the kitchen is warm; this helps them hold shape.
This nourishing no-bake christmas cheesecake bites recipe is sure to be a staple in your kitchen. Enjoy every moist, high protein slice — it is perfect for breakfast or as a wholesome snack any time.
Store in the refrigerator for up to 5 days. For longer storage, freeze for up to 2 months; thaw in the fridge before serving.
Use a small cookie scoop to portion evenly, and chill the formed balls before dipping to help them keep their shape.
Melt candy melts slowly and add a teaspoon of vegetable oil if the coating is too thick for dipping.
This No-Bake Christmas Cheesecake Bites recipe makes perfectly juicy, tender, and flavorful steak every time! Serve with potatoes and a side salad for an unforgettable dinner in under 30 minutes.
In a large bowl, beat 8 oz softened cream cheese until smooth and free of lumps, about 1–2 minutes. Scrape sides of the bowl to ensure even texture.
Add 1/2 cup powdered sugar and 1 teaspoon vanilla extract, then beat until incorporated and silky.
Melt 1 cup white chocolate chips in 20-second intervals, stirring between bursts until glossy. Let cool slightly for 2–3 minutes before adding to the cream cheese mixture.
Stir in 1 cup crushed graham crackers until evenly distributed, then gently fold in 1/2 cup thawed whipped topping until the mixture is homogenous but still pliable.
Cover and refrigerate for 30–40 minutes to firm up the mixture for easier rolling.
Portion chilled mixture with a small scoop and roll into 1-inch balls. Place on parchment-lined tray and chill for 10–15 minutes to set before coating.
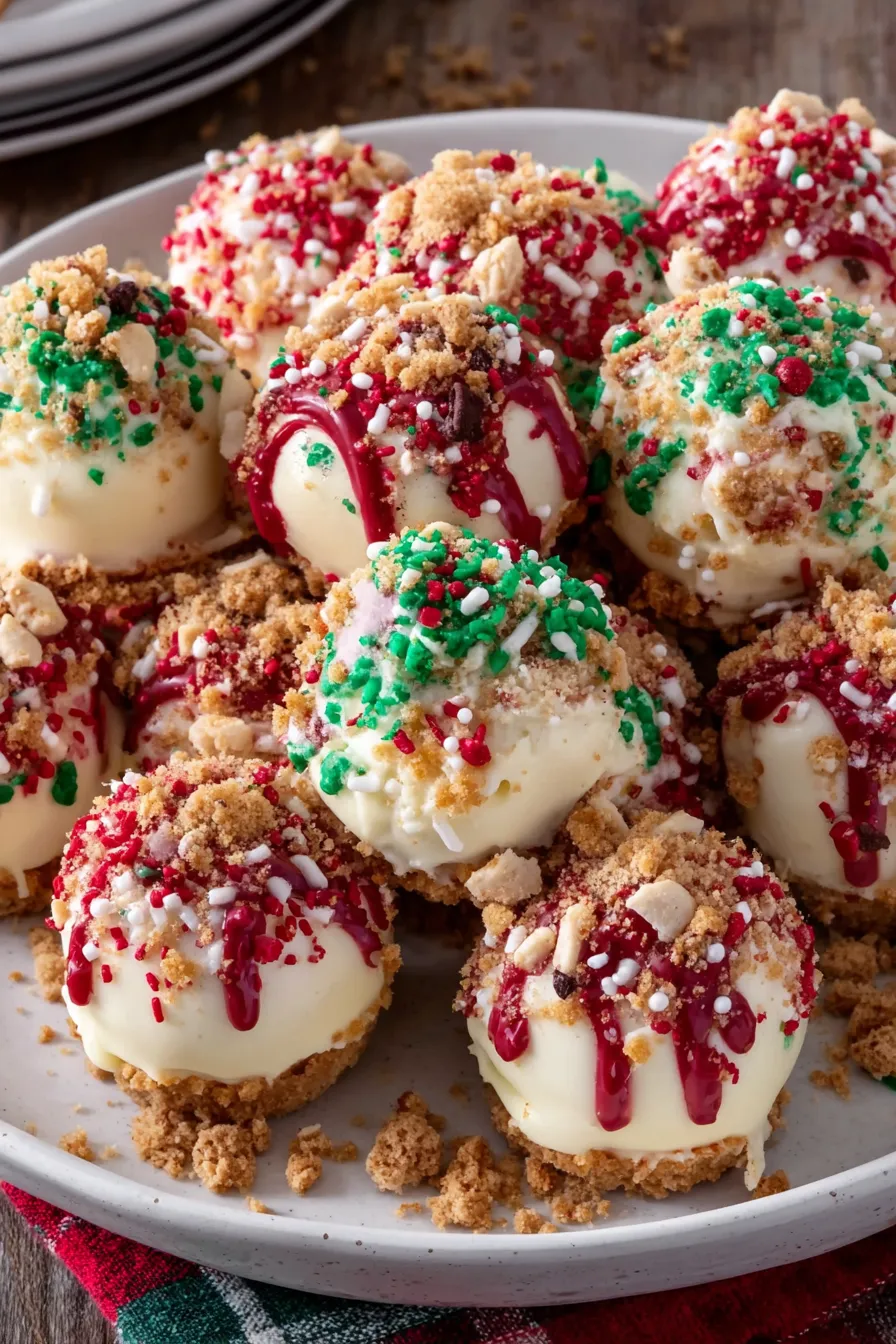
Melt red and green candy melts in separate bowls according to package directions. Add a teaspoon of vegetable oil if needed to thin the coating for dipping.
Dip each ball into coating, tap off excess on the edge of the bowl, place back on parchment, and immediately add sprinkles before the coating sets.
Let coatings set at room temperature 20–30 minutes or refrigerate 10–15 minutes. Store in an airtight container in a single layer for up to 5 days in the refrigerator.
Last Step: Please leave a rating and comment letting us know how you liked this recipe! This helps our business to thrive and continue providing free, high-quality recipes for you.
Leave a comment & rating below or tag
@yumelle on social media!

Juicy chicken meatballs baked with Parmesan and herbs, spooned with marinara, and covered in melty mozzarella on toasted slider rolls. Irresistible for parties.

Twirl eerie-colored spaghetti and top it with gooey, cheese-stuffed monster meatballs complete with olive eyes for a delightfully spooky family dinner.

Silky egg ribbons swirl through savory chicken broth, scented with sesame and scallions. Simple pantry staples, ready in just 10 minutes.
Leave a comment & rating below or tag @yumelle on social media!
Enjoyed this recipe? Share it with friends and family, and don't forget to leave a review!
This recipe looks amazing! Can't wait to try it.
Comments are stored locally in your browser. Server comments are displayed alongside your local comments.

Join to receive our email series which contains a round-up of some of our quick and easy family favorite recipes.
