
>>

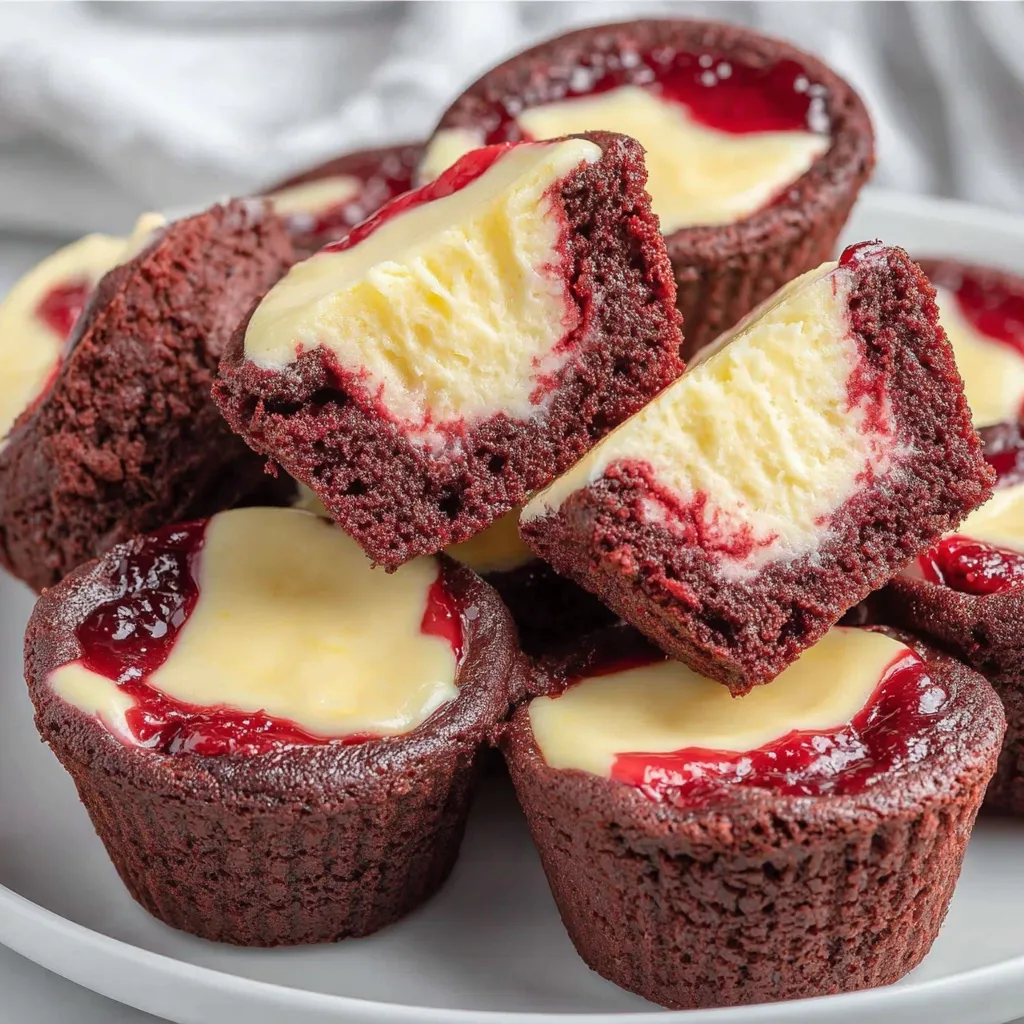
Tiny, tender red velvet bases cradle a silky cream cheese center—perfect for parties, holiday trays, or an elegant weeknight treat.
This Mini Red Velvet Cheesecakes recipe has been my party secret for years. I first developed the idea while testing bite-sized desserts for a holiday cookie swap: I wanted something with the nostalgic flavor of red velvet cake but with the creamy richness of a classic cheesecake. The first tray I brought home disappeared in under an hour, and my family still quotes that night as proof that small desserts can have big impact. These little bites strike a beautiful balance between tender, cocoa-kissed cake and a tangy, silky filling that melts on the tongue.
I discovered the exact proportions during a quiet afternoon of recipe play: swapping sour cream for butter, testing food color intensities, and tempering eggs to keep the filling perfectly smooth. The result is a consistent bite every time—moist, slightly chocolatey bases paired with a bright cream cheese center. Because they’re baked in a mini muffin pan, the edges caramelize just enough to give you a contrast of textures: a delicate crust around a lusciously creamy heart. Serve them at room temperature with a dusting of powdered sugar or chilled for a firmer bite.
Personally, I love how these convert classic red velvet nostalgia into an elegant miniature treat. At my last holiday gathering, guests commented that the cream cheese center tasted like a tiny New York cheesecake—only more playful. I often swap the red food gel depending on the season, choosing deeper tones for winter and softer pinks for spring showers.
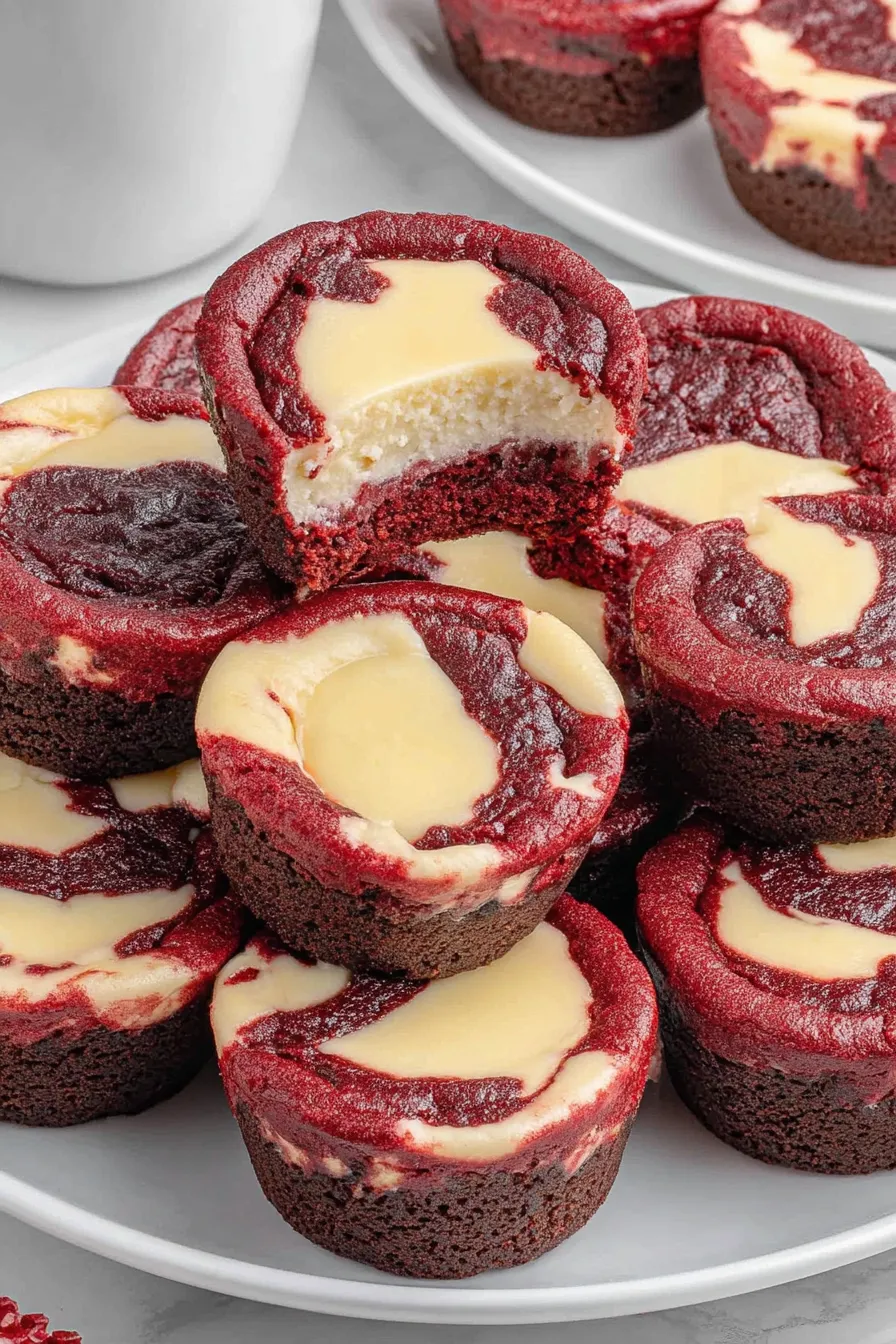
My favorite part of this mini treat is how adaptable it is—at a baby shower I swapped the red gel for pastel coral and the tray became the most photographed dessert. Family members often ask for seconds, and I always make an extra pan because they’re just that irresistible. The technique of piping the filling ensures a tidy presentation every time, even for less confident bakers.
Store the bites in a single layer in an airtight container in the refrigerator for up to 4 days. If stacking is necessary, separate layers with parchment paper to protect the tops. To freeze, place the cooled bites on a sheet pan until firm, then transfer to a freezer-safe container with parchment between layers; they’ll keep for up to 3 months. Reheat from frozen in a 325°F oven for 6 to 8 minutes if you prefer them warm, or thaw overnight in the fridge and serve at room temperature for the best texture.
If you need to avoid dairy, substitute a plant-based cream cheese for the filling—expect a slightly tangier finish and a softer set. For an egg-free option, a commercial egg replacer can work in the base, but the structure will be lighter and you should reduce the baked time slightly. If you don’t have gel color, use 2 to 3 teaspoons of concentrated liquid dye, but reduce any added liquid elsewhere and fold gently to prevent a runny batter. Cocoa can be swapped for Dutch-processed for a mellower chocolate note; increase a pinch of baking soda if you do.
Serve these on a tiered tray for bridal showers or as part of a dessert charcuterie board alongside macarons and chocolate truffles. Garnish with a light dusting of powdered sugar, a tiny piped rosette of whipped cream, or a few chocolate shavings. They pair beautifully with espresso or a floral tea; for a winter twist, sprinkle finely grated orange zest over the filling before baking to introduce a bright citrus note.
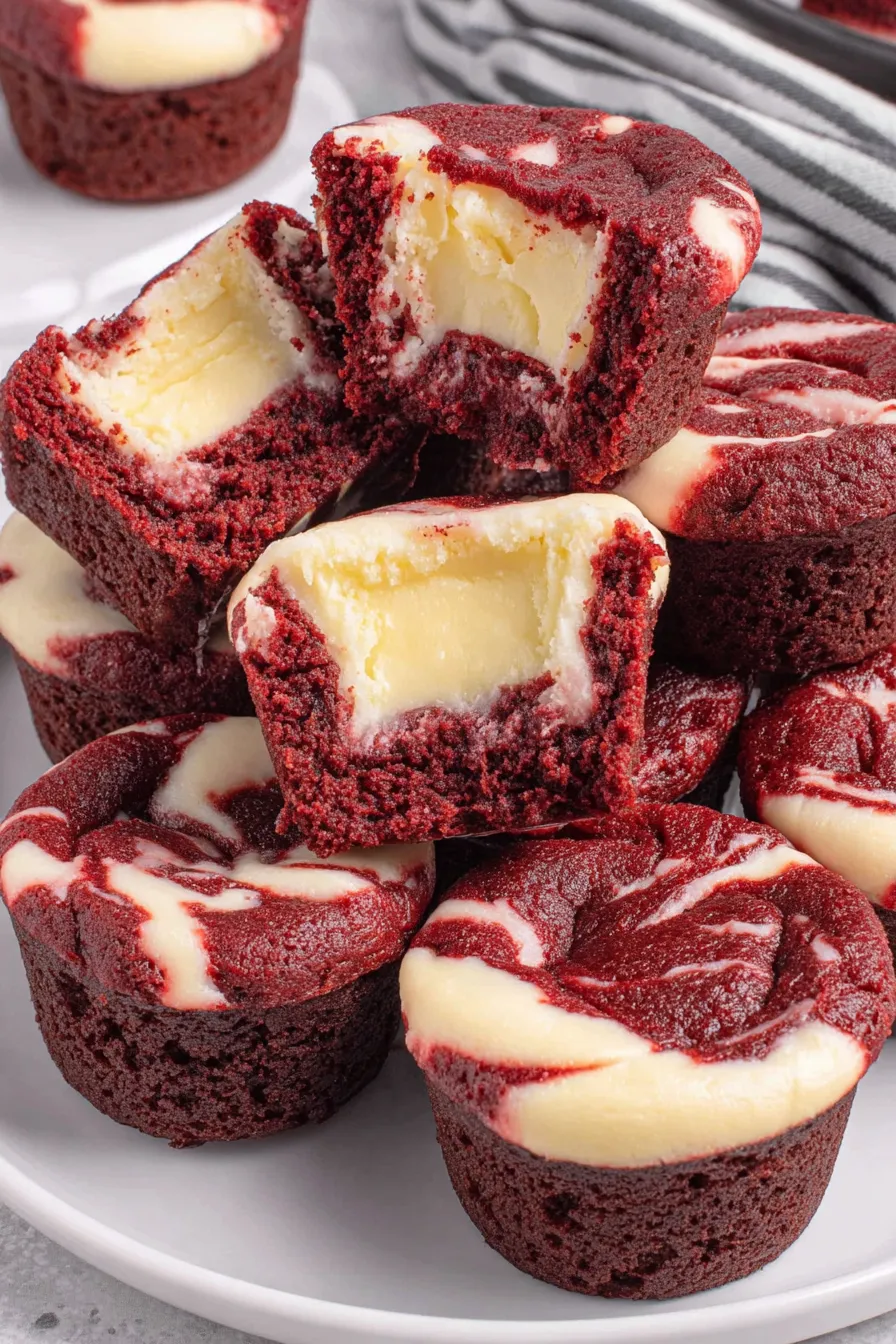
Red velvet combines a hint of cocoa and vinegar (often from buttermilk) to create a velvet-like crumb and vivid color—an American classic with roots in early 20th-century Southern baking. The cream cheese center nods to the rich cheesecake traditions of New York and the Midwest. This miniature form blends both legacies: the celebratory color of red velvet with the indulgent creaminess of cheesecake, making it a modern hybrid popular at parties and seasonal gatherings.
For winter, swap the red gel for a deep burgundy or add a teaspoon of espresso powder to the base for depth. In spring, reduce the food color and top with tiny edible flowers for a softer presentation. For Valentine’s Day, sandwich two bites together with a smear of raspberry jam for a romantic twist. Summer parties benefit from serving them chilled with fresh berries to balance the richness.
Make the base batter and filling a day ahead: keep the base refrigerated in a bowl covered with plastic wrap and the filling in a piping bag chilled. On the day, spoon and assemble just before baking for the freshest texture. If you want to speed assembly, portion the base into a scoop and freeze the scoops on a sheet pan—pop them into the pan frozen and bake a minute or two longer, then add the filling and return to the oven until set.
These little cheesecakes bring joy to any gathering—practice a quick test bake to dial in your oven and enjoy how such a small treat can leave a large impression. Make them your own and share the plates with friends; every batch tells a new story.
Use room-temperature eggs and cream cheese to ensure smooth incorporation and avoid lumps.
Pipe the filling to keep the center uniform and prevent overflow during baking.
Chill the assembled pan briefly if your kitchen is warm to help the filling hold shape.
Avoid overmixing the base batter to keep the bases tender rather than chewy.
This nourishing mini red velvet cheesecakes recipe is sure to be a staple in your kitchen. Enjoy every moist, high protein slice — it is perfect for breakfast or as a wholesome snack any time.
Store in an airtight container in the fridge for up to 4 days or freeze for up to 3 months. Thaw overnight in the fridge.
Bake for 8 to 9 minutes at 350°F until centers are set but slightly wobbly; they’ll firm as they cool.
This Mini Red Velvet Cheesecakes recipe makes perfectly juicy, tender, and flavorful steak every time! Serve with potatoes and a side salad for an unforgettable dinner in under 30 minutes.
Preheat oven to 350°F. Spray a 24-cup mini muffin pan with nonstick spray or brush with melted butter. Let it warm while you prepare the batter.
Whisk together 1 cup flour and 1/4 cup plus 1 tablespoon unsweetened cocoa powder to aerate and remove lumps.
Whisk melted and cooled 3/4 cup butter with 1 1/4 cups sugar, 1 tablespoon red gel, 2 teaspoons vanilla, and 2 beaten eggs until glossy.
Fold the dry mixture into the wet ingredients until just combined; avoid overmixing to keep bases tender.
Beat 8 ounces softened cream cheese for 1 minute, add 1/4 cup sugar and 1 teaspoon vanilla and beat 1 to 1 1/2 minutes. Mix in 1 egg yolk on low until just incorporated.
Spoon about 1 tablespoon of red velvet batter into each mini cup. Pipe or spoon roughly 2 teaspoons of cheesecake filling into the center of each base.
Bake at 350°F for 8 to 9 minutes until centers are set but slightly wobbly. Cool in the pan 20 to 30 minutes before removing to a wire rack to cool completely.
Last Step: Please leave a rating and comment letting us know how you liked this recipe! This helps our business to thrive and continue providing free, high-quality recipes for you.
Leave a comment & rating below or tag
@yumelle on social media!

Juicy chicken meatballs baked with Parmesan and herbs, spooned with marinara, and covered in melty mozzarella on toasted slider rolls. Irresistible for parties.

Twirl eerie-colored spaghetti and top it with gooey, cheese-stuffed monster meatballs complete with olive eyes for a delightfully spooky family dinner.

Silky egg ribbons swirl through savory chicken broth, scented with sesame and scallions. Simple pantry staples, ready in just 10 minutes.
Leave a comment & rating below or tag @yumelle on social media!
Enjoyed this recipe? Share it with friends and family, and don't forget to leave a review!
This recipe looks amazing! Can't wait to try it.
Comments are stored locally in your browser. Server comments are displayed alongside your local comments.

Join to receive our email series which contains a round-up of some of our quick and easy family favorite recipes.
