
Melt-In-Your-Mouth Chicken Breast

Juicy chicken breasts baked under a creamy Parmesan-mayo crust that crisps to golden perfection—simple, fast, and unbelievably tender.

This recipe for Melt-In-Your-Mouth Chicken Breast has been a lifesaver on busy weeknights and a quiet Sunday favorite in my house. I discovered this combination years ago while rummaging through the fridge for an easy dinner that would please everyone. I wanted something that felt indulgent but required minimal hands-on time—no breading, no frying, and no complex steps. The creamy topping of mayonnaise (or Greek yogurt for a lighter option) mixed with grated Parmesan creates a protective, flavorful blanket that locks moisture into the meat while the top crisps into savory golden pockets. The contrast of tender breast and slightly crunchy, cheesy surface is what keeps people coming back for seconds.
What makes this dish special is its reliability: thick or thin chicken breasts both turn out juicy when you follow the timing and resting instructions, and the straightforward seasoning highlights the chicken rather than masking it. I remember the first time I served this to a group of friends—one guest asked if I'd secretly brined the chicken for hours. The secret, of course, is in the creamy coating and the gentle oven temperature. It yields consistently tender results, and the aroma that fills the kitchen as it bakes is positively irresistible.
Why You'll Love This Recipe
- Ready with minimal prep—about 10 minutes of hands-on time and roughly 35–40 minutes in the oven, making it perfect for weeknights or casual entertaining.
- Uses pantry staples: mayonnaise (or plain Greek yogurt) and grated Parmesan are common and easy to swap if needed.
- Creamy topping seals in juices, so breasts stay exceptionally tender without brining or pounding.
- Make-ahead friendly: assemble in the dish, cover, and refrigerate for up to 12 hours before baking for effortless hosting.
- Versatile for diets—serve as-is for low-carb menus, or pair with grains and veggies for a more balanced plate; Greek yogurt option reduces fat while keeping creaminess.
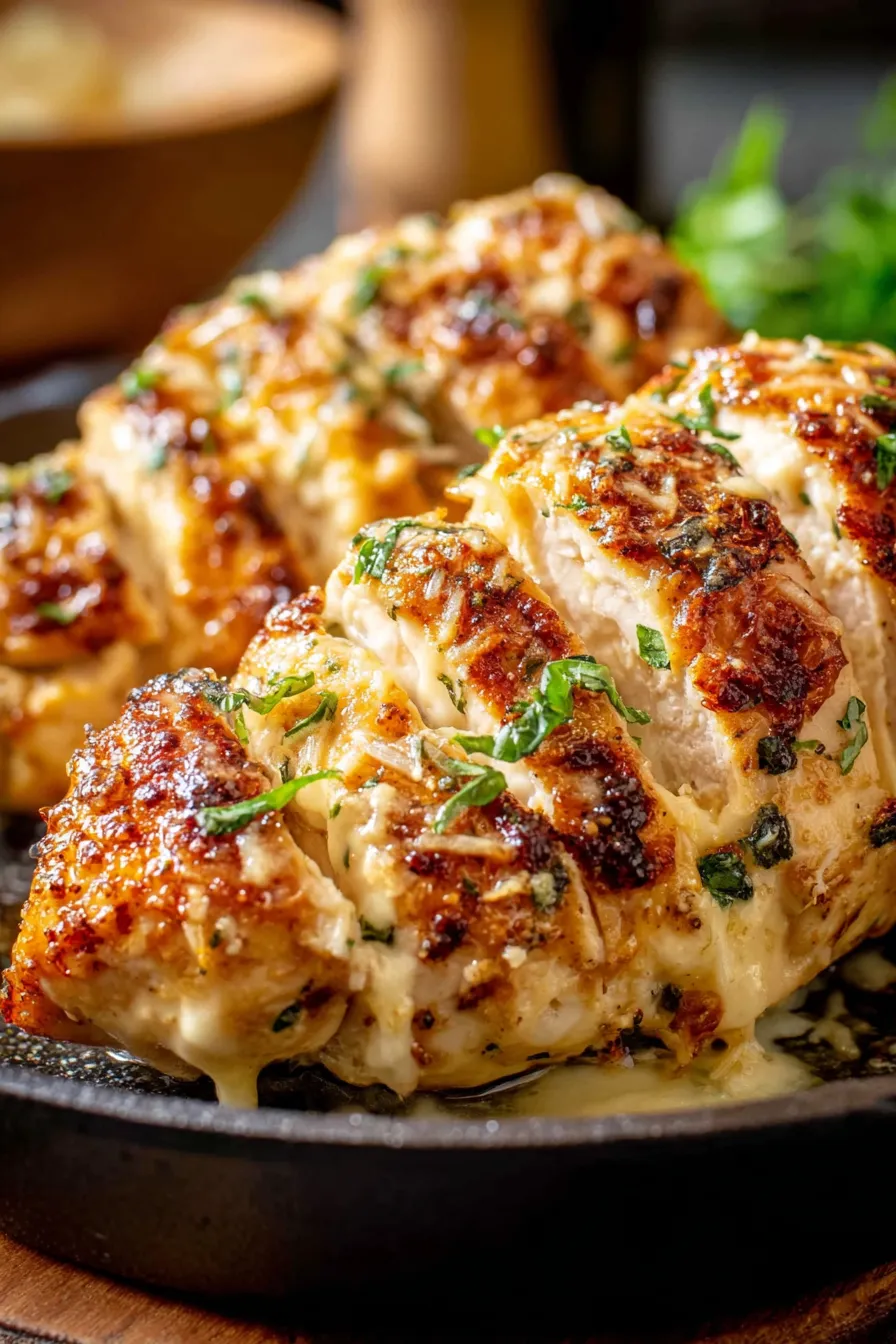
In my kitchen this recipe has become the go-to when I want something impressive without fuss. Family members joke that it's my shortcut to gourmet-level dinner—simple ingredients, dramatic results. The cheese browns a touch on the edges while the center stays luxuriously soft, and that little crisp is what makes the dish sing.
Ingredients
- 4 boneless, skinless chicken breasts: Look for uniformly sized breasts, about 6–8 ounces each. If one is much thicker, slice it horizontally into two thinner cutlets so they cook evenly. Organic or free-range tastes slightly sweeter, but any good-quality breast will shine here.
- 1 cup mayonnaise (or plain Greek yogurt): Full-fat mayonnaise gives the richest crust; swap in plain 0% or 2% Greek yogurt for a tangy, lighter version. Use a brand you enjoy eating plain—its flavor comes through.
- 1 teaspoon garlic powder: Adds savory depth without fresh garlic’s browning issues during baking. If using fresh, mince one small clove and mix in, but watch moisture.
- 1 teaspoon onion powder: Balances the garlic and brings a subtle sweetness to the topping. Dehydrated onion powder disperses more evenly than minced fresh onion.
- ½ teaspoon salt and ½ teaspoon black pepper: Simple seasoning that enhances natural chicken flavor. Kosher salt works great—if you use table salt, reduce slightly.
- 1 cup grated Parmesan cheese: Freshly grated from a wedge melts and browns more evenly than pre-shredded packaged cheese. Parmigiano-Reggiano gives a nutty, umami lift; for a budget option, a good-quality domestic Parmesan works fine.
Instructions
Step 1 — Preheat the oven: Set the oven to 375°F (190°C). This temperature is warm enough to brown the top without drying the breasts. If your oven runs hot or you have particularly thin breasts, drop to 360°F and check earlier. Proper preheating ensures even cooking from first second. Step 2 — Prepare the baking dish: Choose a 9×13-inch baking dish or similar sized oven-safe pan so the breasts fit in a single layer. Lightly coat the bottom with a thin layer of oil or nonstick spray—this prevents sticking and makes serving neater. If you plan to bake directly from cold storage, let the dish sit out 10 minutes to avoid thermal shock. Step 3 — Mix the creamy coating: In a medium bowl, combine 1 cup mayonnaise (or 1 cup plain Greek yogurt), 1 teaspoon garlic powder, 1 teaspoon onion powder, ½ teaspoon salt, ½ teaspoon black pepper, and 1 cup grated Parmesan. Stir until fully blended into a thick, spreadable mixture. Scrape the bowl’s sides so no pockets of dry seasoning remain. The mixture should cling to a spoon—if it’s too loose, add a tablespoon more cheese. Step 4 — Coat the chicken: Arrange the breasts in the prepared dish with space between pieces. Use a spoon or offset spatula to spread the creamy mixture evenly across the top of each breast, covering edge to edge. Don’t be afraid to apply a generous layer—this is the moisture-locking element that creates the melt-in-your-mouth texture. If one breast is thicker, mound a little more topping over it to help insulation. Step 5 — Bake until golden: Place the dish uncovered in the preheated oven and bake for approximately 35–40 minutes. Time will vary by thickness; aim for an internal temperature of 165°F (74°C) measured with an instant-read thermometer in the thickest part. The top should be golden and slightly bubbly, with the edges of the cheese showing light browning—those browned bits are full of flavor. Step 6 — Rest before serving: Remove from the oven and let sit for 5 minutes before slicing or serving. Resting allows juices to redistribute so each bite stays juicy rather than running out onto the plate. Use this time to prepare a simple side salad or warm some bread.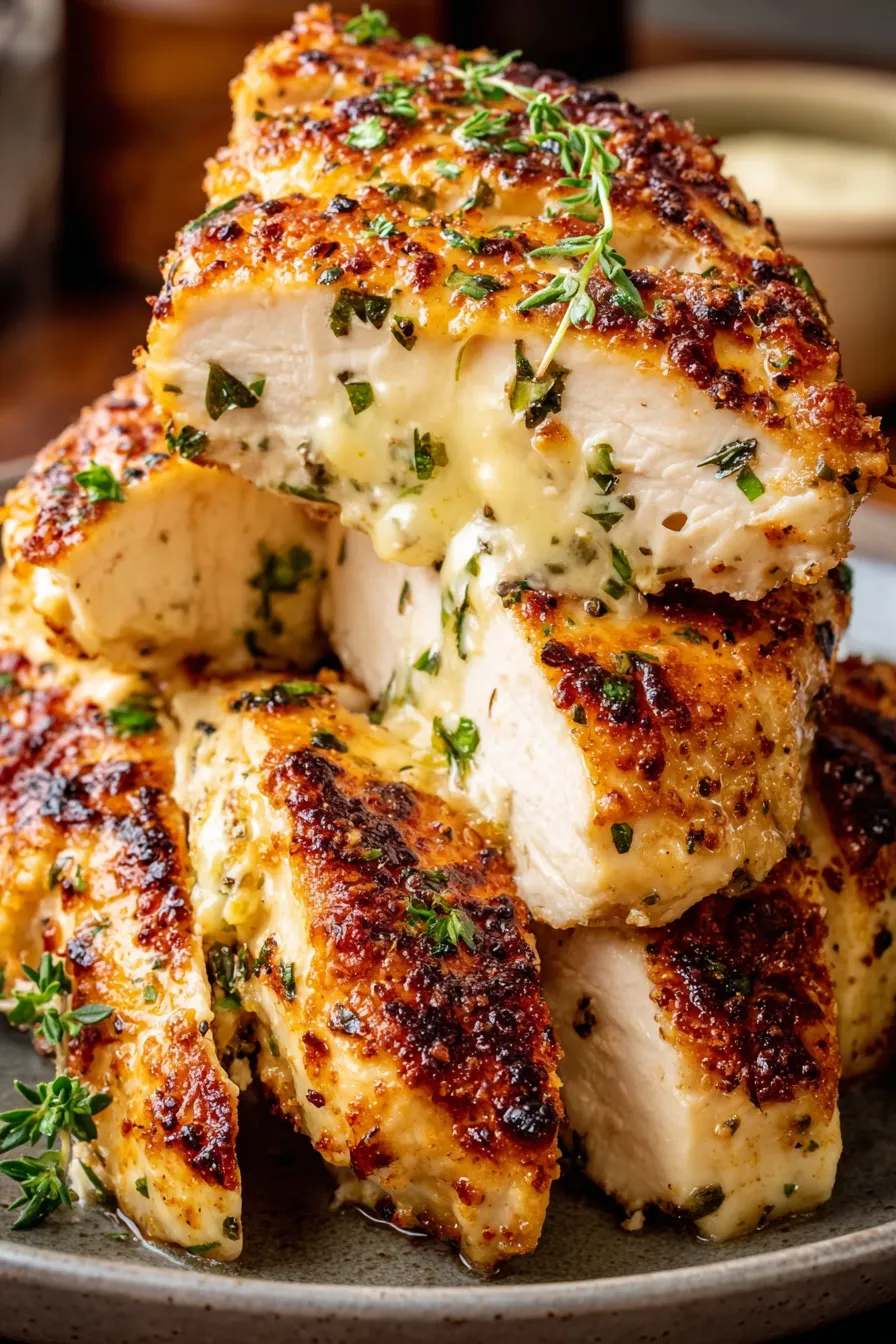
You Must Know
- This dish is high in protein and fat; it freezes well for up to 3 months when wrapped tightly and stored in an airtight container.
- Allow the chicken to come close to room temperature for 15 minutes before baking if refrigerated. This promotes even cooking and avoids overbaking the edges.
- Leftovers reheat gently in a 325°F oven for 10–12 minutes or in a microwave on medium power—avoid very high heat which can toughen meat.
- For the best crust, use freshly grated Parmesan; pre-shredded cheese contains anti-caking agents that inhibit uniform browning.
My favorite part of this preparation is how forgiving it is—I've served it to picky teenagers, exacting in-laws, and tired weeknight guests, and everyone finishes their plate. A quick green veggie and simple starch make it a family-style meal that feels special without a lot of effort.
Storage Tips
Store cooled leftovers in an airtight container in the refrigerator for up to 3–4 days. For freezing, wrap individual portions in plastic wrap and place in a freezer-safe bag or container for up to 3 months. Thaw overnight in the fridge before reheating. To reheat, place on a rimmed baking sheet and warm in a 325°F oven for 10–15 minutes until heated through; this helps refresh the crust without drying the meat. Avoid reheating repeatedly—freeze in single-serve portions to maintain quality.
Ingredient Substitutions
If you want a lighter version, substitute the mayonnaise with plain Greek yogurt cup-for-cup; expect a slightly tangier flavor and a thinner crust that still protects the meat. For a dairy-free option, use a vegan mayonnaise and omit the Parmesan—add 2 tablespoons of nutritional yeast for savory depth. If you’d like more herbaceous notes, fold in 1 tablespoon chopped fresh parsley or 1 teaspoon dried Italian seasoning to the topping. Reduce salt by half if using salted Parmesan or if following a low-sodium diet.
Serving Suggestions
Serve this with a crisp arugula salad dressed in lemon vinaigrette to cut through the richness. Mashed potatoes, roasted seasonal vegetables, or a pilaf are excellent companions. Garnish with a sprinkle of fresh parsley or a thin lemon wedge for brightness. For a casual dinner, slice the breasts thinly and pile onto toasted rolls with greens for hearty sandwiches.
Cultural Background
This approach—using a creamy, cheesy topping to seal and flavor poultry—echoes simple American home-cooking techniques where convenience foods like mayonnaise became culinary allies. Mayonnaise-based bakes rose to popularity for their ease and ability to transform everyday ingredients into comforting, crowd-pleasing dinners. Parmesan’s salty umami is an Italian influence that elevates the simple topping into something savory and complex.
Seasonal Adaptations
In spring and summer, add a tablespoon of lemon zest to the topping and pair the dish with fresh grilled asparagus. In autumn and winter, fold in 2 tablespoons of roasted garlic purée and serve with root vegetable mash for a heartier meal. For holiday dinners, sprinkle a teaspoon of smoked paprika into the topping for warmth and color.
Meal Prep Tips
Prepare the creamy mixture and keep it refrigerated in a sealed container up to 24 hours ahead. Place chicken in the baking dish, spread the mixture just before baking, or cover and hold assembled for up to 12 hours in the fridge. For batch cooking, double the recipe and use two pans; bake together on the same rack if your oven can accommodate them without crowding. Portion into meal prep containers with a green side and refrigerate for grab-and-heat weekday lunches.
There’s something deeply satisfying about serving a simple, reliable dish that looks and tastes like effort. This chicken does exactly that—easy to make, elegant enough for guests, and comforting enough for busy nights. Give it a try and make it your own with herbs, citrus, or a lighter yogurt swap.
Pro Tips
If breasts vary in thickness, slice the thicker ones horizontally into cutlets so all pieces finish at the same time.
Use freshly grated Parmesan for better browning and more pronounced flavor than pre-shredded cheese.
Let the chicken rest for 5 minutes after baking so the juices redistribute and the meat stays juicy.
This nourishing melt-in-your-mouth chicken breast recipe is sure to be a staple in your kitchen. Enjoy every moist, high protein slice — it is perfect for breakfast or as a wholesome snack any time.
FAQs about Recipes
How do I know when the chicken is done?
Use an instant-read thermometer inserted into the thickest part of the breast; 165°F (74°C) is the safe internal temperature. Allow to rest 5 minutes before slicing.
Can I prepare this ahead of time?
Yes—assemble the dish, cover with plastic wrap or foil, and refrigerate for up to 12 hours. Bake from cold and add a few extra minutes if needed.
Tags
Melt-In-Your-Mouth Chicken Breast
This Melt-In-Your-Mouth Chicken Breast recipe makes perfectly juicy, tender, and flavorful steak every time! Serve with potatoes and a side salad for an unforgettable dinner in under 30 minutes.
Ingredients
Main
Instructions
Preheat the oven
Preheat oven to 375°F (190°C). Proper preheating ensures even cooking and prevents overcooking the edges while the center comes up to temperature.
Prepare the baking dish
Use a 9×13-inch baking dish and lightly coat it with oil or nonstick spray to prevent sticking and ensure easy serving.
Mix the creamy coating
In a medium bowl, combine 1 cup mayonnaise (or plain Greek yogurt), 1 teaspoon garlic powder, 1 teaspoon onion powder, 1/2 teaspoon salt, 1/2 teaspoon black pepper, and 1 cup grated Parmesan. Stir until smooth and thick.
Coat the chicken
Place the chicken breasts in the baking dish in a single layer. Spread the creamy mixture evenly over each breast from edge to edge using a spoon or spatula.
Bake until golden
Bake uncovered for 35–40 minutes depending on thickness, until internal temperature reaches 165°F (74°C) and the top is golden and slightly bubbly.
Rest before serving
Remove from oven and let rest for 5 minutes so juices redistribute before slicing or serving.
Last Step: Please leave a rating and comment letting us know how you liked this recipe! This helps our business to thrive and continue providing free, high-quality recipes for you.
Nutrition
Did You Make This?
Leave a comment & rating below or tag
@yumelle on social media!
Categories:
You might also like...
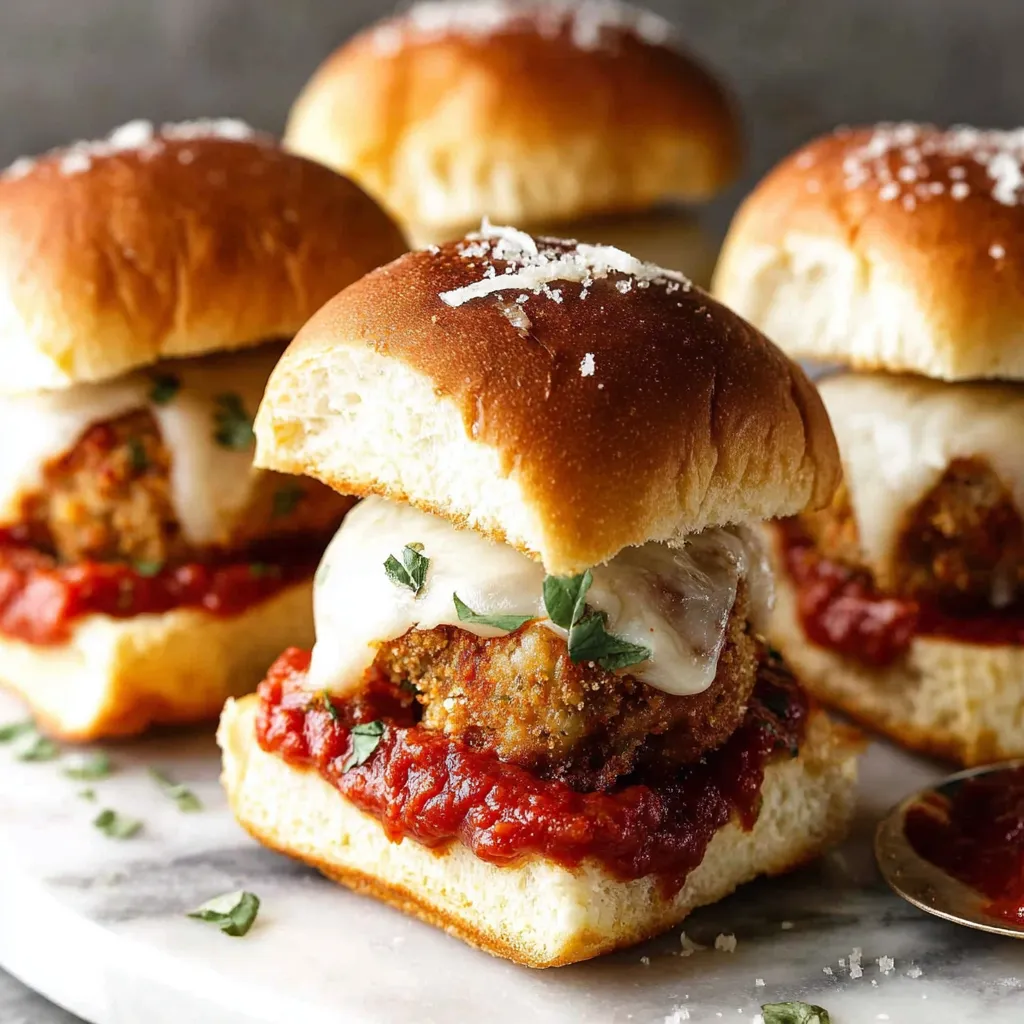
Chicken Parmesan Meatball Sliders
Juicy chicken meatballs baked with Parmesan and herbs, spooned with marinara, and covered in melty mozzarella on toasted slider rolls. Irresistible for parties.
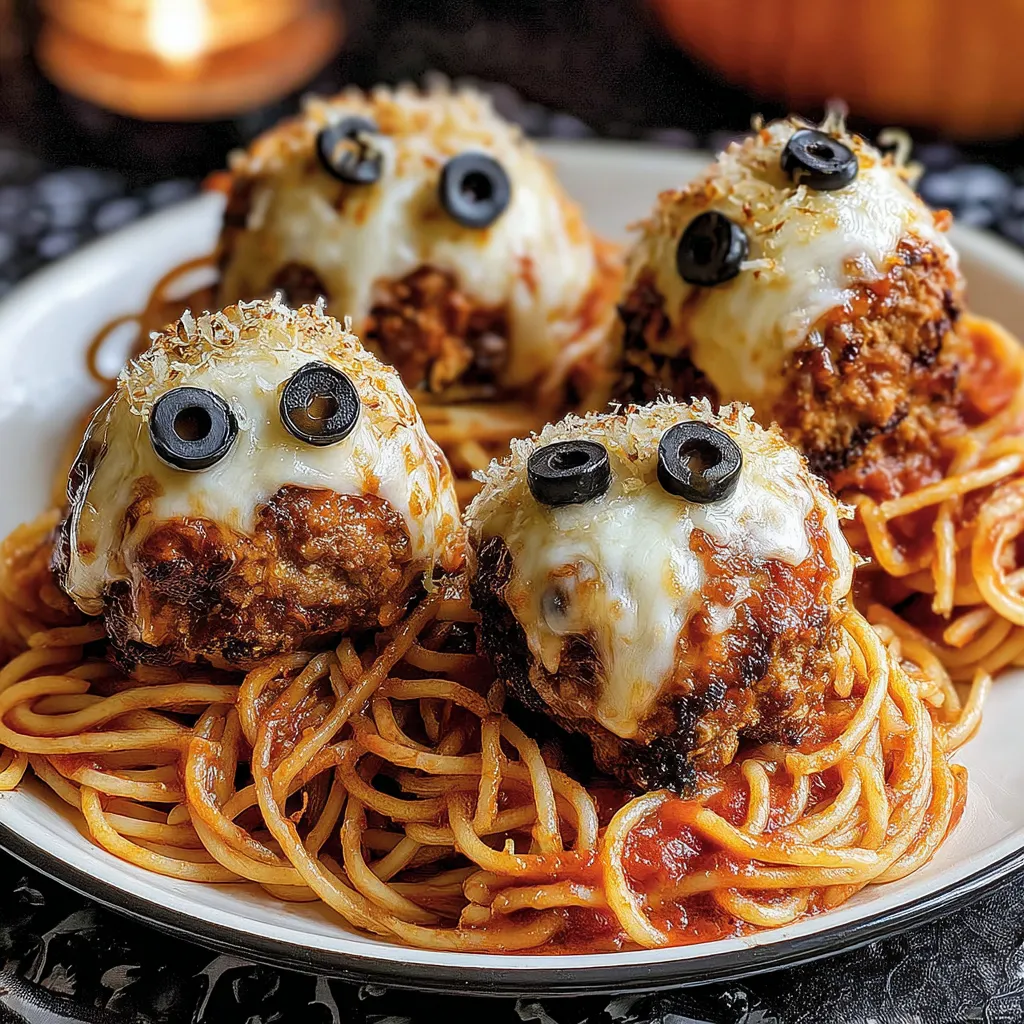
Spooky Spaghetti Monster Meatballs
Twirl eerie-colored spaghetti and top it with gooey, cheese-stuffed monster meatballs complete with olive eyes for a delightfully spooky family dinner.

10-Minute Egg Drop Soup
Silky egg ribbons swirl through savory chicken broth, scented with sesame and scallions. Simple pantry staples, ready in just 10 minutes.
Did You Make This?
Leave a comment & rating below or tag @yumelle on social media!
Rate This Recipe
Share This Recipe
Enjoyed this recipe? Share it with friends and family, and don't forget to leave a review!
Comments (1)
This recipe looks amazing! Can't wait to try it.
Comments are stored locally in your browser. Server comments are displayed alongside your local comments.

Hi, I'm Hannah!
What's Popular
30-Minute Meals!
Join to receive our email series which contains a round-up of some of our quick and easy family favorite recipes.