
>>

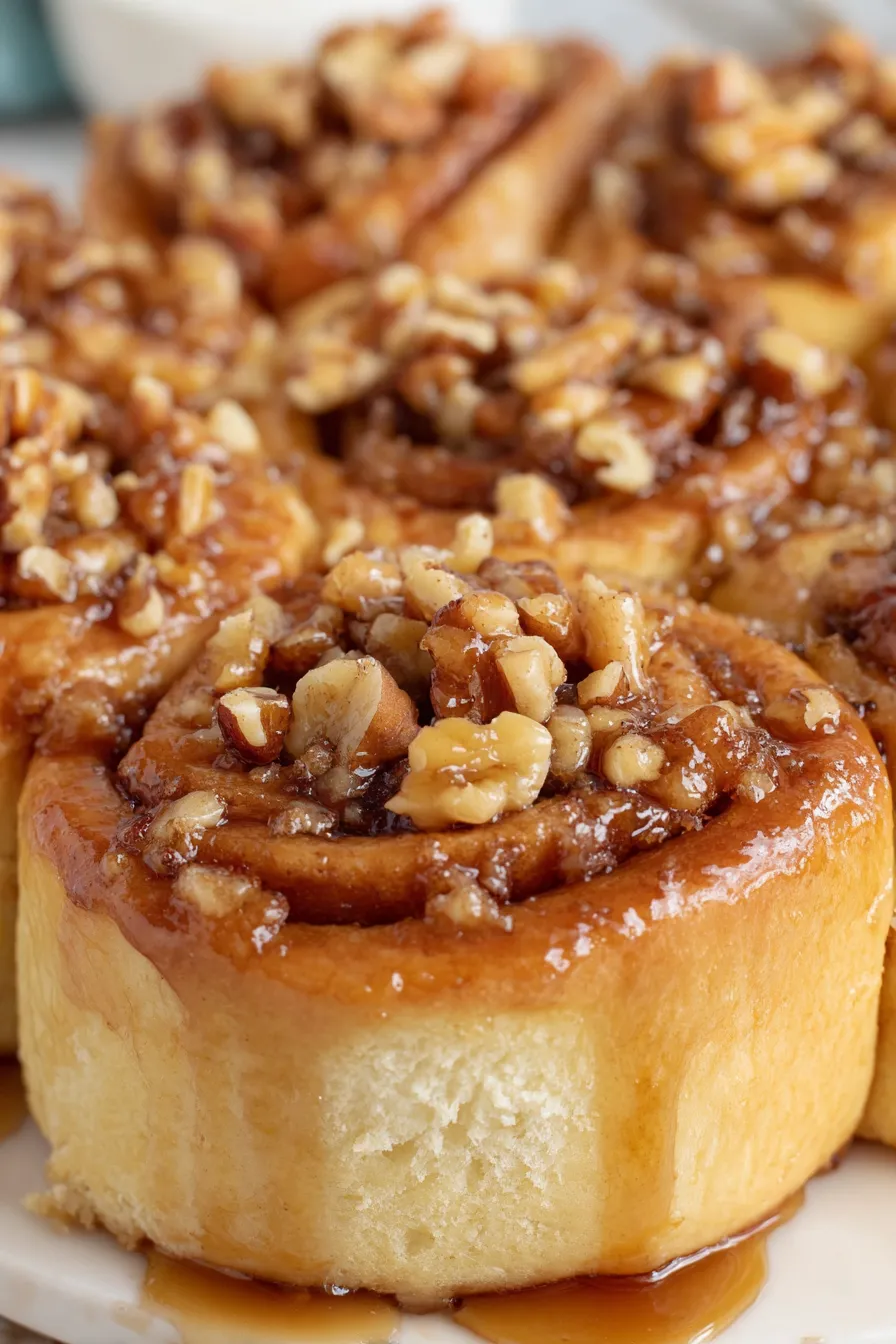
Golden, gooey rolls topped with a maple-brown sugar glaze and walnuts — a weekend-worthy sweet treat that fills the kitchen with irresistible aroma.

This batch of maple sticky buns has been my go-to weekend treat for as long as I can remember. I discovered this version one blustery autumn morning when I wanted something more special than a simple muffin — something that wrapped the cozy warmth of maple and butter into a pillowy roll. The dough becomes soft and tender with a lightly sweet maple note; the filling caramelizes into a glossy, sticky layer studded with chopped walnuts that give each bite a pleasant crunch. Family and friends always gravitate toward these the moment they emerge from the oven, drawn by the syrupy scent that seems to promise comfort in every mouthful.
I first made these for a holiday brunch a few years ago and watched neighbors and cousins fight good-naturedly over who would get the first bun. The texture is the real star — a tender, slightly chewy interior with a caramelized, buttery top once inverted from the pan. The maple syrup deepens the sweetness compared to ordinary cinnamon rolls, giving a richer, more rounded flavor that pairs beautifully with strong coffee or a smoky black tea. These buns are worth the little hands-on time because the results feel indulgent and celebratory, even on a slow weekday morning.
In my experience, guests rarely can resist a second bun. My partner likes them slightly warm, while I prefer letting the syrup set for a few minutes so the glaze clings to each layer. One practical discovery: using dark maple syrup makes the topping less cloying and more nuanced — try it for a grown-up twist.
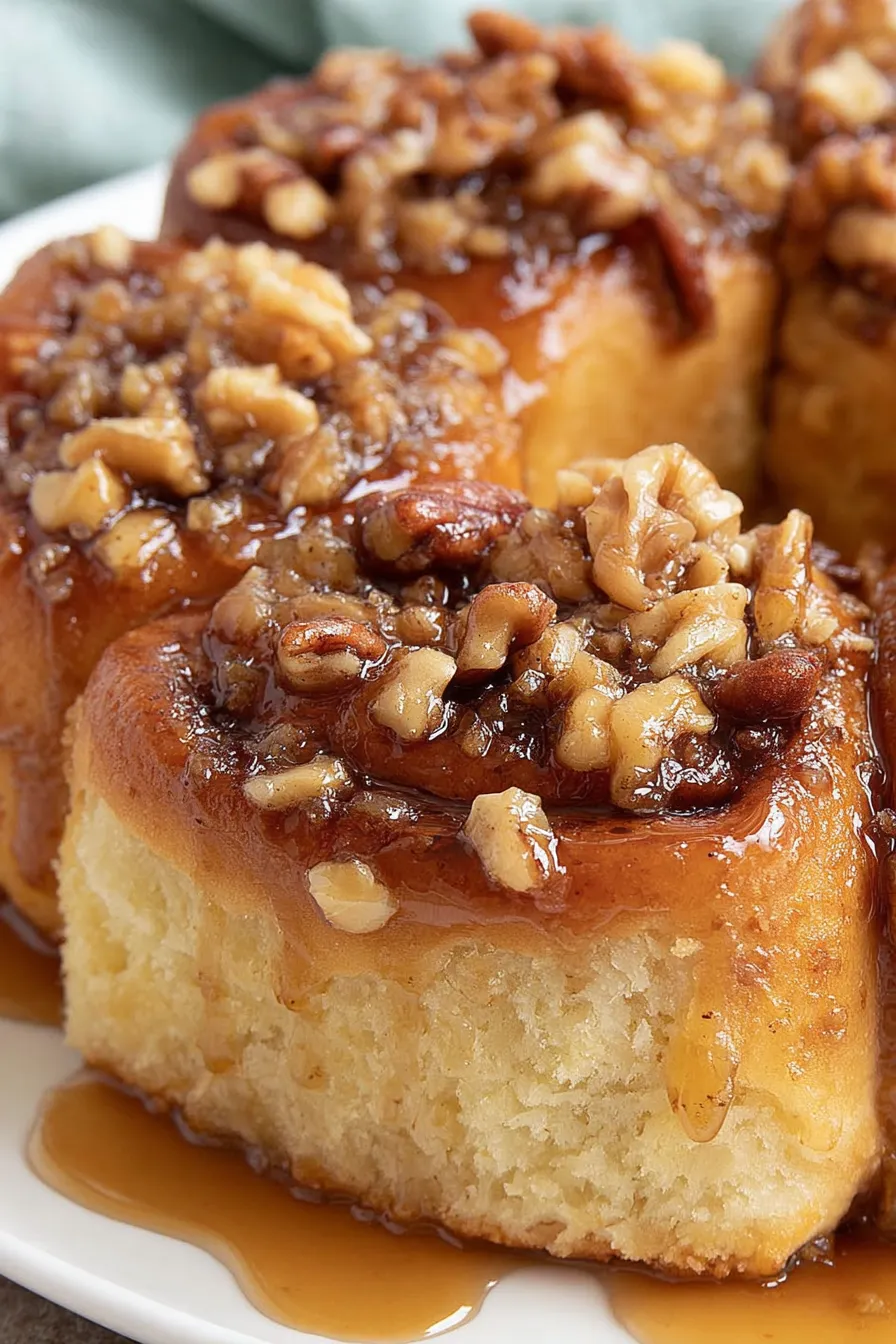
My favorite bit is the moment of inversion: seeing the amber, buttery glaze cascade over the buns feels almost ceremonial. Family members always say the aroma alone is worth the effort — warm maple notes and caramelized sugar that signal comfort and celebration. These buns have become my signature contribution whenever friends drop by unexpectedly.
Store cooled buns in an airtight container at room temperature for up to 3 days; they remain soft and sticky. For longer storage, freeze individual buns wrapped tightly in plastic and foil for up to 3 months. To reheat, thaw at room temperature and warm in a 300°F oven for 8–12 minutes or microwave briefly (about 12–18 seconds) for a single bun. If the topping has set firm in the fridge, warm gently to make the glaze glossy again. Avoid refrigerating at room humidity as the buns will dry out more quickly.
If you’re nut-free, replace the walnuts with toasted pumpkin seeds or omit them entirely and increase brown sugar slightly for texture. For a dairy-free version, substitute plant-based butter and use a non-dairy milk like oat or almond; texture will be similar but slightly less rich. For a more autumnal flavor, add 1/4 teaspoon ground nutmeg to the filling. If you only have light maple syrup, it will work, but dark or Grade B yields a fuller, caramel-like profile that pairs best with the brown sugar.
Serve warm with a pat of butter or a light drizzle of extra maple syrup. These buns pair beautifully with bold coffee, chai, or a fruity black tea. For brunch, set alongside scrambled eggs and smoked bacon to balance the sweetness. Garnish with extra chopped walnuts and a dusting of powdered sugar for a special occasion. For small gatherings, slice into halves and offer with whipped cream or mascarpone to turn them into a refined dessert course.
Sticky buns are a close relative of European sweet rolls, with roots in German Zimtschnecken and American adaptations that favor sticky caramelized toppings. The maple variation reflects North American influence where pure maple syrup is abundant; historically, maple-sweetened confections were popular in Northeast and Canadian baking traditions. This version celebrates that heritage by replacing a typical caramel with maple for a regional twist that honors local ingredients while keeping the tactile, comforting nature of classic buns.
In fall and winter, amplify spice by adding 1/4 teaspoon ground ginger and a pinch of clove to the filling. For spring, fold in a handful of chopped dried apricots with the walnuts for bright acidity. Holiday adaptations include stirring candied orange peel into the filling or swapping walnuts for pecans and adding a splash of bourbon to the pan syrup for adult-friendly depth. These swaps keep the core method intact while offering seasonal variety.
Assemble the rolls in the pan and cover tightly; refrigerate overnight for a slow, cold proof. In the morning, allow 30–45 minutes at room temperature to warm up, then bake as directed for fresh buns with minimal morning fuss. Alternatively, fully bake and freeze cooled buns; reheat individual portions as needed. Use shallow, airtight containers to avoid smooshing the glaze and to keep their shapes intact during storage.
There’s something quietly joyful about making these: the ritual of rolling, the satisfying cut of each swirl, and the communal moment when everyone reaches for a warm bun. If you make them, tweak the filling to suit your family’s taste and enjoy the slow, fragrant reward.
Use dark or Grade B maple syrup for deeper, less cloying flavor.
If tops brown too quickly, tent loosely with foil for the last 10–15 minutes of baking.
Assemble in the pan and refrigerate overnight for an easy morning bake.
This nourishing maple sticky buns recipe is sure to be a staple in your kitchen. Enjoy every moist, high protein slice — it is perfect for breakfast or as a wholesome snack any time.
This Maple Sticky Buns recipe makes perfectly juicy, tender, and flavorful steak every time! Serve with potatoes and a side salad for an unforgettable dinner in under 30 minutes.
In a large bowl or stand mixer, combine 2 cups flour, salt, and quick-rising yeast. Reserve remaining flour for adjusting dough consistency later.
Heat water, milk and 2 tablespoons butter to about 105°F and stir in 1 tablespoon maple syrup. The mixture should be warm, not hot.
Add liquids and egg to dry ingredients, mixing until combined. Gradually add remaining flour until dough wraps the hook and cleans the bowl. Knead briefly on a floured surface and rest 10 minutes.
Pulse walnuts, brown sugar and butter in a food processor until crumbly. Add 1 tablespoon maple syrup. Grease an 8x8 pan, pour 1/2 cup maple syrup, sprinkle 1/2 cup brown sugar, scatter walnuts and dot with 4 tablespoons butter.
Roll dough into a 9 x 14–15 inch rectangle, spread filling, roll from short end into a log, compress to 9 inches and cut into nine 1-inch slices. Place cut-side up in pan.
Cover pan and let rise until doubled (40–45 minutes). Preheat oven to 350°F and bake on a sheet for 35–40 minutes, tenting with foil if too brown.
Run a knife around pan, invert onto parchment, and allow to cool to warm or room temperature before serving so the glaze sets slightly.
Last Step: Please leave a rating and comment letting us know how you liked this recipe! This helps our business to thrive and continue providing free, high-quality recipes for you.
Leave a comment & rating below or tag
@yumelle on social media!

Juicy chicken meatballs baked with Parmesan and herbs, spooned with marinara, and covered in melty mozzarella on toasted slider rolls. Irresistible for parties.

Twirl eerie-colored spaghetti and top it with gooey, cheese-stuffed monster meatballs complete with olive eyes for a delightfully spooky family dinner.

Silky egg ribbons swirl through savory chicken broth, scented with sesame and scallions. Simple pantry staples, ready in just 10 minutes.
Leave a comment & rating below or tag @yumelle on social media!
Enjoyed this recipe? Share it with friends and family, and don't forget to leave a review!
This recipe looks amazing! Can't wait to try it.
Comments are stored locally in your browser. Server comments are displayed alongside your local comments.

Join to receive our email series which contains a round-up of some of our quick and easy family favorite recipes.
