
>>

A creamy, nostalgic shells and cheese made with cream cheese, evaporated milk, and freshly shredded cheddar—comfort food that’s quick, simple, and truly satisfying.
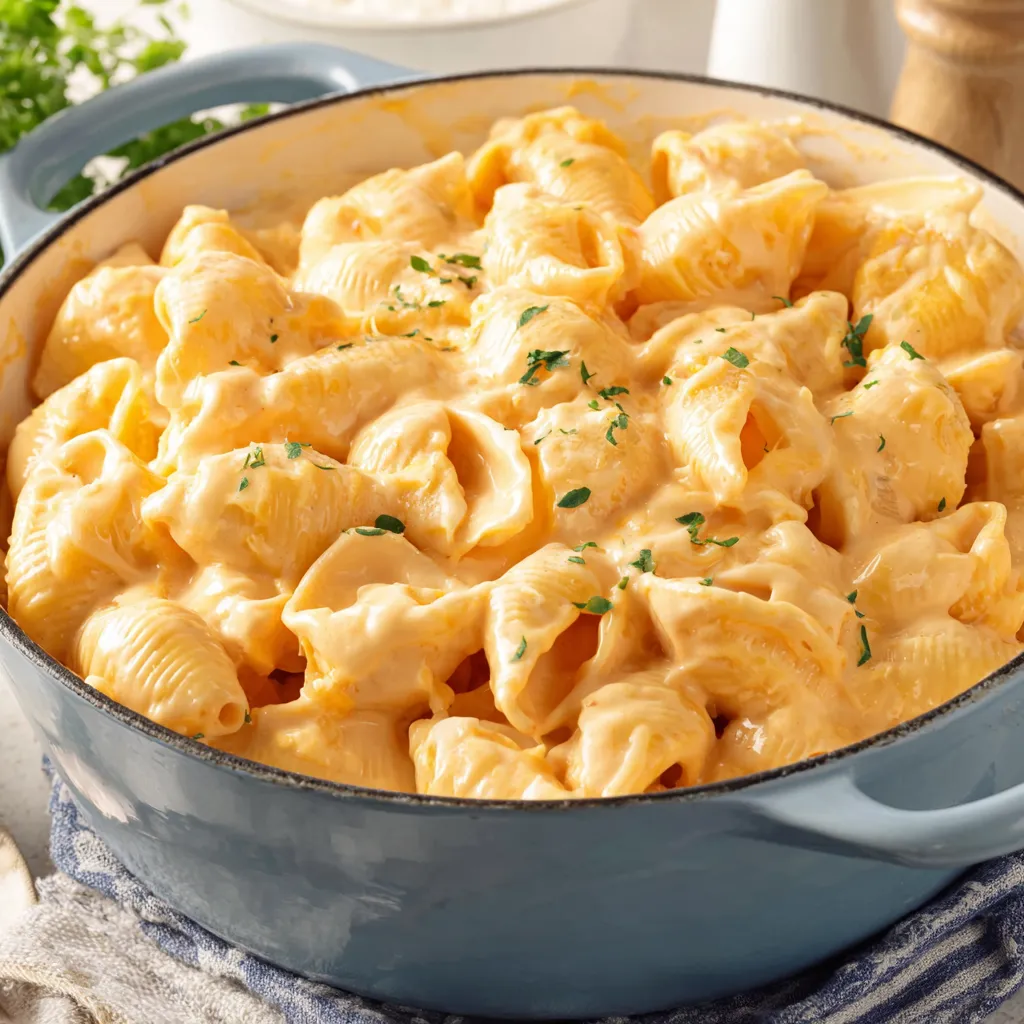
When I served this at a Sunday gathering, a friend told me it reminded them of the boxed childhood version but elevated—richer, creamier, and far less processed. My kids loved that the shells held sauce like tiny bowls, and my father joked it was the best comfort food he’d had in months. That reaction is exactly why I keep this in my meal plan rotation.
The simplest part of this dish is also my favorite: how small changes—using evaporated milk instead of regular milk, or swapping pre-shredded for freshly shredded cheese—dramatically improve the final texture. The first time I served this to a picky aunt who swore off ‘fancy’ pasta, she asked for the recipe and then made it for her book club; the unanimous feedback was that this felt nostalgic yet elevated.
To refrigerate, cool the pasta to room temperature, then transfer to an airtight container and refrigerate for up to 3–4 days. For freezing, portion into meal-sized airtight containers or resealable freezer bags, leaving a little headspace for expansion; it will keep up to 3 months. When reheating from frozen, thaw overnight in the refrigerator if possible, then reheat gently on the stove over low heat with 1–2 tablespoons of milk per serving to restore the silky consistency. In the oven, place in a covered ovenproof dish at 350°F for 20–25 minutes, stirring halfway through and adding a splash of milk if the sauce looks dry. Avoid reheating at high heat to prevent the sauce from separating.
If you need to adapt the dairy elements, swap evaporated milk with an equal amount of whole milk plus 1 tablespoon of butter to mimic the mouthfeel, but reduce slightly if the sauce becomes thin. For a lighter version, use low-fat cream cheese and low-fat evaporated milk, though the sauce will be less rich. For a gluten-free variant, substitute 1 pound of gluten-free shell pasta and follow the same timing guidance—check the gluten-free pasta's package timing to avoid overcooking. To introduce more complex flavor, stir in 1/2 teaspoon Dijon mustard or a pinch of smoked paprika while melting the cheese. If you prefer a tangier profile, swap half the cheddar for Gruyère or sharp white cheddar.
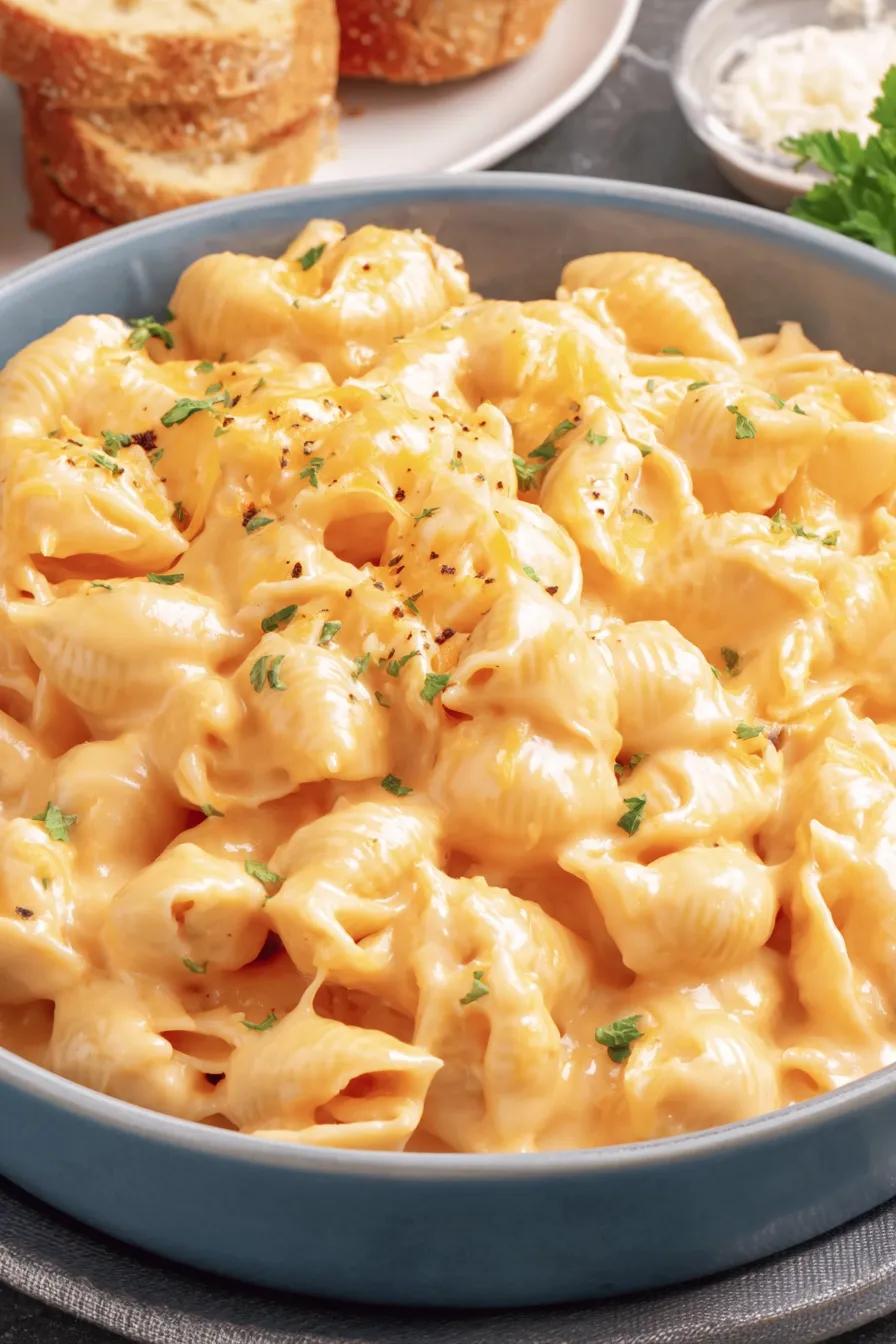
Serve this alongside a crisp green salad dressed with lemon vinaigrette to cut through the richness. For protein, pair with pan-seared chicken breast, baked salmon, or crispy tofu cubes for a vegetarian protein boost. A side of roasted vegetables—broccoli, Brussels sprouts, or carrots—adds color and nutrition. Garnish with chopped fresh chives, a grating of extra cheddar, or a sprinkle of black pepper and smoked paprika for a beautiful finish. For a crowd, transfer to a large casserole dish, top with panko mixed with melted butter for crunch, and bake briefly at 400°F until golden.
Comforting cheese-and-pasta dishes appear in many culinary traditions, from Italian pasta al formaggio to American boxed macaroni and cheese. The version with evaporated milk and cream cheese traces its popularity to mid-20th-century home cooking when shelf-stable ingredients and quick methods were prized. In the U.S., boxed mac and cheese became a cultural icon, and home cooks evolved that concept into heartier, fresher preparations using real cheese. This shells and cheese is a nod to those classic roots but leans on fresh ingredients and simple technique to create a more nuanced texture and flavor.
In winter, fold in roasted root vegetables like butternut squash or diced sweet potato for added sweetness and color. In spring and summer, toss in blanched asparagus tips, peas, or lemon zest for brightness. During autumn, add a pinch of nutmeg to the cheese sauce and top with toasted pepitas for a festive touch. Holiday gatherings welcome variation: mix in cooked, diced ham or turkey, or stir in sautéed mushrooms and caramelized onions to make the dish more savory and celebratory.
For make-ahead convenience, prepare the sauce separately and refrigerate for up to 48 hours, then cook pasta to al dente and combine just before serving. Alternatively, cook the pasta and sauce together, cool, and portion into single-serving containers for grab-and-go lunches; reheat gently with a splash of milk. Use freezer-safe containers for long-term storage and label with date and reheating instructions. When batch-cooking, consider baking individual portions in small ramekins so you can reheat in the oven for a fresh, bubbly finish.
After sharing this at a family reunion, multiple relatives asked for the recipe and told me they planned to make it for upcoming birthdays. One reader emailed to say they used the recipe to win over a picky teenager who finally tried and loved real cheese after years of preferring the boxed kind—he declared this ‘real grown-up mac and cheese.’ Those moments—when simple food comforts and brings people together—are why I write about recipes like this.
This dish is approachable, forgiving, and endlessly customizable. Whether you keep it classic or dress it up with add-ins, it delivers consistent, crowd-pleasing results. Make it your own, and enjoy the warm, cheesy satisfaction that only a perfect bowl of shells and cheese can provide.
Always shred cheddar from a block for the smoothest melting and best texture.
Reserve a small amount of pasta cooking water before draining; it helps loosen the sauce if needed.
Keep heat low when melting cheese to prevent separation and graininess.
Let cream cheese sit at room temperature for 10–15 minutes before melting so it blends evenly.
If sauce tightens after standing, add 1–2 tablespoons of milk while reheating to restore creaminess.
This nourishing homemade shells and cheese recipe is sure to be a staple in your kitchen. Enjoy every moist, high protein slice — it is perfect for breakfast or as a wholesome snack any time.
Yes—reheat gently on the stove over low heat with a splash of milk, or in the oven covered at 350°F until warmed through.
Use freshly shredded cheddar and avoid pre-shredded varieties to prevent grainy texture caused by anti-caking agents.
This Homemade Shells and Cheese recipe makes perfectly juicy, tender, and flavorful steak every time! Serve with potatoes and a side salad for an unforgettable dinner in under 30 minutes.
Bring a large pot of salted water to a boil and cook 1 pound of pasta shells until al dente, about 8–10 minutes. Reserve 1/4 cup pasta water, then drain and return pasta to the pot.
Over low heat, add 4 ounces room-temperature cream cheese and 1/2 cup evaporated milk to the pot with the drained shells. Stir constantly until the cream cheese melts and forms a smooth base, 2–3 minutes.
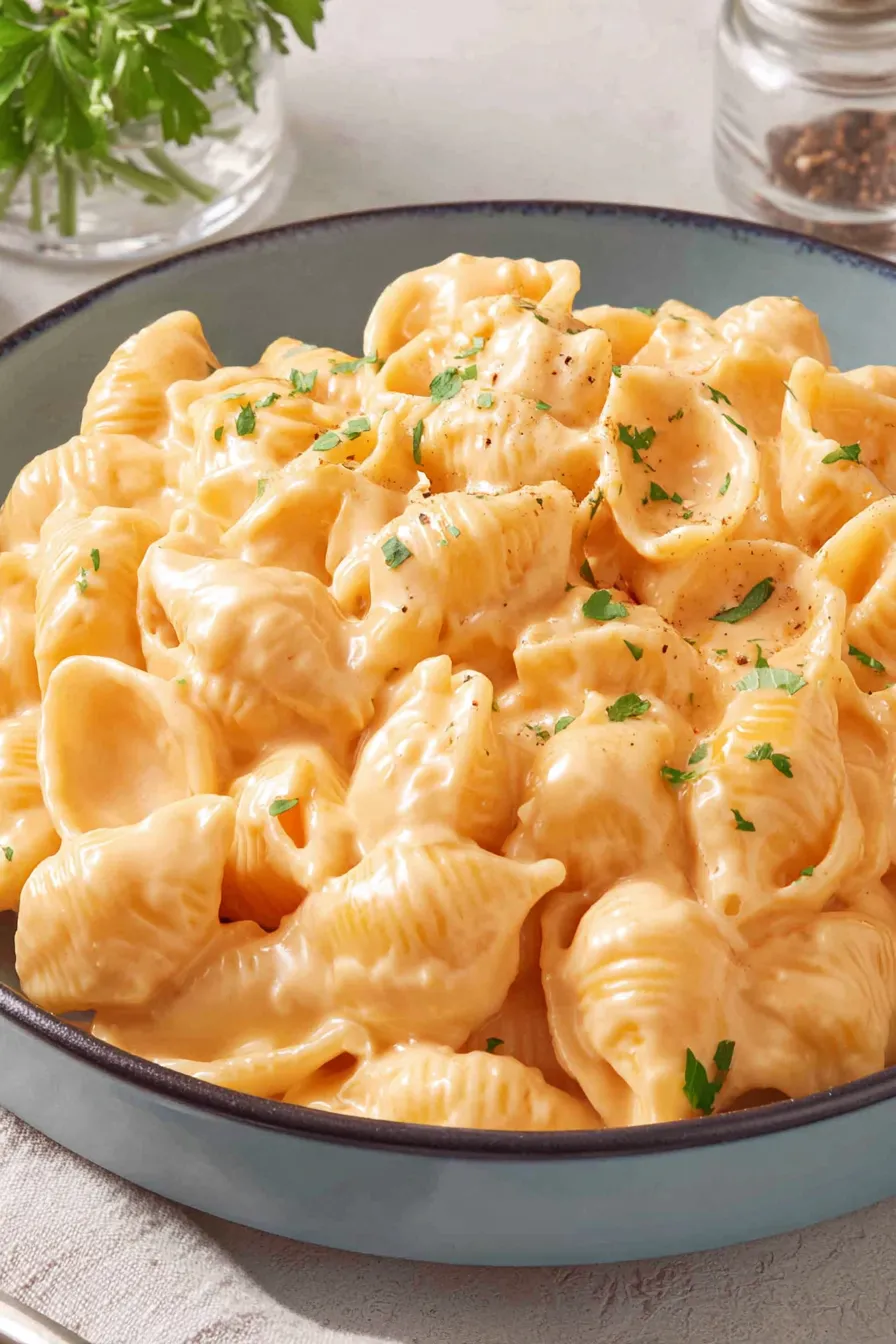
Gradually add 8 ounces freshly shredded cheddar in small handfuls, stirring until fully melted and smooth. If the sauce is too thick, stir in up to 2 tablespoons reserved pasta water.
Stir the shells until evenly coated, taste, and season with salt as needed. Serve immediately, garnished with chopped chives or extra cheddar if desired.
Last Step: Please leave a rating and comment letting us know how you liked this recipe! This helps our business to thrive and continue providing free, high-quality recipes for you.
Leave a comment & rating below or tag
@yumelle on social media!

Juicy chicken meatballs baked with Parmesan and herbs, spooned with marinara, and covered in melty mozzarella on toasted slider rolls. Irresistible for parties.

Twirl eerie-colored spaghetti and top it with gooey, cheese-stuffed monster meatballs complete with olive eyes for a delightfully spooky family dinner.

Silky egg ribbons swirl through savory chicken broth, scented with sesame and scallions. Simple pantry staples, ready in just 10 minutes.
Leave a comment & rating below or tag @yumelle on social media!
Enjoyed this recipe? Share it with friends and family, and don't forget to leave a review!
This recipe looks amazing! Can't wait to try it.
Comments are stored locally in your browser. Server comments are displayed alongside your local comments.

Join to receive our email series which contains a round-up of some of our quick and easy family favorite recipes.
