
>>

A nostalgic, chewy chocolate marshmallow fudge studded with walnuts — an old-fashioned treat that’s simple to make and impossible to resist.
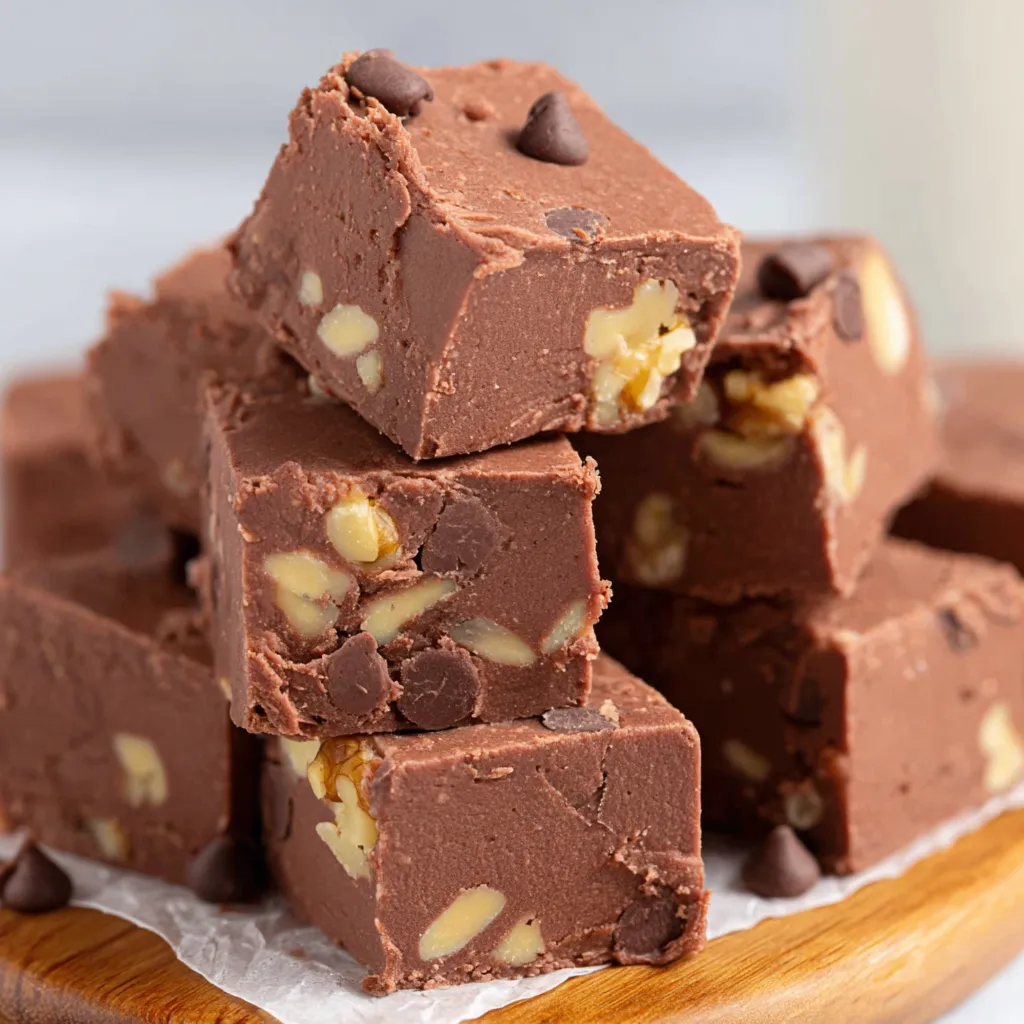
This Fantasy Fudge has been a holiday favorite in my kitchen for as long as I can remember. I first tasted it at a neighbor's Christmas party when I was a teenager and immediately asked for the recipe. The combination of glossy semi-sweet chocolate and pillowy marshmallow creme gives this confection a dense, chewy texture that melts on the tongue, while the chopped walnuts add a welcome crunch. I make it when I need a show-stopping sweet that travels well and stores beautifully for gifting.
I use familiar, pantry-friendly brands: BlueBonnet margarine for that classic buttery texture, Nestle Toll House semi-sweet chips for reliable melting performance, and Jet-Puff marshmallow creme for the signature marshmallow swirl. It comes together on the stovetop in a single saucepan, and the technique is forgiving once you understand the visual cues. The finished squares are rich and sweet with a glossy finish and a buttery mouthfeel; when I serve them to friends they always come back for more.
On the first day I made this I brought a pan to a neighborhood potluck and watched it disappear. People loved the chewy marshmallow swirl and the texture was unlike the usual stovetop fudges I had tried before. Since then I keep the ingredients on hand during the holidays; it is one of those nostalgic sweets that immediately sparks conversation and memory when you hand someone a neat 1x1-inch square.
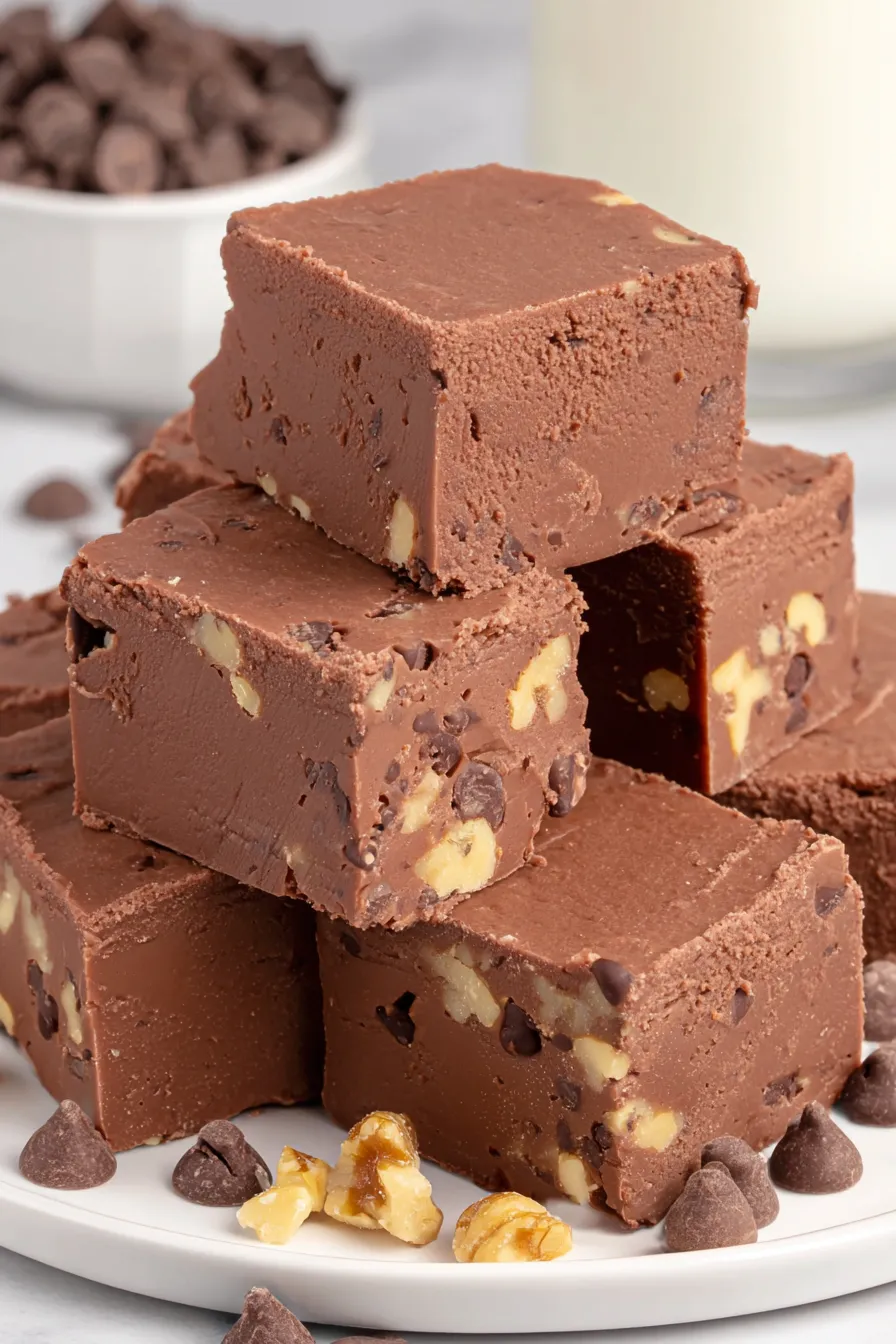
My favorite part is the texture contrast between the shiny, dense chocolate base and the light marshmallow ribbons. It always reminds me of winter cookie exchanges where neighbors traded tins. One year I added extra walnuts and the whole batch disappeared before the car was out of the driveway; now I always toast a small extra cup for the best flavor.
Store the cooled squares in an airtight container layered with parchment or wax paper at room temperature for up to seven days. If your kitchen is warm, keep the container in the refrigerator; bring to room temperature before serving to recover silky texture. For longer storage freeze flat in a single layer on a tray until solid, then transfer to a freezer-safe bag for up to three months. Thaw in the refrigerator overnight or at room temperature for a few hours. Use a warm knife to slice frozen or very chilled pieces for the cleanest edges.
If you prefer butter to margarine, substitute unsalted butter ¾ cup and expect a slightly richer flavor and a minor shift in mouthfeel. For a nut-free treat, omit the walnuts and add 1 cup of toasted coconut or 1 cup of crispy rice cereal for crunch. To make a darker chocolate version, replace 6 ounces of semi-sweet chips with 6 ounces of dark chocolate. For extra creaminess, stir in 2 tablespoons of heavy cream at the chocolate stage. Avoid substituting evaporated milk with regular milk unless you reduce the amount or increase the cook time to compensate for higher water content.
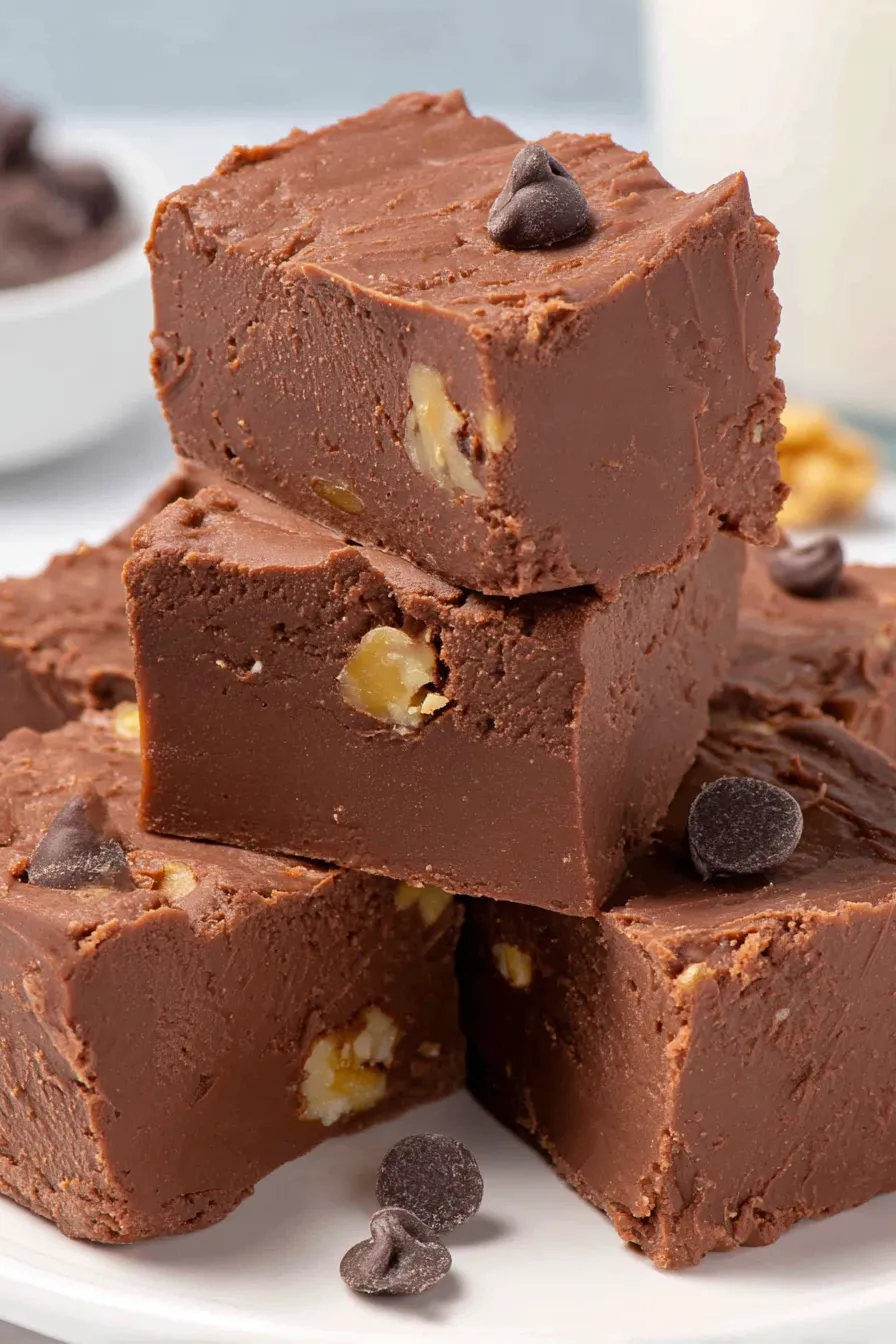
Serve neat 1x1-inch squares on a dessert platter or wrapped individually in wax paper for gifting. Pair with strong coffee or black tea to balance the sweetness. For a festive presentation dust lightly with cocoa or sprinkle flaky sea salt on top just before the fudge sets for a salt-chocolate contrast. These pieces are excellent as bite-sized party sweets, included in holiday boxes, or plated alongside biscotti and candied nuts for a dessert board.
This style of stovetop confections has roots in American home cooking from the early 20th century where boiled sugar techniques produced candies and fudges for holidays and special occasions. Adding marshmallow creme became popular mid-century when ready-made marshmallow products appeared on supermarket shelves, allowing home cooks to create marshmallow-studded treats without beating egg whites. The result is a hybrid between classic fudge and marshmallow confection that became a nostalgic staple at potlucks and family gatherings.
For winter holidays add 1 teaspoon ground cinnamon and a pinch of nutmeg to the sugar mixture for warm spice notes. In spring swap walnuts for toasted pistachios and top with chopped dried cherries for a lighter color palette. For Halloween stir in orange-tinted white chocolate chips or top with crushed candy corn. Summer gatherings are delightful with a sprinkle of toasted coconut and a squeeze of lime zest for brightness.
Make this in advance for gatherings: prepare up to three days ahead and store at room temperature. To portion for events, line muffin tins with paper cups and press a tablespoon of fudge into each cup to create individual servings. To speed cooling for large batches, set the pan on a cool tile surface and spread the fudge in a thinner layer to shorten firming time, then chill briefly until set.
Few sweets are as comforting and crowd-pleasing as this Fantasy Fudge. With simple ingredients and straightforward technique you can produce a nostalgic treat that feels like a homemade heirloom. Share a box with neighbors or keep a tin for yourself; either way, it will invite compliments and requests for the recipe.
Maintain a steady hard boil for exactly five minutes to ensure the fudge sets properly.
Use a heavy-bottomed saucepan to avoid scorching and to distribute heat evenly during the boil.
Cool completely before slicing; chill briefly for cleaner cuts if needed.
Toast the walnuts lightly to intensify flavor before folding them into the warm mixture.
If the fudge looks grainy, keep stirring off heat until it smooths out; residual heat can help melt remaining grains.
This nourishing fantasy fudge recipe is sure to be a staple in your kitchen. Enjoy every moist, high protein slice — it is perfect for breakfast or as a wholesome snack any time.
This Fantasy Fudge recipe makes perfectly juicy, tender, and flavorful steak every time! Serve with potatoes and a side salad for an unforgettable dinner in under 30 minutes.
Line a 9x13-inch straight-sided pan with parchment paper leaving an overhang on two sides for easy removal later.
In a heavy-bottomed 3- to 4-quart saucepan over medium heat, combine 3 cups granulated sugar, 3/4 cup margarine, and 2/3 cup evaporated milk. Stir constantly until dissolved and heated through.
Increase heat until the mixture reaches a full rolling hard boil and continue stirring constantly for exactly five minutes to develop the correct texture.
Remove the pan from heat and add 12 ounces semi-sweet chocolate chips. Stir until fully melted and the mixture is smooth and glossy.
Add 7 ounces marshmallow creme and 1 teaspoon vanilla extract. Stir until no white streaks remain, then fold in 1 cup chopped walnuts evenly.
Pour the mixture into the prepared pan and smooth into an even layer. Cool completely at room temperature, then lift from pan and slice into 1x1-inch squares.
Last Step: Please leave a rating and comment letting us know how you liked this recipe! This helps our business to thrive and continue providing free, high-quality recipes for you.
Leave a comment & rating below or tag
@yumelle on social media!

Juicy chicken meatballs baked with Parmesan and herbs, spooned with marinara, and covered in melty mozzarella on toasted slider rolls. Irresistible for parties.

Twirl eerie-colored spaghetti and top it with gooey, cheese-stuffed monster meatballs complete with olive eyes for a delightfully spooky family dinner.

Silky egg ribbons swirl through savory chicken broth, scented with sesame and scallions. Simple pantry staples, ready in just 10 minutes.
Leave a comment & rating below or tag @yumelle on social media!
Enjoyed this recipe? Share it with friends and family, and don't forget to leave a review!
This recipe looks amazing! Can't wait to try it.
Comments are stored locally in your browser. Server comments are displayed alongside your local comments.

Join to receive our email series which contains a round-up of some of our quick and easy family favorite recipes.
