
Coconut Brownies

Rich chocolate layers sandwich a sweet coconut filling for an irresistible bar — chewy, deeply chocolatey, and studded with mini chips for extra bite.
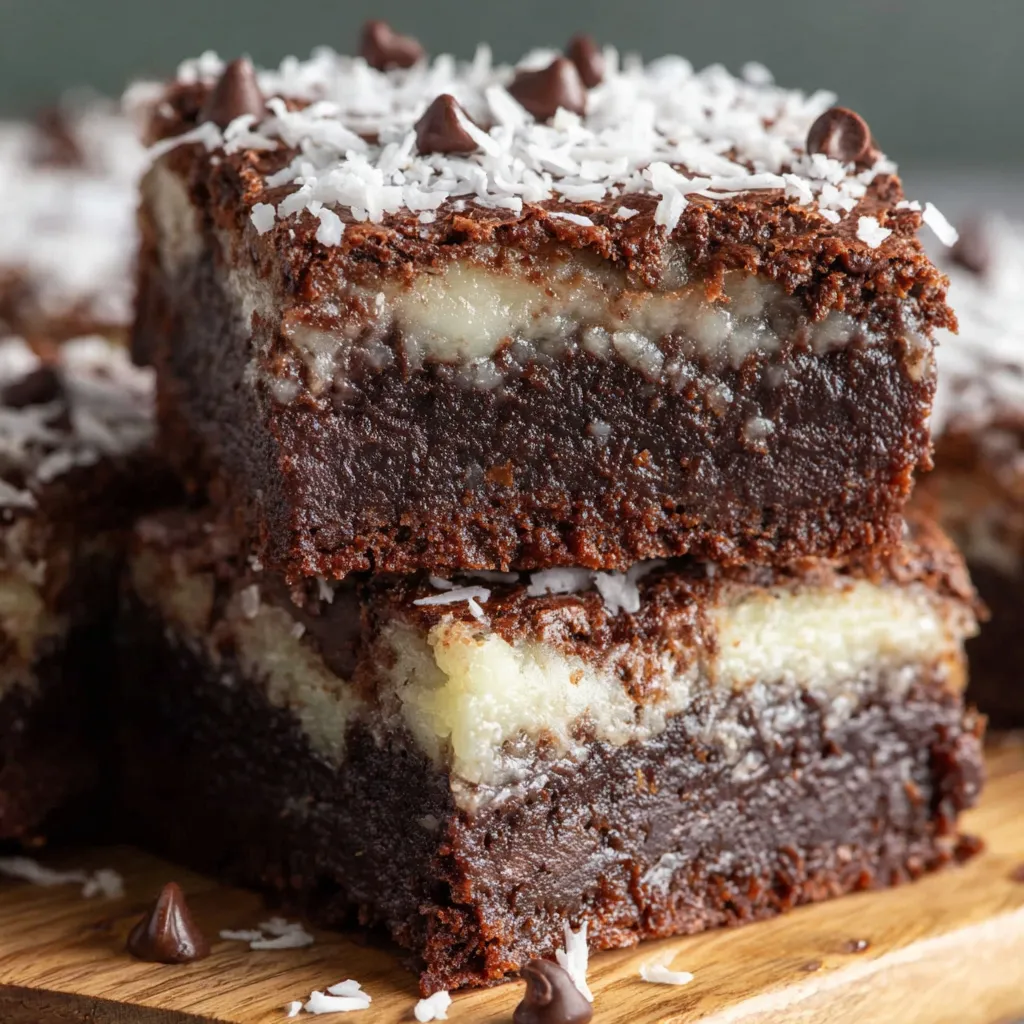
This Coconut Brownies recipe is one of those treats that instantly transports me back to celebratory kitchen gatherings — the sort that leave sticky spots on the countertop and satisfied smiles around the table. I first made these in late summer when a neighbor dropped off a giant bag of sweetened coconut flakes; I wanted something chocolate-forward that celebrated the coconut instead of hiding it. The result was a dense, fudgy base, a silky sweet coconut center, and a glossy top layer that held everything together. Every time I bake this, the house smells of toasted cocoa and warm coconut, and it always disappears faster than I expect.
What makes these bars special is the balance: the brownie layers are rich but not overly sweet, the coconut filling is creamy thanks to sweetened condensed milk, and mini semi-sweet chips stud the batter for pockets of melty chocolate. I discovered that spreading half the batter, adding the coconut, and finishing with the remaining batter keeps the filling intact and produces a dramatic cross-section when sliced. Guests often ask for the recipe after tasting one bite, and sometimes I bring a pan to neighborhood potlucks where they’re invariably the first to go.
Why You'll Love This Recipe
- Fudgy chocolate layers combined with a creamy, sweet coconut middle create a contrast of textures that’s both chewy and tender — perfect for sharing or gifting.
- Made with pantry staples and common baking ingredients; you likely have most items on hand so you can pull these together in about 60 minutes total.
- Easy to scale: an 8×8 pan yields 16 generous squares, and the method adapts well to a 9×9 for slightly thinner bars without changing technique.
- Make-ahead friendly — they hold well at room temperature for a day and can be refrigerated or frozen for longer storage, making them great for meal prep or parties.
- Mini semi-sweet chips add texture and melty pockets of chocolate without overwhelming the coconut flavor; toss them in a little flour to prevent sinking.
- Low-effort assembly: you mix the batter and filling separately, then layer — no complex folding or tempering required.
I still remember the first time I served these at a casual summer brunch; a friend closed their eyes after the first bite and declared them a new favorite. Over the years I’ve learned small technique tweaks — like letting the melted butter cool slightly and tossing chips in flour — that keep the texture just right every time.
Ingredients
- All-purpose flour: 1 cup for the batter and an additional 1 teaspoon to toss with chocolate chips. Choose a standard bleached or unbleached all-purpose flour — it provides structure while keeping the brownie tender.
- Cocoa powder: 1/2 cup unsweetened cocoa powder. Use a Dutch-processed cocoa for a rounder, less acidic chocolate flavor, or natural cocoa for a brighter chocolate note.
- Salt: 1/4 teaspoon in the batter and an extra 1/4 teaspoon in the filling. Salt heightens the chocolate and balances the sweetness of the coconut filling.
- Granulated sugar: 1 1/2 cups. Regular granulated sugar delivers the right chew and sweetness; superfine sugar will dissolve faster but isn’t necessary here.
- Unsalted butter: 3/4 cup (melted and cooled). I use high-quality sweet cream butter from a reliable brand — it adds a silky mouthfeel and helps the brownies set properly.
- Eggs: 2 large eggs at room temperature. Room-temperature eggs incorporate more evenly and give a more even crumb.
- Vanilla extract: 2 teaspoons for the batter and 1 teaspoon for the coconut filling. Pure vanilla extract adds depth; avoid imitation for best flavor.
- Mini semi-sweet chocolate chips: 1/2 cup. The smaller size disperses nicely and creates pockets of melted chocolate without weighing down the layers.
- Sweetened coconut flakes: 2 1/2 cups. Use sweetened shredded or flake coconut for a tender, cohesive filling; unsweetened will yield a drier texture and may need extra condensed milk.
- Sweetened condensed milk: 2/3 cup. This is the binder for the coconut layer — it creates a glossy, chewy filling that holds together when sliced.
Instructions
Prepare the pan and oven: Preheat the oven to 350°F and line an 8×8 baking dish with parchment paper, leaving a bit of overhang to lift the bars out later. Lightly spray the parchment with nonstick spray or brush with a thin film of butter to prevent sticking. Combine dry ingredients: In a medium bowl, whisk together 1 cup all-purpose flour, 1/2 cup cocoa powder, and 1/4 teaspoon salt until evenly distributed. Sifting is optional but helps eliminate lumps and aerates the cocoa for a lighter mix. Toss chips to prevent sinking: In a small bowl, stir the 1/2 cup mini semi-sweet chips with the reserved 1 teaspoon flour until coated. This light dusting helps keep chips suspended in the batter rather than sinking to the bottom during baking. Mix wet ingredients: In a separate medium bowl, whisk together the cooled melted butter, 1 1/2 cups granulated sugar, 2 large eggs, and 2 teaspoons vanilla extract until smooth and slightly glossy. Cooling the butter prevents the eggs from scrambling and keeps the batter cohesive. Combine batter: Fold the dry ingredients into the wet mixture with a wooden spoon or flexible spatula, stirring just until combined. Overmixing develops gluten and can toughen the bars; stop when no dry streaks remain. Fold in the floured mini chips gently for even distribution. Layer the first half of batter: Using an offset spatula or the back of a spoon, spread half of the batter evenly in the prepared pan. Tap the pan gently on the counter to remove air pockets and smooth the surface for an even coconut layer. Make the coconut filling: In a small bowl, stir together 2 1/2 cups sweetened coconut flakes, 2/3 cup sweetened condensed milk, 1 teaspoon vanilla extract, and 1/4 teaspoon salt until the mixture is evenly moistened and spreadable. The filling should be sticky but not runny; adjust with a teaspoon more coconut if too loose. Assemble the layers: Carefully spread the coconut mixture over the bottom brownie layer with a silicone spatula, working to the edges but leaving a small margin so the top layer can adhere. Dollop the remaining batter on top and gently calm it into an even layer without disturbing the filling underneath. Bake: Bake for 35 to 40 minutes at 350°F. The top should be set and slightly crackled; a toothpick inserted into the chocolate layer (avoiding the coconut) should come out with a few moist crumbs. Avoid overbaking to keep the bars fudgy. Cool and slice: Allow the bars to cool completely in the pan on a wire rack. Use the parchment overhang to lift them out, then slice into 4 across and 4 down (about 2-inch squares) for 16 pieces. Cooling is key — warm bars are more likely to collapse or smear when sliced.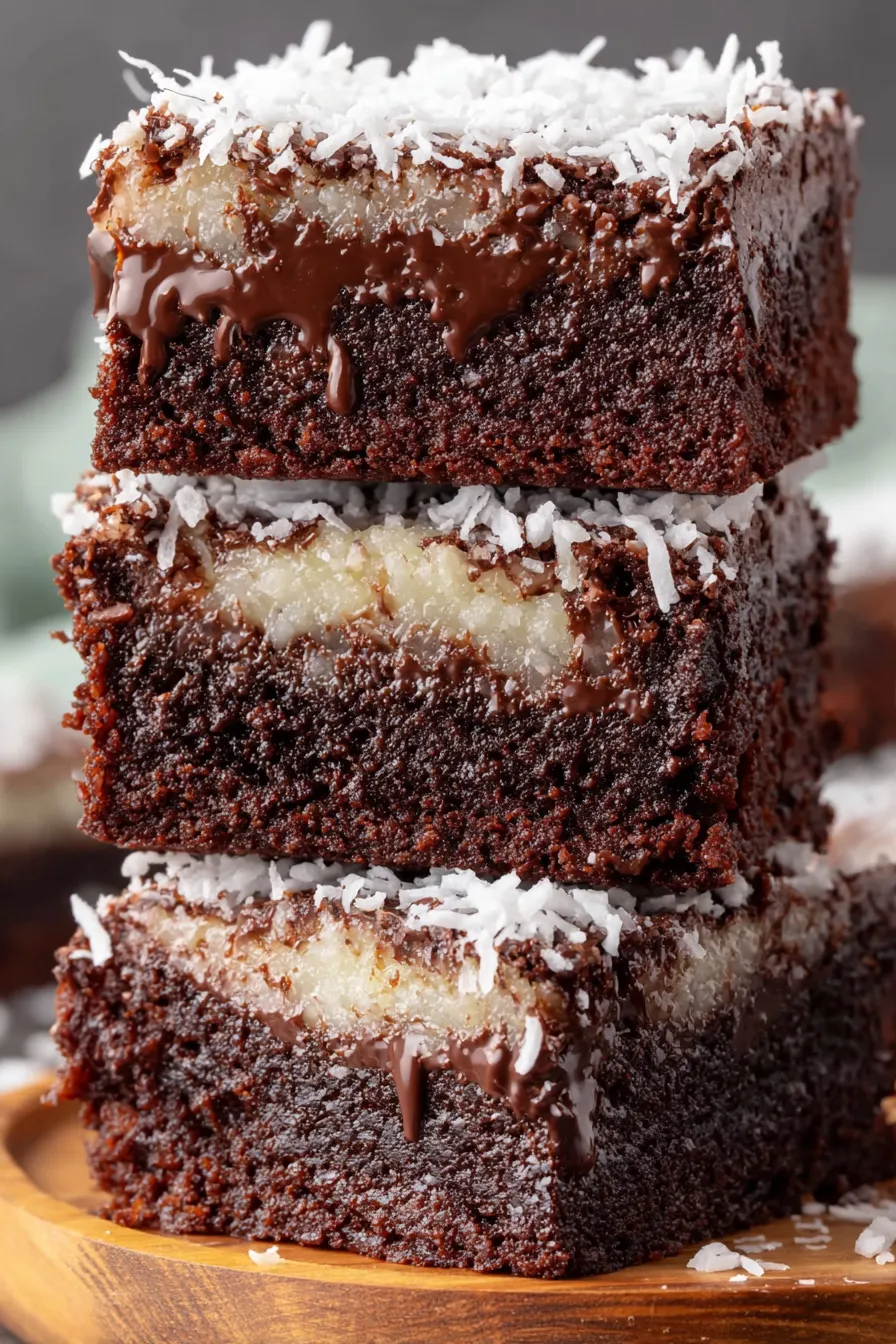
You Must Know
- Allow at least 90 minutes total including cooling — the flavor and texture improve as they rest and set.
- Store in an airtight container at room temperature for up to 2 days, refrigerate for up to 5 days, or freeze for up to 3 months.
- These bars are relatively high in sugar and fat; one serving averages around 315 kcal with approximately 38 g carbs and 19 g fat.
- Because the filling uses sweetened condensed milk and sweetened coconut, these are quite sweet — balance with slightly bitter cocoa or dark chocolate chips if you prefer less sweetness.
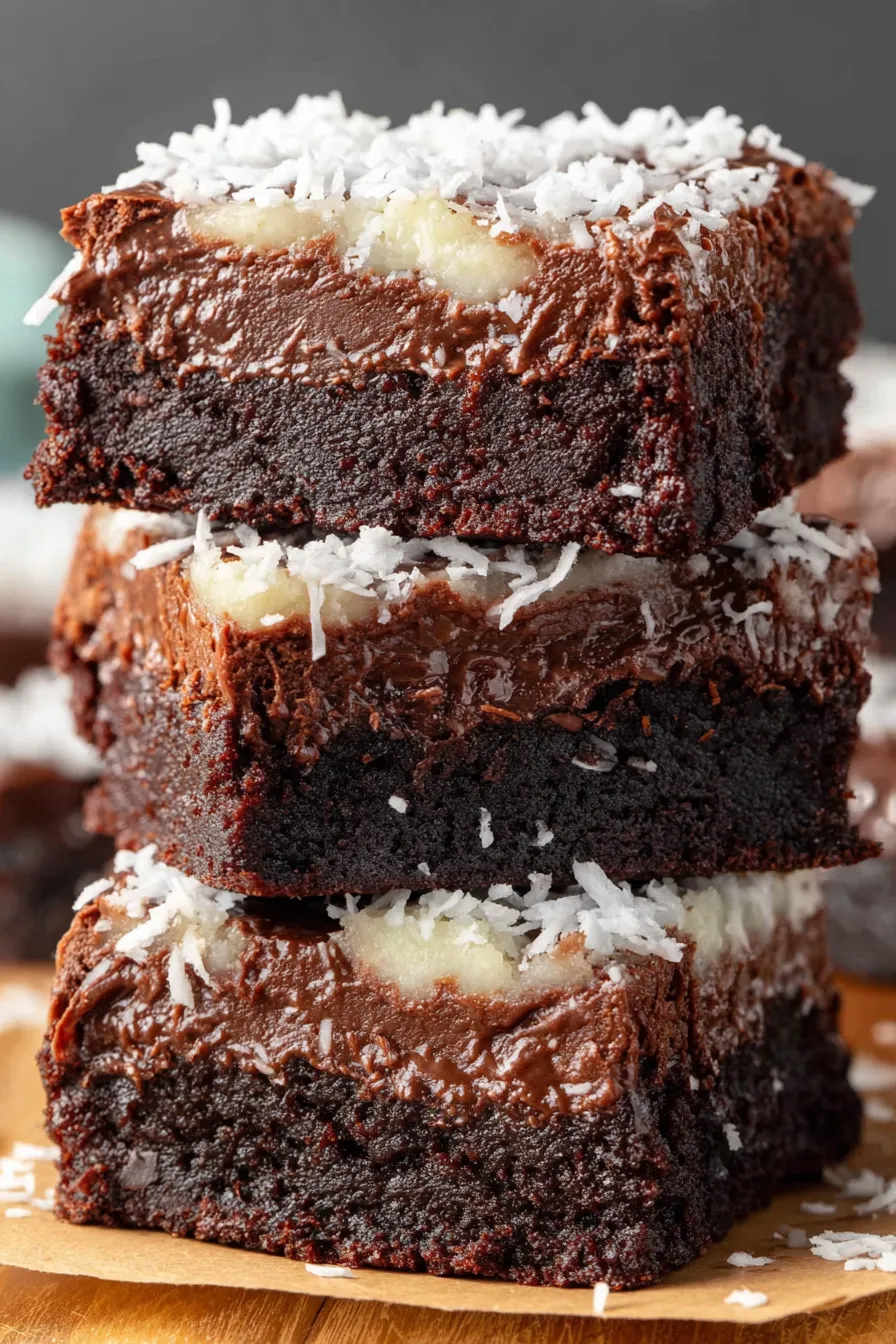
My favorite part of this treat is the cross-section: that thin ribbon of glossy coconut is the signature. At holiday potlucks I’ve learned to mark the pan with a simple parchment overhang so transporting and serving are effortless — and friends often ask if they can take the last square with them.
Storage Tips
Store cooled bars in an airtight container layered with parchment to prevent sticking. At room temperature they remain tender for 1–2 days; refrigeration extends life to about 5 days but may firm the texture — bring to room temperature before serving for the best mouthfeel. For longer storage, individually wrap squares in plastic wrap and freeze in a sealed container for up to 3 months. Thaw overnight in the refrigerator and bring to room temperature or warm gently in a 300°F oven for 8–10 minutes to revive the fudgy texture.
Ingredient Substitutions
If you prefer less sweetness in the filling, swap half the sweetened coconut for unsweetened coconut and add 1–2 tablespoons more condensed milk only if needed. To make them gluten-free, use a 1-to-1 gluten-free all-purpose flour blend and ensure your cocoa and chips are certified gluten-free. For a dairy-free version, substitute vegan butter and use a dairy-free condensed milk alternative or thick coconut cream reduced slightly; note this will change the texture and flavor of the filling.
Serving Suggestions
Serve warm with a scoop of vanilla ice cream and a dusting of cocoa or toasted coconut for contrast. These bars pair beautifully with robust coffee or a simple espresso for dessert; for brunch, present them alongside fresh berries to cut the sweetness. Garnish with a few toasted coconut flakes or a sprinkle of flaky sea salt for an elevated finish.
Cultural Background
Layered chocolate and coconut bars are a beloved variation in American baking, drawing inspiration from classic European bakewell and American coconut bars. Sweetened condensed milk became popular in baking in the early 20th century for its convenience and shelf stability, and coconuts were introduced into Western desserts as tropical ingredients became more accessible. This combination honors those traditions with a modern, home-friendly approach.
Seasonal Adaptations
In winter, stir 1/4 teaspoon ground cinnamon and a pinch of nutmeg into the coconut filling for warm spice notes; in summer, sprinkle lightly toasted coconut on top after baking for a crisp contrast. For holiday versions, fold in 1/4 cup chopped toasted pecans into the coconut layer or use dark chocolate chips for a richer flavor.
Meal Prep Tips
Divide into single-serving containers for grab-and-go snacks or pack a few squares per container for dessert at work or school. To keep bars from drying during refrigeration, place a slice of apple or a small piece of bread in the container (replace daily) or wrap each square tightly in plastic wrap. For reheating, microwave a single square for 10–12 seconds to bring back that warm, melty texture.
There’s something comforting about bringing a pan of these coconut-studded bars to a potluck — they invite sharing and make mornings feel a bit more celebratory. Try them once and tweak to your taste; they’re forgiving and endlessly adaptable.
Pro Tips
Let the melted butter cool slightly before whisking in eggs to prevent curdling.
Toss mini chocolate chips in a teaspoon of flour to keep them from sinking.
Cool completely before slicing to ensure clean squares and a set filling.
Use parchment with an overhang for easy removal and cleaner slicing.
This nourishing coconut brownies recipe is sure to be a staple in your kitchen. Enjoy every moist, high protein slice — it is perfect for breakfast or as a wholesome snack any time.
Tags
Coconut Brownies
This Coconut Brownies recipe makes perfectly juicy, tender, and flavorful steak every time! Serve with potatoes and a side salad for an unforgettable dinner in under 30 minutes.
Ingredients
Brownie batter
Coconut filling
Instructions
Prepare pan and oven
Preheat oven to 350°F. Line an 8x8 baking dish with parchment paper and lightly grease. Set aside.
Whisk dry ingredients
In a medium bowl, whisk 1 cup flour, 1/2 cup cocoa powder, and 1/4 teaspoon salt until evenly combined.
Toss chocolate chips
Stir 1/2 cup mini semi-sweet chips with 1 teaspoon flour to coat and prevent sinking during baking.
Mix wet ingredients
Whisk melted and cooled 3/4 cup butter with 1 1/2 cups sugar, 2 eggs, and 2 teaspoons vanilla until smooth.
Combine batter
Fold the dry mixture into the wet ingredients until just combined, then gently fold in the floured chocolate chips.
Layer bottom batter
Spread half of the batter evenly into the prepared pan using an offset spatula or the back of a spoon.
Make coconut filling
Stir together 2 1/2 cups sweetened coconut, 2/3 cup sweetened condensed milk, 1 teaspoon vanilla, and 1/4 teaspoon salt until cohesive.
Assemble and top
Spread the coconut mixture over the bottom batter, then dollop and gently smooth the remaining batter over the top.
Bake
Bake at 350°F for 35 to 40 minutes until set and slightly crackled on top. A toothpick in the chocolate layer should come out with a few moist crumbs.
Cool and slice
Cool completely in the pan, then lift out with parchment and slice into 16 squares. Serve at room temperature or slightly warmed.
Last Step: Please leave a rating and comment letting us know how you liked this recipe! This helps our business to thrive and continue providing free, high-quality recipes for you.
Nutrition
Did You Make This?
Leave a comment & rating below or tag
@yumelle on social media!
Categories:
You might also like...
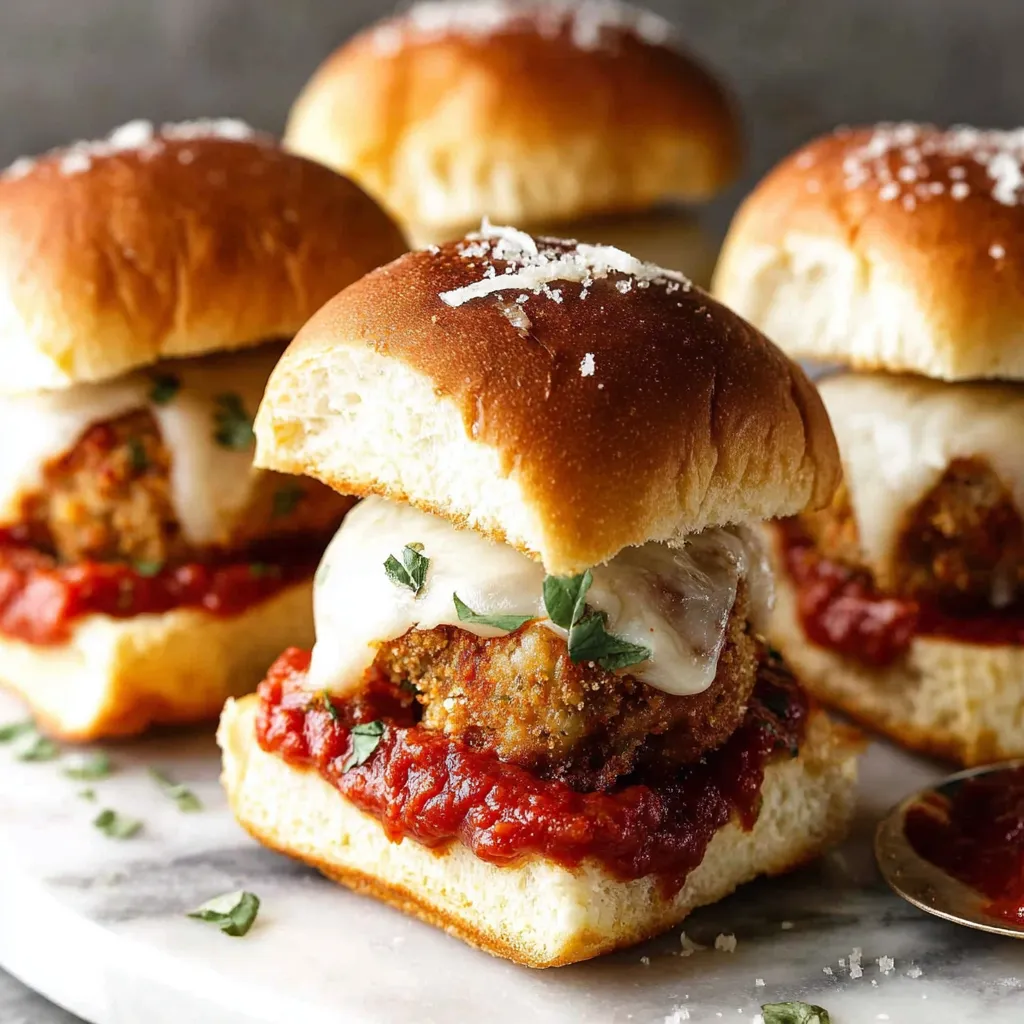
Chicken Parmesan Meatball Sliders
Juicy chicken meatballs baked with Parmesan and herbs, spooned with marinara, and covered in melty mozzarella on toasted slider rolls. Irresistible for parties.
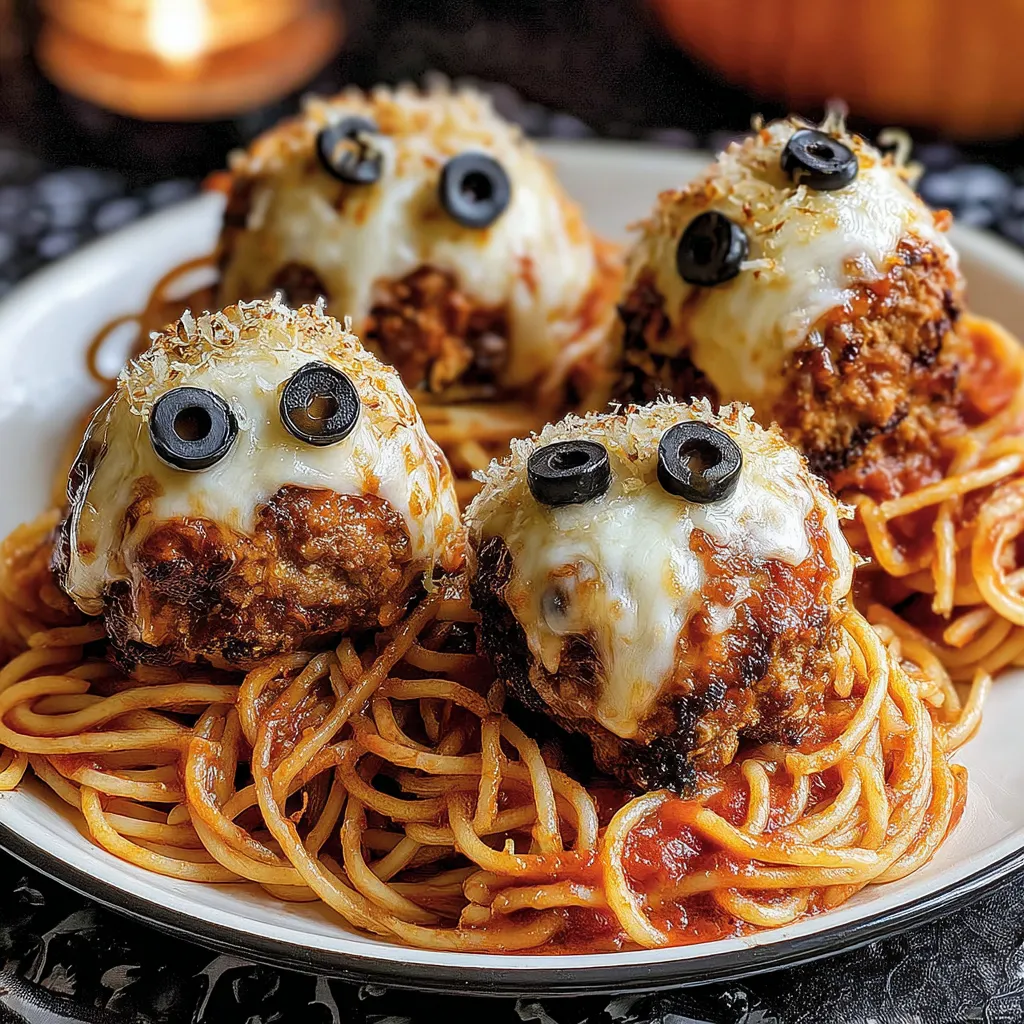
Spooky Spaghetti Monster Meatballs
Twirl eerie-colored spaghetti and top it with gooey, cheese-stuffed monster meatballs complete with olive eyes for a delightfully spooky family dinner.

10-Minute Egg Drop Soup
Silky egg ribbons swirl through savory chicken broth, scented with sesame and scallions. Simple pantry staples, ready in just 10 minutes.
Did You Make This?
Leave a comment & rating below or tag @yumelle on social media!
Rate This Recipe
Share This Recipe
Enjoyed this recipe? Share it with friends and family, and don't forget to leave a review!
Comments (1)
This recipe looks amazing! Can't wait to try it.
Comments are stored locally in your browser. Server comments are displayed alongside your local comments.

Hi, I'm Hannah!
What's Popular
30-Minute Meals!
Join to receive our email series which contains a round-up of some of our quick and easy family favorite recipes.