
>>

No-bake peanut butter squares topped with a silky chocolate layer — perfect for parties, holidays, and an afternoon sweet fix.
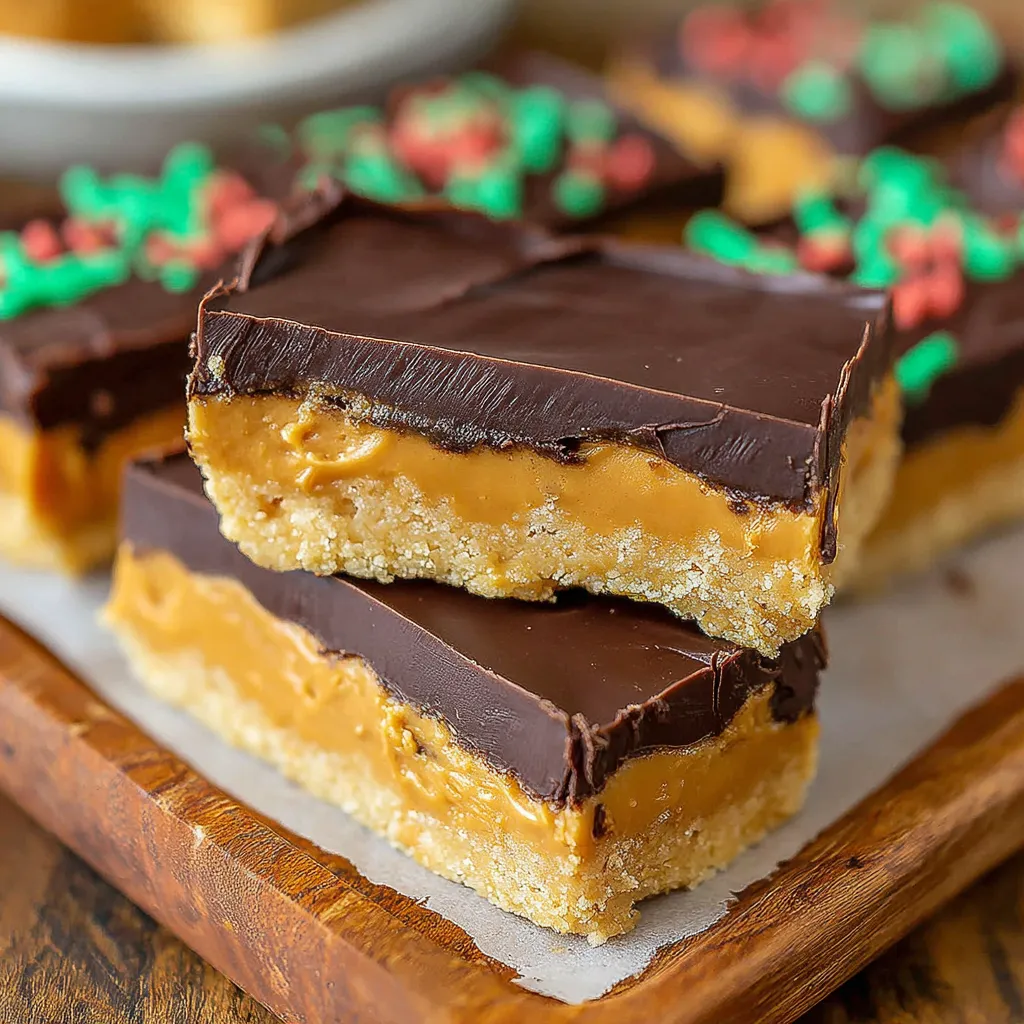
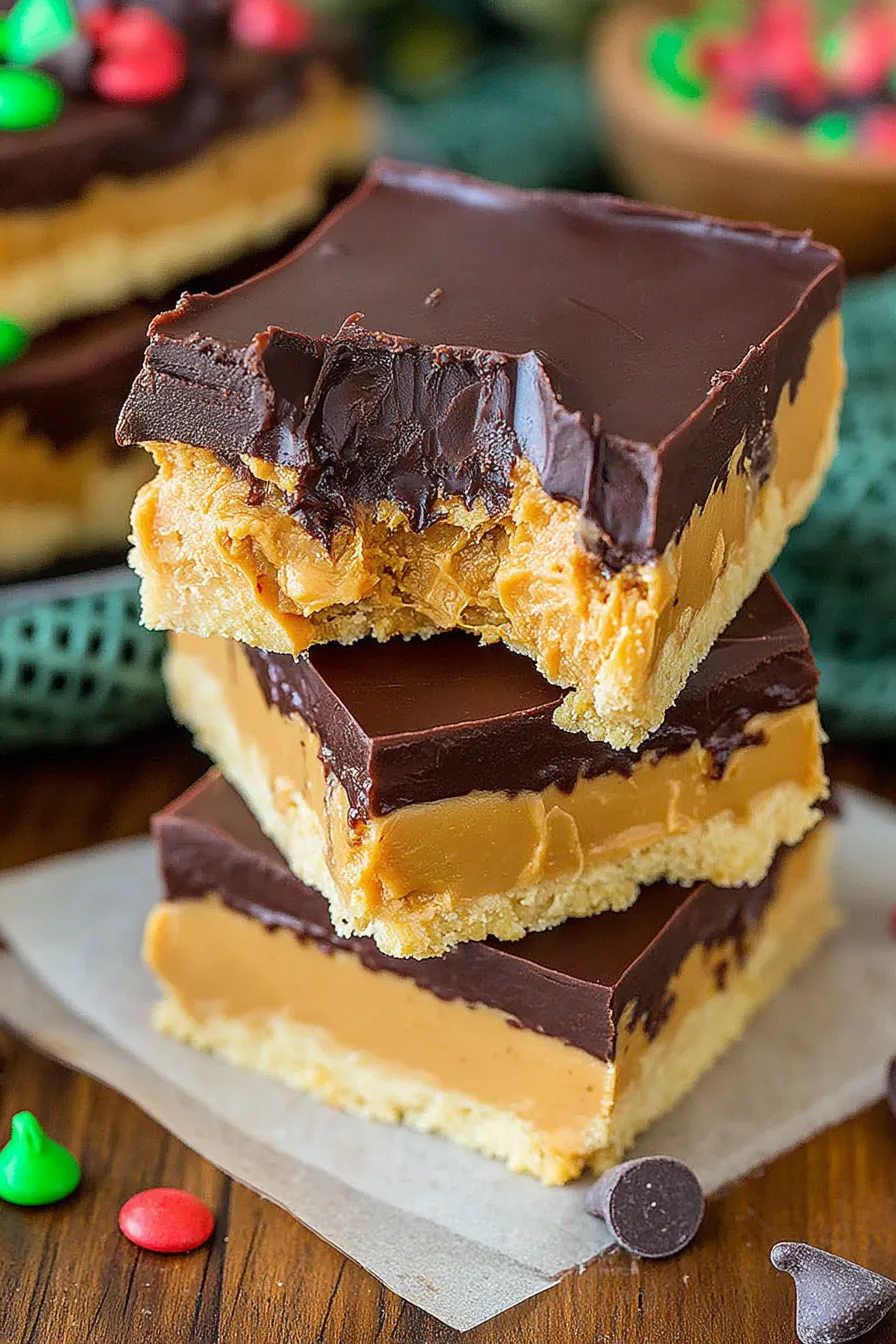
This bite-sized treat has been my dessert table secret for years: rich, peanut-buttery squares with a glossy chocolate top that snaps with the right bite. I first discovered this combination on a cold December afternoon when I wanted the flavors of the classic buckeye candy without the tedious dipping process. The result was a 9x9 pan of pure comfort — a smooth, slightly salty peanut layer balanced by an indulgent chocolate cap. These bars travel well, vanish at potlucks, and are endlessly customizable.
What makes these squares special is the texture contrast and the ease: a dense, spreadable peanut layer that still feels light on the palate, finished with a thin, shiny chocolate glaze that sets at room temperature. I remember serving them at a neighborhood cookie swap and watching adults and kids reach for second pieces before the first round of coffee was finished. They store nicely and chill into neat, clean slices, which means less frosting mess and more time for conversation.
I’ve served these at summer picnics and winter cookie swaps; my family’s reaction is always immediate applause. One year I doubled the batch for a potluck and still walked home with an empty pan. The bars have become my go-to when I need a fast, reliable dessert that earns compliments without complicated steps.
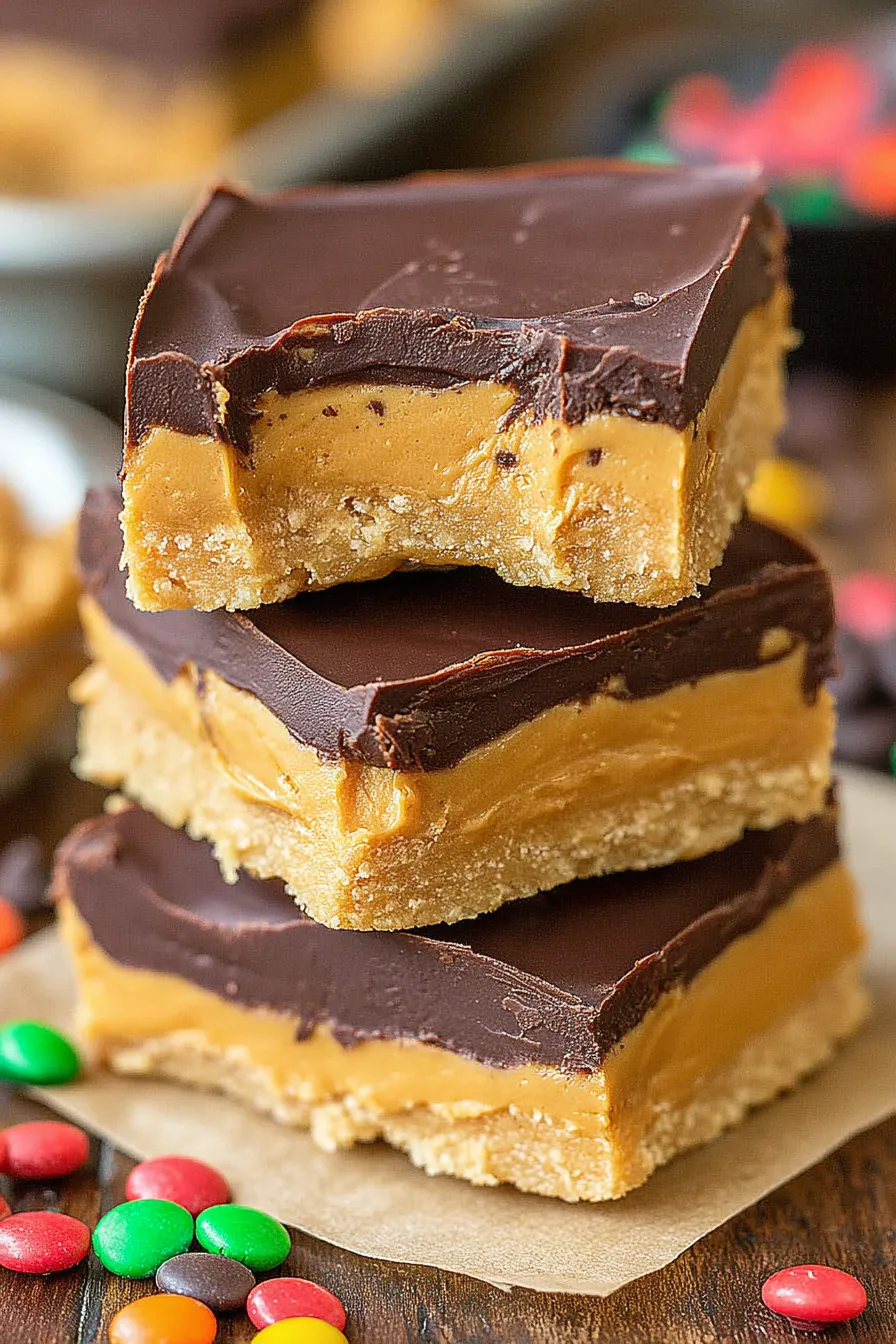
My favorite thing about these bars is how reliably they please a crowd without fuss. When I bring them to events, they’re often the first to disappear — especially when I add a sprinkle of flaky sea salt on top. They’re the kind of recipe that builds memories: packed in picnic baskets, slipped into lunchboxes, and stacked on dessert tables during holiday gatherings.
Store finished squares in an airtight container in the refrigerator for up to one week. For longer storage, arrange pieces in a single layer separated by parchment and freeze for up to three months. When freezing, seal tightly to prevent freezer burn. To serve, remove from the fridge 10 to 15 minutes prior to eating for a softer bite, or thaw frozen bars overnight in the refrigerator. If the chocolate loses shine, a few seconds in a warm room or a gentle brush of melted chocolate will restore the glossy finish.
If you prefer natural peanut butter, expect a slightly oilier texture and a looser base; reduce added oil and increase powdered sugar by 1/4 cup to maintain firmness. Almond butter or sunflower seed butter work for nut-free variations, but the flavor and texture will change — sunflower seed butter benefits from an extra pinch of salt. Replace coconut oil with an equal amount of butter if avoiding coconut flavor, or omit the oil and stir in a tablespoon of corn syrup for shinier chocolate in humid climates.
Cut into small squares for dessert platters or into larger bars for an indulgent snack. Pair with strong coffee or a glass of cold milk; for a grown-up pairing, serve alongside a dessert wine or robust porter. Garnish with a light sprinkle of flaky sea salt, chopped roasted peanuts, or a drizzle of contrasting white chocolate for presentation. These are ideal for cookie swaps, boxed gifts, and packed lunches for those who appreciate a sweet, nostalgic treat.
These bars are inspired by the Ohio buckeye candy — a regional favorite that mimics the nut of the buckeye tree with a peanut-butter center dipped in chocolate. The bar format simplifies the traditional candy by removing individual dipping, making it faster to produce large quantities. Over time, home cooks across the United States adapted the basic flavors into bars, pies, and even frozen treats, showcasing how a simple pairing of peanut butter and chocolate became woven into American holiday and potluck traditions.
In summer, make these bars and keep them chilled for outdoor events to prevent melting; add toasted coconut to the base for a tropical twist. For winter holidays, fold in 1/4 cup crushed peppermint or top with red-and-green sprinkles for festive appeal. For a spring brunch, add a layer of jam between the peanut base and chocolate or swap half the chocolate for white chocolate mixed with lemon zest for brightness.
Double the batch and freeze half for quick desserts throughout the month. Portion into individual wrappers for grab-and-go snacks. If prepping for a gathering, assemble the base the day before and store covered in the fridge; melt and spread the chocolate the morning of the event for a freshly finished presentation. Use a warm knife between cuts to keep edges neat when slicing large trays.
These squares are a small, satisfying pleasure that reward a minimal amount of effort with maximum admiration. Try them once and you’ll understand why they’ve become a staple on my dessert rotation — simple, reliable, and deeply comforting.
Use a rubber spatula to press the peanut layer firmly into the pan to prevent crumbling when sliced.
Warm and dry your knife between cuts to get clean edges on each bar.
If the peanut base is too dry, add a teaspoon of milk or an extra teaspoon of peanut butter and mix until cohesive.
Chill the bars for at least one hour before cutting to ensure the chocolate top is fully set.
This nourishing classic buckeye bars recipe is sure to be a staple in your kitchen. Enjoy every moist, high protein slice — it is perfect for breakfast or as a wholesome snack any time.
Yes. Store in an airtight container in the refrigerator for up to one week; freeze for up to three months.
Warm the knife under hot water, dry it, and then cut the bars for clean edges. Wipe between cuts if chocolate sticks.
This Classic Buckeye Bars recipe makes perfectly juicy, tender, and flavorful steak every time! Serve with potatoes and a side salad for an unforgettable dinner in under 30 minutes.
Beat 1/2 cup softened butter with 1 cup creamy peanut butter until smooth. Add 2 cups powdered sugar in batches, then stir in 1 teaspoon vanilla until cohesive and spreadable.
Line a 9x9-inch pan with parchment and press the peanut mixture firmly and evenly into the pan using a rubber spatula for uniform thickness.
Combine 1 cup chocolate chips and 2 teaspoons coconut oil in a microwave-safe bowl. Heat in 30-second bursts, stirring until smooth, or melt in a double boiler.
Pour melted chocolate over the pressed base and spread evenly with an offset spatula, smoothing the surface and removing air bubbles.
Let the pan sit at room temperature until firm, or refrigerate for at least 1 hour to speed setting and ensure neat slices.
Lift the slab from the pan using the parchment overhang. Warm a sharp knife and slice into about 16 bars. Store in an airtight container in the fridge for up to one week or freeze up to 3 months.
Last Step: Please leave a rating and comment letting us know how you liked this recipe! This helps our business to thrive and continue providing free, high-quality recipes for you.
Leave a comment & rating below or tag
@yumelle on social media!

Juicy chicken meatballs baked with Parmesan and herbs, spooned with marinara, and covered in melty mozzarella on toasted slider rolls. Irresistible for parties.

Twirl eerie-colored spaghetti and top it with gooey, cheese-stuffed monster meatballs complete with olive eyes for a delightfully spooky family dinner.

Silky egg ribbons swirl through savory chicken broth, scented with sesame and scallions. Simple pantry staples, ready in just 10 minutes.
Leave a comment & rating below or tag @yumelle on social media!
Enjoyed this recipe? Share it with friends and family, and don't forget to leave a review!
This recipe looks amazing! Can't wait to try it.
Comments are stored locally in your browser. Server comments are displayed alongside your local comments.

Join to receive our email series which contains a round-up of some of our quick and easy family favorite recipes.
