
>>

No-bake, ultra-rich cookie dough bars loaded with mini chocolate chips, a creamy peanut butter-chocolate topping, and chilled to a sliceable, indulgent treat.
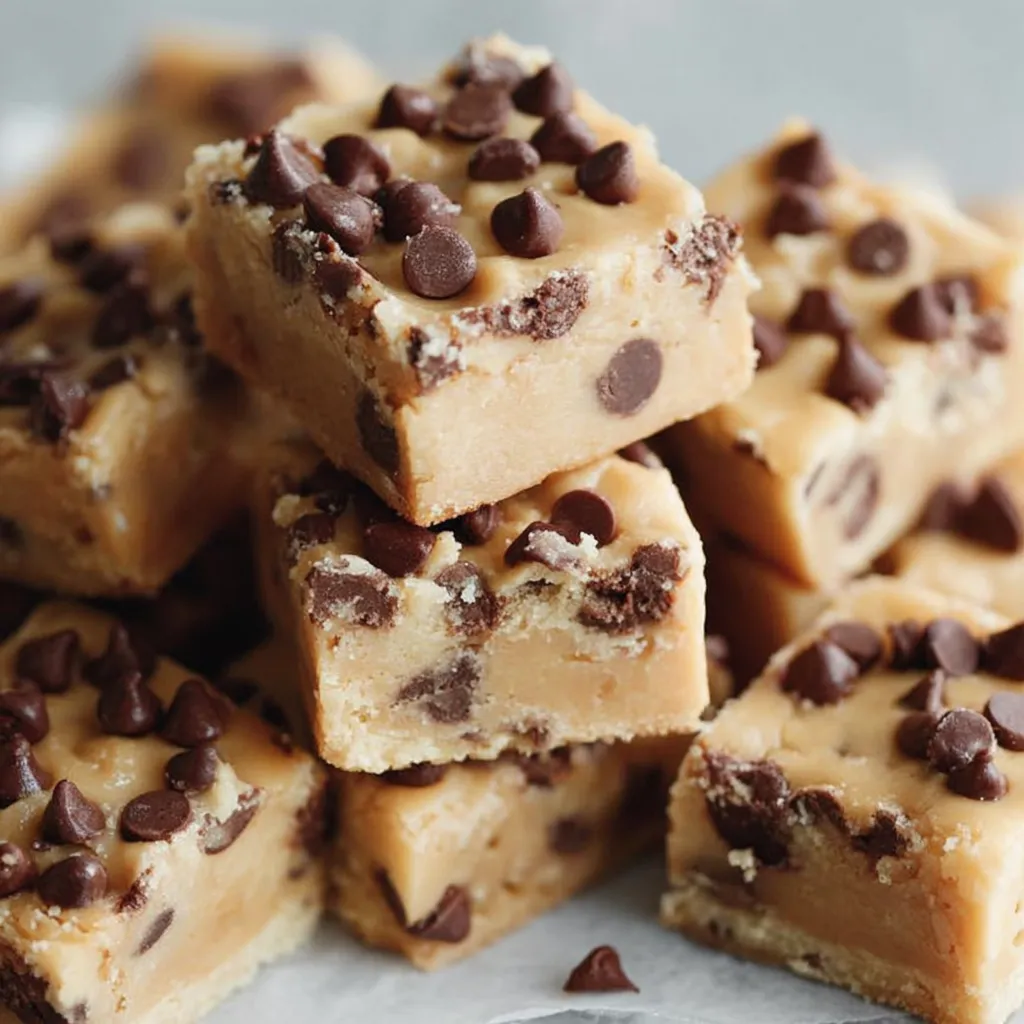
This pan of chilled chocolate chip cookie dough bars has been my weekend cheat that I bring out whenever I want to impress without turning on the oven. I stumbled on this combination during a lazy Sunday when I wanted a decadent treat that tasted like raw cookie dough but was safe and sliceable. The result is a remarkably rich base made with sweetened condensed milk and all-purpose flour that becomes firm after chilling, and a glossy peanut-butter chocolate layer that sets into a silky top. The texture balances chewy, tender dough and a creamy topping — the mini chips throughout give small bursts of chocolate so every bite feels like a miniature celebration.
I first served these at a neighborhood potluck and watched people come back for seconds, then ask for the recipe. They’re excellent for summer because they don’t require baking, and they travel well when stored in an air-tight container. What makes them special is how quickly pantry staples turn into something that tastes indulgent and nostalgic — it’s like raw cookie dough reimagined as a bar that you can slice and serve on a platter. If you’re a fan of classic chocolate chip cookies but love the no-bake convenience, these will quickly become a go-to.
I always find that the first person to try these closes their eyes and smiles — my sister declared them “dangerously good” at our last family movie night. They’ve been on repeat for celebrations because they travel easily and people of all ages love the familiar chocolate-chip flavor in a sliceable, shareable form.
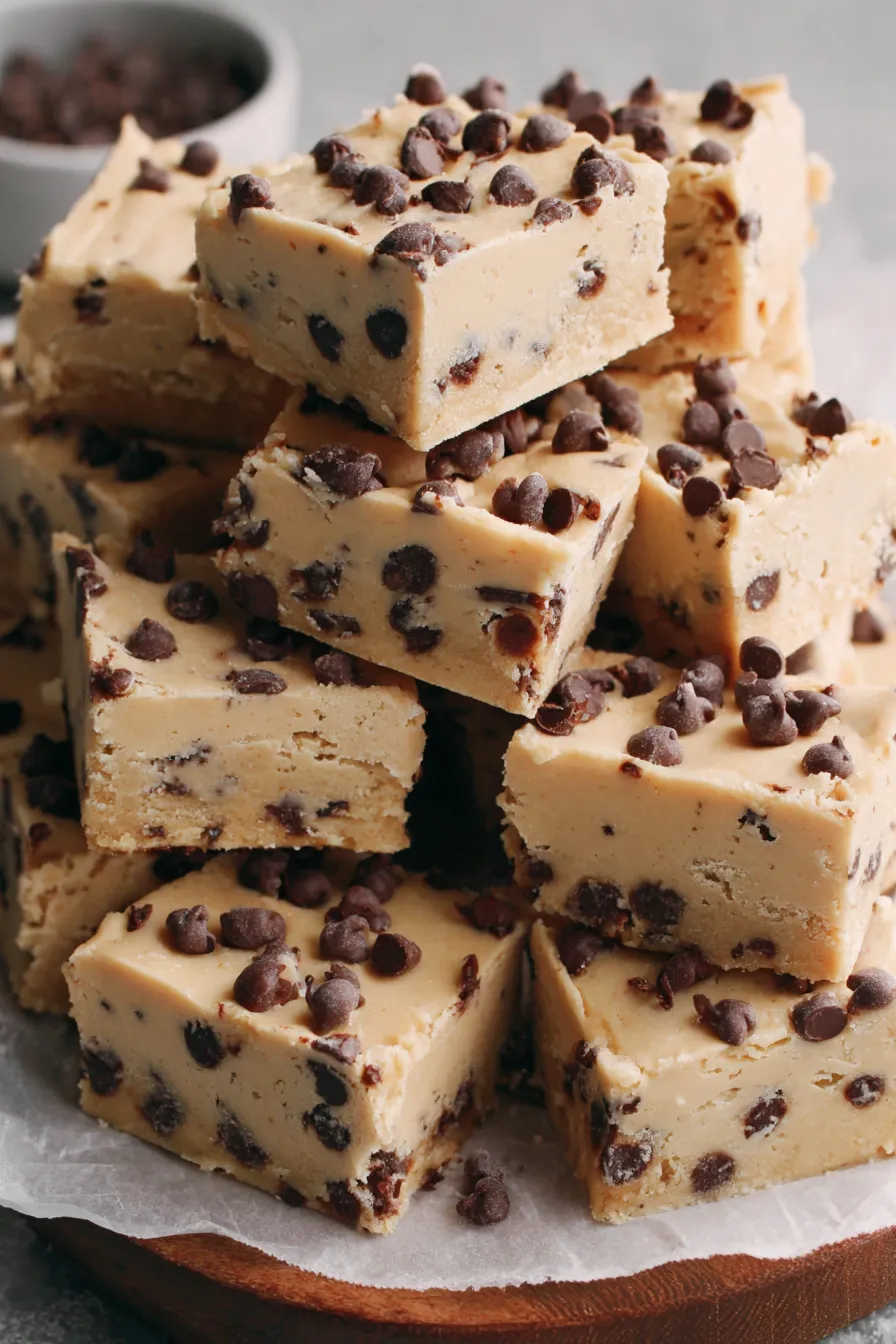
What I love most is how forgiving this method is — even if your butter is slightly too soft or the topping sets a touch unevenly, refrigeration smooths everything out. Family and friends often comment on the nostalgic flavor: it’s solidly chocolate-chip-cookie but in an easier, sliceable format. These bars are the dessert I bring for last-minute parties because they transport well and don’t require utensils to serve — just cut, stack on a platter, and watch them disappear.
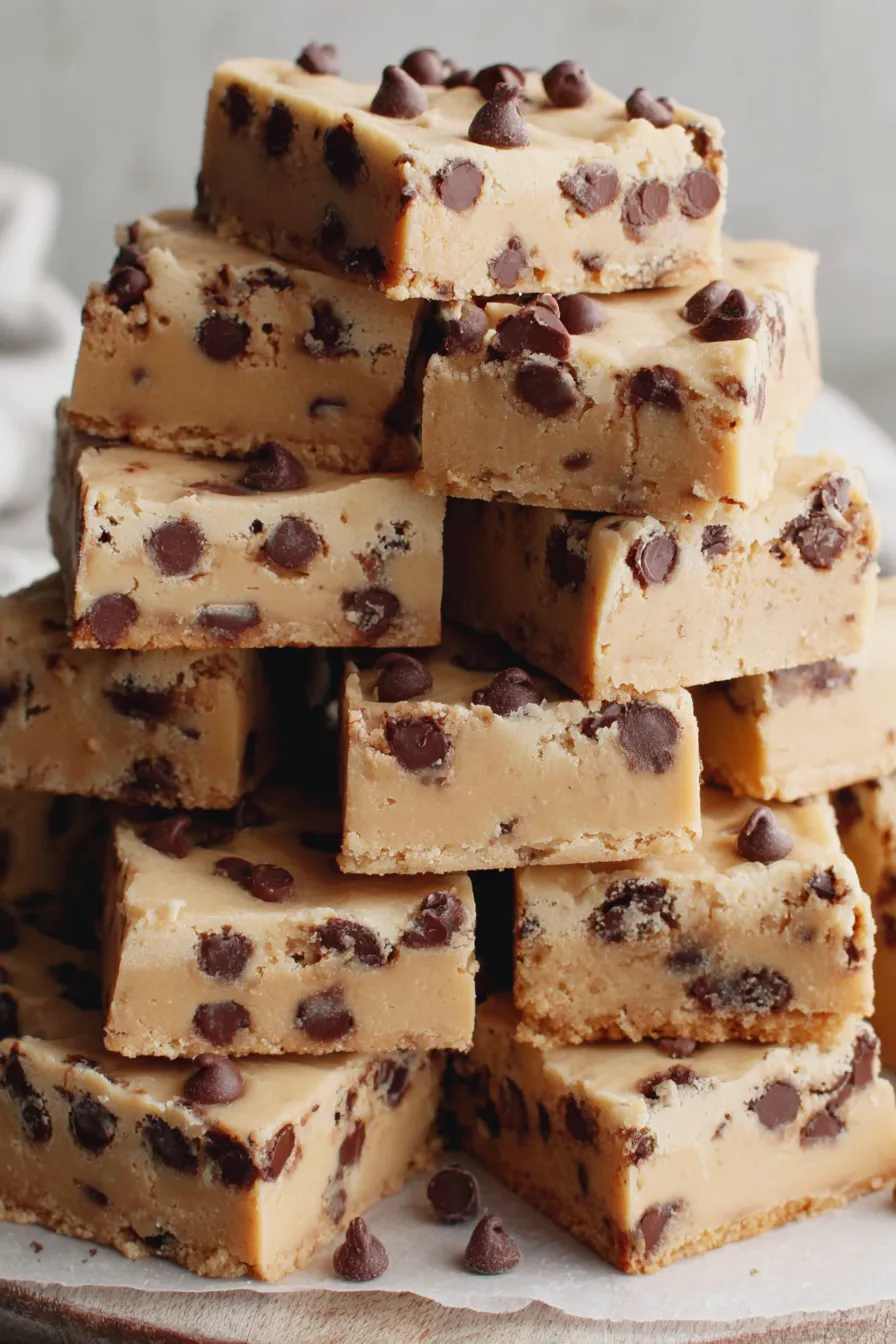
Store the bars in a single layer in an airtight container in the refrigerator for up to 5 days. If stacking is necessary, separate layers with parchment to prevent sticking. For longer storage, freeze the whole slab or individually wrap slices in plastic and place them in a freezer bag; they’ll keep well for up to 3 months. To serve from frozen, thaw overnight in the refrigerator and bring to room temperature for 20–30 minutes so the texture softens slightly but remains firm enough to hold its shape.
If you need to adapt the recipe, swap creamy peanut butter with almond butter or sunflower seed butter for a nut-free option (sunflower butter keeps it nut-free but retains richness). To make it gluten-free, use a 1:1 gluten-free flour blend that’s designed for no-bake applications; because the structure relies on chilling rather than heat, some blends work well. For a less-sweet topping, replace milk chocolate chips with 60–70% dark chocolate chips. If you prefer mini chips’ texture but want more bite, fold in chopped nuts or pretzel pieces to introduce salt and crunch.
Serve these bars chilled or slightly softened at room temperature with a dusting of flaky sea salt on top of the peanut-butter layer for a professional finish. They pair beautifully with cold milk or a robust cup of coffee. For a plated dessert, cut into smaller squares and serve with fresh berries and a dollop of whipped cream. They make a crowd-pleasing addition to cookie trays, picnics, and lunchboxes (packed with an ice pack).
These bars are a playful take on the American love affair with cookie dough and no-bake confections. No-bake bars and sliceable desserts have a long tradition in home cooking — condensing multiple flavors into a chilled slab that’s easy to portion. The use of sweetened condensed milk is common in many American no-bake candies and bars because it provides sweetness and body without additional liquids. This version pays homage to classic chocolate chip cookies while embracing mid-century feel-good dessert techniques.
In summer, swap the peanut-butter topping for a chilled chocolate ganache and fold in toasted coconut to give a tropical lift. For winter holidays, stir in 1/2 teaspoon ground cinnamon and 1/8 teaspoon nutmeg into the dough, and top with crushed peppermint for a festive twist. For spring gatherings, fold in dried cherries and use white chocolate for the topping to brighten the flavor profile.
For easy grab-and-go portions, slice the slab into bars, individually wrap each piece in plastic, and place them in a resealable bag in the fridge or freezer. If prepping for a week of treats, cut thicker bars and store them in a shallow airtight container with parchment between layers. Warm a knife under hot water and dry it between cuts for clean slices each time you portion them.
These bars are simple to adapt, forgiving in technique, and reliably loved by every crowd I’ve served them to — make them your own by changing the chips, the nut butter, or the add-ins. Enjoy sharing them with friends and family; they’re a little guilty pleasure and a lot of warm, familiar flavor.
Soften butter to room temperature for proper creaming; if the butter is too hard you won’t get the light, fluffy base texture.
Chill the slab for the full recommended time before slicing; a warm knife and chilled bars yield the cleanest cuts.
Use mini chocolate chips for even distribution; larger chips can cause uneven bites and make slicing messy.
Warm your knife under hot water and dry it between cuts for perfectly clean slices every time.
This nourishing chocolate chip cookie dough bars recipe is sure to be a staple in your kitchen. Enjoy every moist, high protein slice — it is perfect for breakfast or as a wholesome snack any time.
This Chocolate Chip Cookie Dough Bars recipe makes perfectly juicy, tender, and flavorful steak every time! Serve with potatoes and a side salad for an unforgettable dinner in under 30 minutes.
Line an 8×8-inch pan with parchment paper or aluminum foil, leaving an overhang for easy removal, and lightly grease the paper.
Beat 1/2 cup softened unsalted butter and 3/4 cup packed light brown sugar on medium-high speed for about 3 minutes until pale and fluffy, scraping the bowl as needed.
Mix in 1 teaspoon of vanilla extract until combined to enhance the overall flavor profile.
On low speed, alternate adding 2 cups all-purpose flour and the 14-ounce can of sweetened condensed milk, beginning and ending with flour. Mix until just incorporated to avoid overworking.
Gently fold in 2 cups mini chocolate chips with a spatula to distribute evenly without deflating the mixture.
Press the sticky dough into the prepared pan using lightly floured hands or a piece of parchment. Cover and refrigerate for at least 3 hours or overnight until firm.
Combine 1/2 cup creamy peanut butter and 1/2 cup milk chocolate chips in a microwave-safe bowl. Heat in 30-second increments, stirring until smooth and pourable.
Pour the warmed peanut-butter chocolate mixture over the chilled base, spread evenly, and chill at least 1 hour until firm before slicing.
Lift the slab from the pan using the parchment overhang, place on a cutting board, and slice using a knife warmed under hot water and dried between cuts for clean pieces.
Last Step: Please leave a rating and comment letting us know how you liked this recipe! This helps our business to thrive and continue providing free, high-quality recipes for you.
Leave a comment & rating below or tag
@yumelle on social media!

Juicy chicken meatballs baked with Parmesan and herbs, spooned with marinara, and covered in melty mozzarella on toasted slider rolls. Irresistible for parties.

Twirl eerie-colored spaghetti and top it with gooey, cheese-stuffed monster meatballs complete with olive eyes for a delightfully spooky family dinner.

Silky egg ribbons swirl through savory chicken broth, scented with sesame and scallions. Simple pantry staples, ready in just 10 minutes.
Leave a comment & rating below or tag @yumelle on social media!
Enjoyed this recipe? Share it with friends and family, and don't forget to leave a review!
This recipe looks amazing! Can't wait to try it.
Comments are stored locally in your browser. Server comments are displayed alongside your local comments.

Join to receive our email series which contains a round-up of some of our quick and easy family favorite recipes.
