
>>

Buttery oat bars layered with milk chocolate and a creamy caramel middle — a nostalgic, crowd-pleasing treat that’s easy to make and impossible to resist.
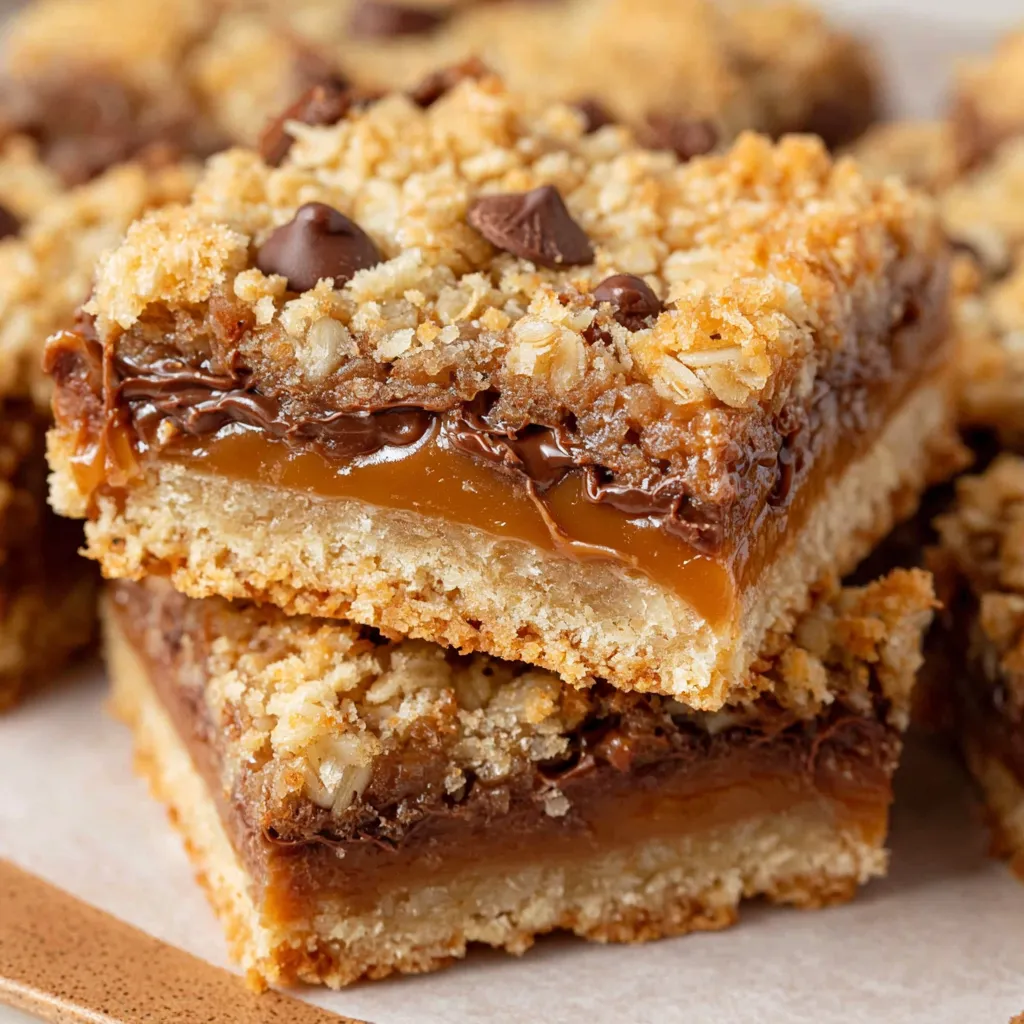
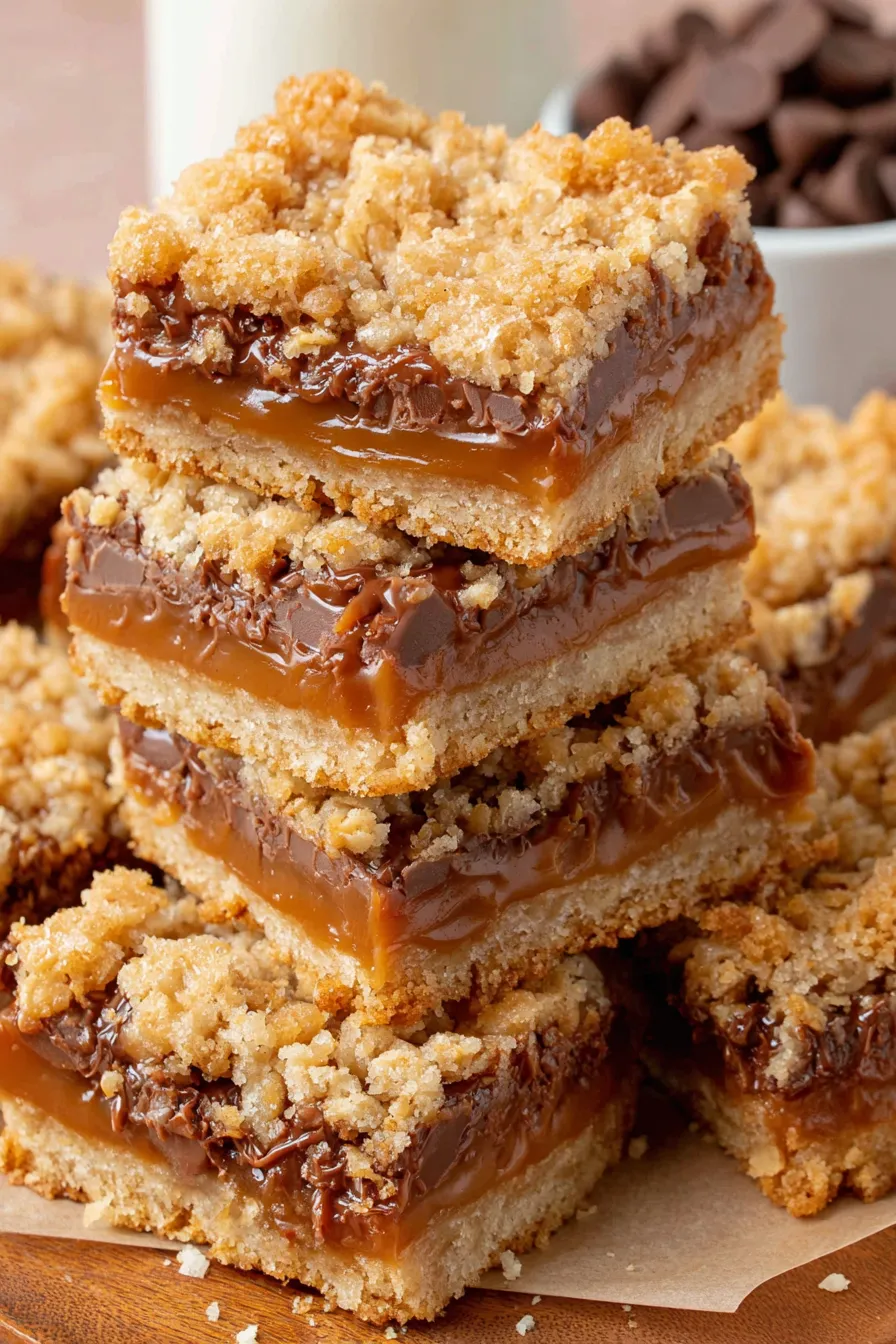
This caramelita has been a staple in my baking rotation for years, the kind of sweet that reappears at birthday tables, potlucks, and quiet weekend coffee breaks. I first learned this version on a rainy afternoon when I wanted something comforting and quick; the combination of a tender, oat-studded base, a glossy milk chocolate layer, and a thick ribbon of caramel felt like a little celebration in every bite. The texture is what makes these special: the bottom and top layers are slightly crumbly and buttery, the middle chocolate softens under the caramel, and the caramel itself is luxuriously chewy without being overly sticky.
What I love most is how reliably these come together. No tempering, no delicate timing — just simple ingredients and a short bake sequence that yields an impressive result. They slice neatly into 16 squares after chilling, making them ideal for sharing and portion control. Whenever I bring a pan to a gathering, someone inevitably asks for the recipe. These bars are equally good warm with a scoop of vanilla ice cream or chilled with a cup of black coffee, and they keep well when wrapped properly, which makes them great for gifting or preparing ahead.
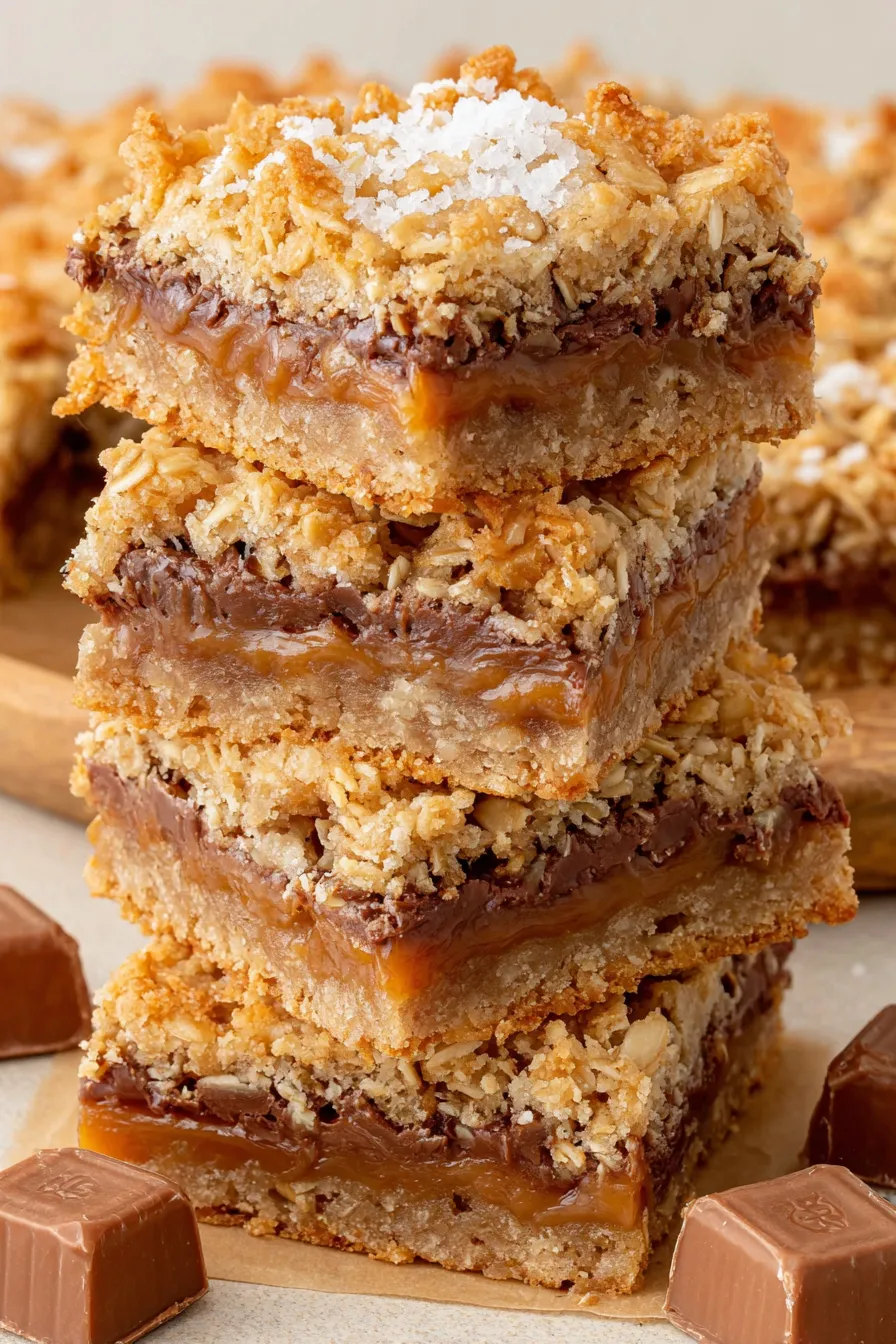
On a personal note, my family first fell in love with these when I made them for a neighborhood bake sale — every pan I brought came back empty and full of compliments. I learned a few small tricks along the way, like using parchment overhang to lift the bars cleanly and always unwrapping caramels while the base par-bakes so the assembly flows smoothly. The recipe rewards small touches: using good-quality chocolate and a pinch of kosher salt makes a noticeable difference.
My favorite aspect is how forgiving this method is: even if the top looks slightly rustic, the flavors and textures balance beautifully after chilling. One memorable holiday, I doubled the recipe and used dark chocolate chips in one pan and milk in another — both disappeared within an hour. The caramel-to-chocolate ratio is a crowd-pleaser and the bars travel well, which is why I always keep parchment and extra caramels on hand for last-minute gifts.
Store cooled bars in a single layer or with parchment between layers in an airtight container in the refrigerator for up to seven days. For longer storage, freeze in a sealed container for up to three months; thaw in the fridge overnight. To reheat a frozen or chilled bar, warm gently in a 300°F oven for 6–8 minutes, watching carefully so the caramel softens but the chocolate does not seize. Room temperature is fine for short periods, but warm conditions will soften the caramel and affect slicing.
If you need to adjust ingredients, swap milk chocolate chips for semi-sweet or dark chocolate to cut sweetness and deepen flavor. You can substitute coconut oil for up to half the butter for a subtler shell texture, but replace carefully as it changes mouthfeel. For a gluten-free version, use a certified gluten-free 1-to-1 flour blend and gluten-free rolled oats; texture will be similar though slightly less tender. For a lower-sugar option, use a reduced-sugar caramel or make a homemade caramel with less sugar, but expect a softer set.
Serve squares on a simple platter dusted with a light sprinkle of flaky sea salt to highlight the caramel. They pair beautifully with strong coffee, espresso, or a simple glass of cold milk. For a dessert plate, offer a warmed square with vanilla ice cream and a drizzle of extra warmed caramel. These bars also make elegant gifts when wrapped individually in parchment and tied with twine for bake sales, teacher gifts, or holiday favors.
Bars that layer oats, chocolate, and caramel reflect a long tradition of American baking that combines pantry staples into portable sweets — think shoofly pies, seven-layer bars, and flapjacks. The name and precise composition change regionally, but the concept of an oat-based crust with a sweet, sticky middle is a crowd-pleasing pattern passed down in home kitchens. Carmelitas borrow from this lineage and showcase the American fondness for chewy, caramel-forward treats that are as at-home at a family picnic as they are on a festive dessert table.
For autumn, add 1/2 teaspoon ground cinnamon and 1/8 teaspoon nutmeg to the base for warm spice notes. In winter, fold chopped toasted pecans into the top oat layer for extra holiday crunch. Spring and summer variations can include a sprinkle of citrus zest over the chocolate before pouring the caramel for a bright counterpoint. For holidays, press a few crushed pretzels into the top layer before baking to lend a sweet-and-salty twist that complements the caramel.
These bars are ideal for batch baking: double the ingredients and bake in two 9×13 pans, or single-batch and freeze extras. Portion squares into individual bags or small containers for grab-and-go snacks. When prepping for a week of treats, store in the fridge and remove 15 minutes before serving so the caramel softens slightly. To keep bars from sticking while stacked, separate layers with parchment or wax paper.
These caramelitas are a reliable, delicious project that rewards small attention to technique: good melting, a steady oven, and proper chilling. Share them, tweak them, and make them your own — they always bring people together around the kitchen table.
Unwrap the caramels while the base is par-baking so assembly is quick and seamless.
Press the bottom layer firmly and evenly to ensure a stable crust that coordinates with the chewy caramel.
Chill the assembled pan completely before slicing to achieve clean edges and tidy squares.
Warm the caramel slowly and stir constantly to avoid burning; add cream to keep it glossy and pourable.
This nourishing carmelitas recipe is sure to be a staple in your kitchen. Enjoy every moist, high protein slice — it is perfect for breakfast or as a wholesome snack any time.
This Carmelitas recipe makes perfectly juicy, tender, and flavorful steak every time! Serve with potatoes and a side salad for an unforgettable dinner in under 30 minutes.
Preheat the oven to 350°F. Line a 9×9 inch baking dish with parchment, leaving overhang for easy removal, and lightly grease the paper with nonstick spray.
In a bowl combine flour, oats, brown sugar, baking soda, and salt. Add melted butter and vanilla and stir until just combined; mixture should be crumbly but hold when pressed.
Press half the mixture firmly into the prepared pan and bake for 10 minutes until set and slightly golden at the edges. Unwrap caramels while the base bakes.
Melt unwrapped caramels with heavy cream over medium heat, stirring constantly until smooth and glossy. Alternatively microwave in short bursts, stirring between intervals.
Sprinkle chocolate chips over the hot par-baked crust so they begin to melt, then pour the warm caramel over the chips and spread gently to cover.
Sprinkle the remaining oat mixture over the caramel, lightly pressing in a few spots. Bake for 20 minutes until the top is golden and firm to the touch.
Refrigerate the pan for 1 1/2 to 2 hours until firm, then lift out using the parchment overhang and slice into 16 squares with a sharp knife.
Last Step: Please leave a rating and comment letting us know how you liked this recipe! This helps our business to thrive and continue providing free, high-quality recipes for you.
Leave a comment & rating below or tag
@yumelle on social media!

Juicy chicken meatballs baked with Parmesan and herbs, spooned with marinara, and covered in melty mozzarella on toasted slider rolls. Irresistible for parties.

Twirl eerie-colored spaghetti and top it with gooey, cheese-stuffed monster meatballs complete with olive eyes for a delightfully spooky family dinner.

Silky egg ribbons swirl through savory chicken broth, scented with sesame and scallions. Simple pantry staples, ready in just 10 minutes.
Leave a comment & rating below or tag @yumelle on social media!
Enjoyed this recipe? Share it with friends and family, and don't forget to leave a review!
This recipe looks amazing! Can't wait to try it.
Comments are stored locally in your browser. Server comments are displayed alongside your local comments.

Join to receive our email series which contains a round-up of some of our quick and easy family favorite recipes.
