
>>

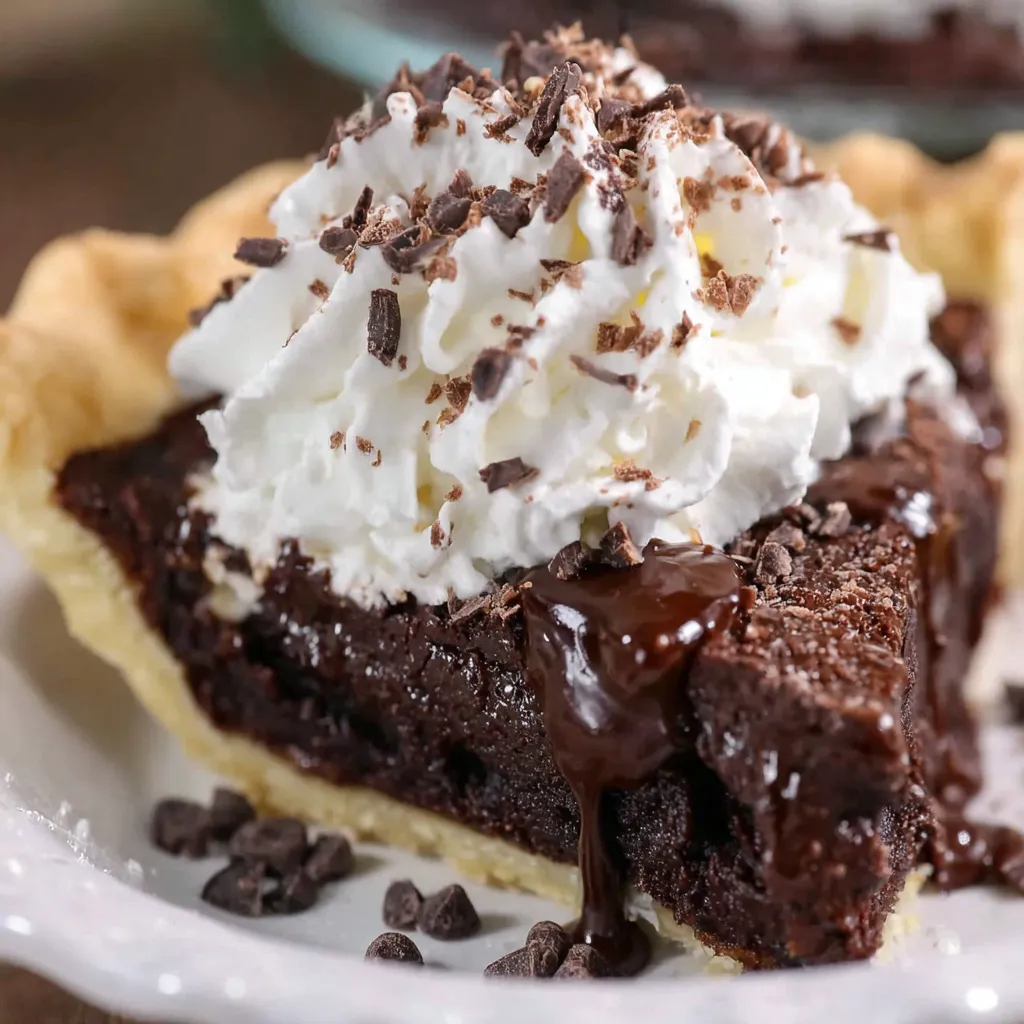
A decadent, crackly-topped brownie baked in a 9-inch pie crust for an easy, shareable chocolate dessert that serves a crowd.
This brownie pie has been my go-to for birthdays and last-minute potlucks for years. I first made it on a rainy afternoon when I had a frozen 9-inch pie crust in the freezer and a hankering for something chocolaty that did not require pulling out every bowl in the kitchen. The combination of molten chocolate, a shiny crackly top, and a tender buttery crust won over everyone at the table. It is the kind of dessert that travels well, slices neatly, and gets requested again and again.
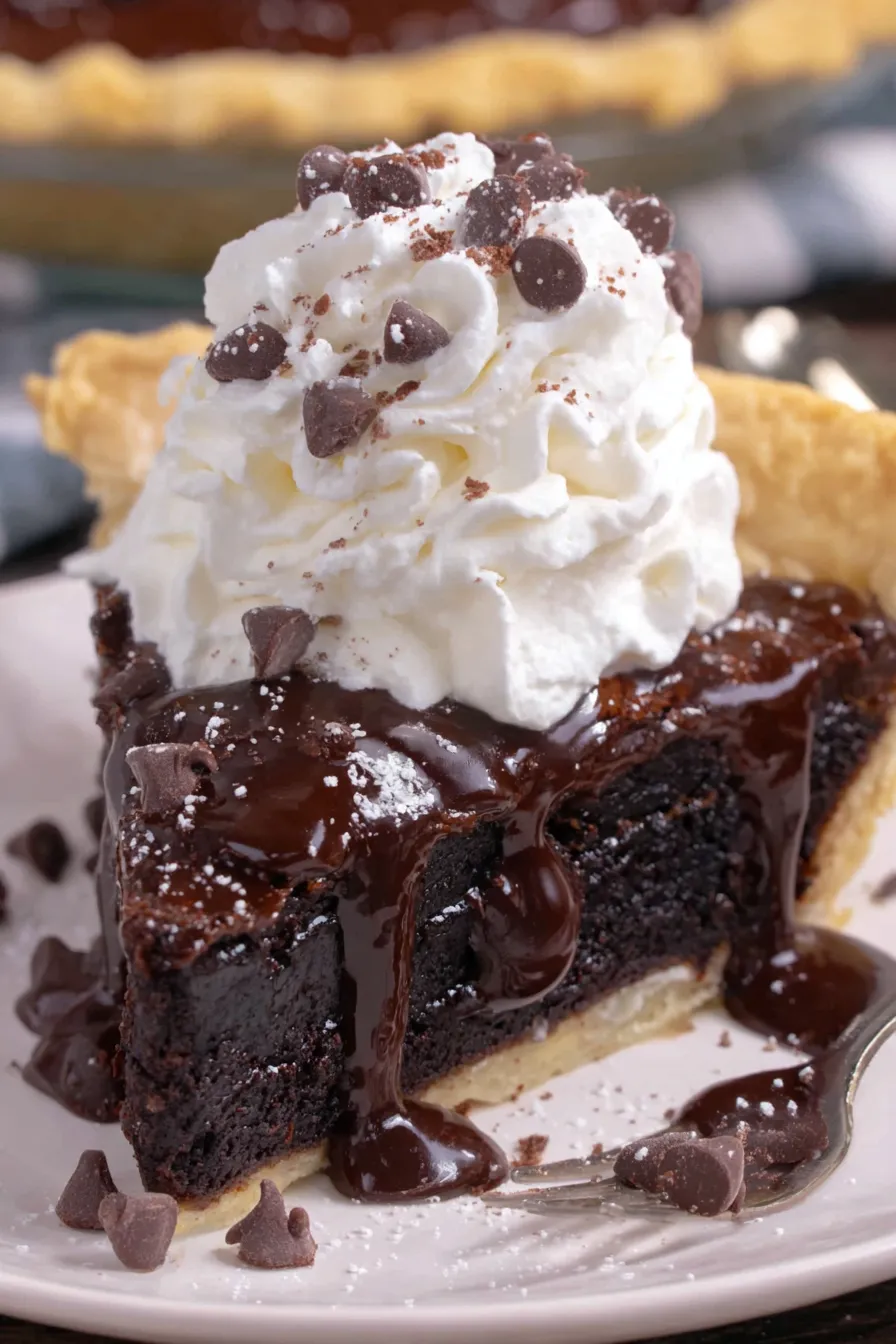
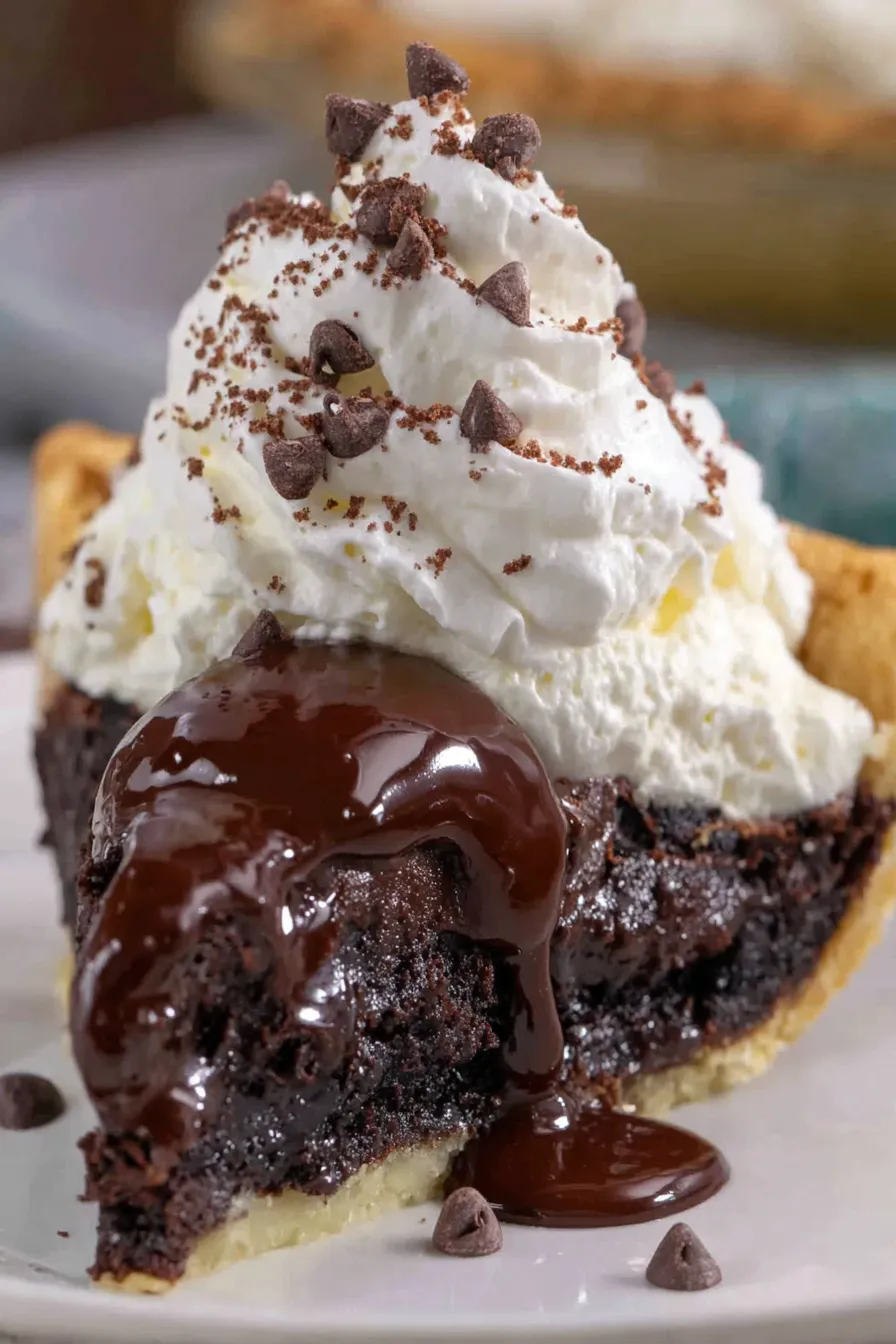
What makes this version special is the simple technique that yields a glossy, slightly crackled surface and a fudgy interior. The hot melted butter begins to dissolve the granulated sugar, which helps produce that classic brownie top. Using both an egg and an extra yolk deepens the richness while keeping the filling tender. I love that it bakes in a pie crust because you get that contrast of flaky pastry and dense chocolate without extra effort. We serve it warm with ice cream for celebration, or cold with a cup of coffee on a quiet afternoon.
I remember taking this to a neighborhood block party where it disappeared within the first 15 minutes. A neighbor asked for the recipe on the spot, and another insisted it would be perfect folded into a lunch box the next day. It is the kind of dessert that sparks compliments without any fussy work on your part.
One of my favorite aspects is how reliably this recipe delivers texture contrast. The first time I chilled and cut the pie into neat slices, guests marveled at how cleanly it held together despite a soft, fudgy interior. I often make two because the first disappears quickly. It is comforting to have a dessert that feels special but is straightforward to prepare and store.
Store leftover slices in an airtight container in the refrigerator for up to 5 days. If you plan to serve chilled slices, refrigerate for at least two hours to let them firm up and slice cleanly. For longer storage, wrap the pie tightly in plastic wrap followed by a layer of foil and freeze for up to 3 months. To reheat a frozen or refrigerated slice, warm in a 325 degrees Fahrenheit oven for 8 to 12 minutes or microwave briefly for 15 to 25 seconds for a warm, gooey center. Avoid reheating multiple times to preserve texture.
If you need dairy-free options, substitute vegan butter or a high-quality margarine and use dairy-free chocolate chips. For a gluten-free version, replace the pie crust with a store-bought gluten-free crust and swap the 1/2 cup all-purpose flour for a 1:1 gluten-free flour blend. To reduce sweetness, use semisweet or bittersweet chocolate chips and consider decreasing powdered sugar to 1/3 cup. If walnuts are not desired, chopped pecans or hazelnuts provide a similar toasted flavor. Keep in mind substitutions will alter texture; gluten-free blends may yield a slightly more crumbly filling.
Serve slices with a scoop of vanilla bean ice cream and a drizzle of warm chocolate sauce for a classic dessert presentation. A dusting of powdered sugar and a few toasted walnut halves brighten the plate for special occasions. For a more adult pairing, offer espresso or a dark roast coffee to cut the richness. On holidays, top with salted caramel for contrast, or pile on whipped cream and fresh berries for a lighter finish at summer gatherings.
The combination of brownies and pie reflects American comfort baking, where continental pastries meet approachable home-cooking shortcuts. Brownies themselves emerged in the United States in the late 19th century as a portable, rich bar cookie. Placing brownie batter into a pie shell is a modern twist that borrows the portable, partitionable advantage of pies while maintaining the dense, fudgy character of brownies. This hybrid is popular at potlucks and family gatherings where ease and shareability are valued.
In cooler months, fold in a teaspoon of espresso powder or a pinch of cinnamon to deepen warmth and aroma. For spring and summer, top with fresh strawberries and a light whipped cream to balance the intensity. During holiday seasons, stir in 1/4 teaspoon ground nutmeg and substitute toasted pecans for walnuts. For a festive presentation, garnish with edible gold flakes or a drizzle of peppermint-infused chocolate for seasonal flair.
Make the filling the day before and keep it refrigerated in an airtight container; pour into the frozen crust and bake when ready. Alternatively, fully bake, cool, and refrigerate; slices will firm up and are ideal for packing lunches or preparing dessert trays in advance. Use sturdy, shallow airtight containers to avoid crushing the topping. When transporting, place on a flat surface and consider a small cooler for long trips to prevent shifting.
This pie combines ease, nostalgia, and rich chocolate flavor in a single dish that is forgiving and adaptable. Whether you bake it for a crowd or a quiet treat, it rewards simple technique with impressive results. I hope you enjoy making it as much as my family does.
Let melted butter sit with granulated sugar for 5 minutes before whisking to help create a shiny, crackled top.
For a fudgier center, remove the pie closer to the minimum recommended bake time after removing the foil.
Do not overmix after adding dry ingredients; fold until just combined to keep the filling dense and fudgy.
Use the lower third of the oven to ensure the bottom crust bakes through without burning the top.
Chill the pie for easier slicing; serve slightly warm if you prefer a gooey center.
This nourishing brownie pie recipe is sure to be a staple in your kitchen. Enjoy every moist, high protein slice — it is perfect for breakfast or as a wholesome snack any time.
Yes, you can use a refrigerated 9-inch unbaked crust if you allow a few extra minutes in the oven for the bottom to cook through.
Freeze the pie wrapped tightly for up to 3 months; thaw overnight in the refrigerator and warm briefly before serving.
This Brownie Pie recipe makes perfectly juicy, tender, and flavorful steak every time! Serve with potatoes and a side salad for an unforgettable dinner in under 30 minutes.
Preheat the oven to 350 degrees Fahrenheit and place a rack in the lower third of the oven so the bottom of the crust bakes through without over-browning the top.
In a large bowl combine 3/4 cup granulated sugar with 8 tablespoons melted warm butter. Stir briefly, then let sit for 5 minutes to allow the heat to begin dissolving the sugar. After 5 minutes whisk vigorously for 30 seconds.
Add 1 large egg, 1 large egg yolk, 1 tablespoon water, and 1 1/2 teaspoons vanilla extract. Whisk for about 30 seconds until smooth and slightly thickened.
Sprinkle 1/2 cup unsweetened cocoa, 1/2 cup powdered sugar, 1/2 cup all-purpose flour, and 1/4 teaspoon kosher salt over the wet mixture. Fold with a spatula until glossy and homogenous. Stir in 1/2 cup chocolate chips and 1/4 cup chopped walnuts if using.
Pour the batter into the frozen 9-inch unbaked crust and smooth into an even layer. Lightly spray a piece of foil with nonstick spray and tent it over the pie, avoiding contact with the batter.
Bake covered in the lower third of the oven for 25 minutes. Carefully remove the foil and continue to bake uncovered for another 20 to 30 minutes depending on desired set. For a fudgier center aim for the shorter time.
Place the pie on a wire rack to cool. Serve slightly warm for a gooey center or room temperature for a firmer slice. Top as desired with ice cream or whipped cream.
Last Step: Please leave a rating and comment letting us know how you liked this recipe! This helps our business to thrive and continue providing free, high-quality recipes for you.
Leave a comment & rating below or tag
@yumelle on social media!

Juicy chicken meatballs baked with Parmesan and herbs, spooned with marinara, and covered in melty mozzarella on toasted slider rolls. Irresistible for parties.

Twirl eerie-colored spaghetti and top it with gooey, cheese-stuffed monster meatballs complete with olive eyes for a delightfully spooky family dinner.

Silky egg ribbons swirl through savory chicken broth, scented with sesame and scallions. Simple pantry staples, ready in just 10 minutes.
Leave a comment & rating below or tag @yumelle on social media!
Enjoyed this recipe? Share it with friends and family, and don't forget to leave a review!
This recipe looks amazing! Can't wait to try it.
Comments are stored locally in your browser. Server comments are displayed alongside your local comments.

Join to receive our email series which contains a round-up of some of our quick and easy family favorite recipes.
