
>>

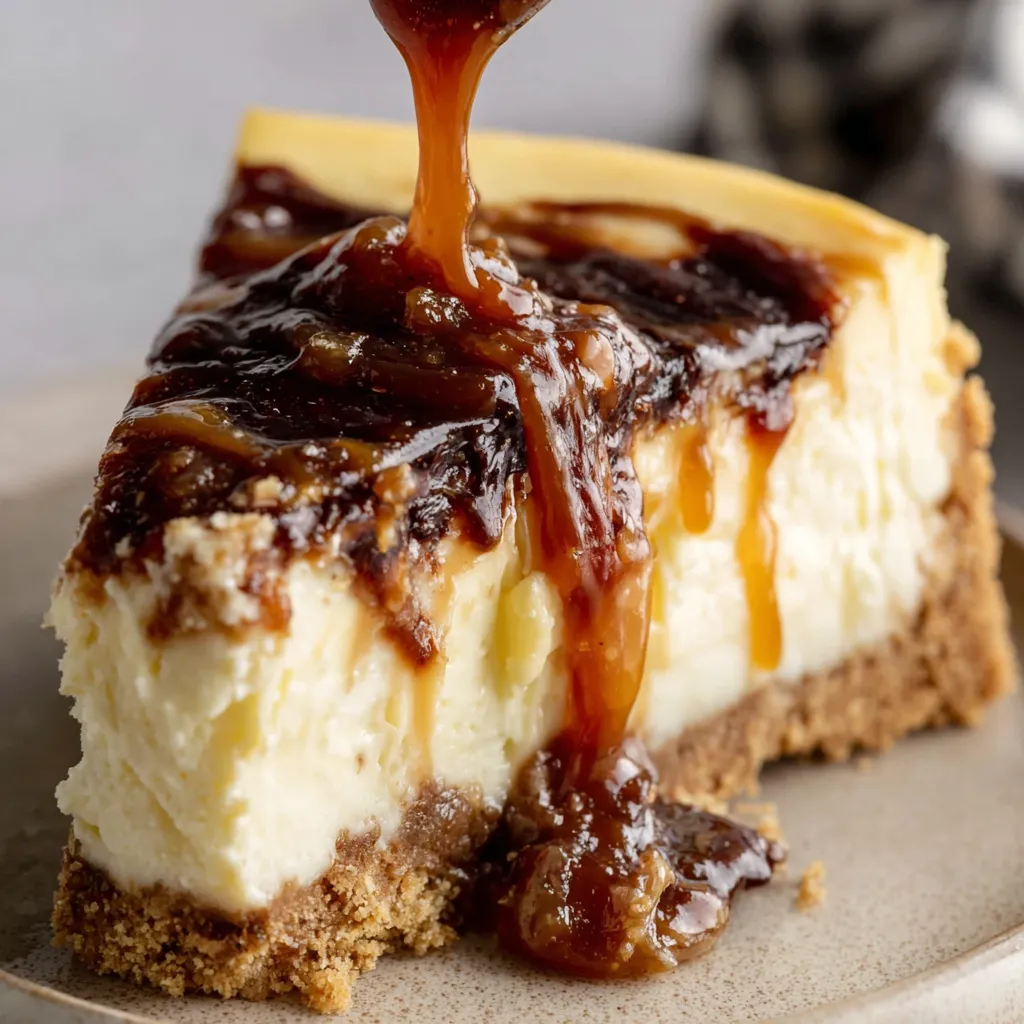
A silky no-bake cheesecake with a spiced graham crust and ribbons of house-style apple butter—perfect for autumn gatherings and easy enough for weeknight dessert.
This apple butter cheesecake has been a fall favorite in my kitchen ever since I first tried swirling warm apple butter into a cool, creamy filling. I discovered this combination one October while looking for a simple dessert that captured the spice and comfort of the season without hours in the oven. The result is a smooth, no-bake centerpiece that balances tangy cream cheese with the warm, concentrated flavor of apple butter, all set in a lightly spiced graham crust.
What I love about this version is how approachable it is: it comes together in under 30 minutes of active time and then rests in the refrigerator while you get on with the rest of your evening. The texture is light and airy thanks to the whipped heavy cream, yet still rich enough to feel indulgent. Whenever I bring this to a potluck or family dinner, it disappears fast—friends always comment on the delicate apple ribbons and the buttery graham that give each bite a perfect contrast.
I remember the first time I served this at a small autumn dinner—the host placed it on the table and everyone paused. The apple butter aroma makes it feel festive, and the slices stayed tender rather than crumbly, which I attribute to pressing the crust up the sides of the pan. My partner declared it an instant favorite and requested it for holiday brunches thereafter.
One of my favorite parts about this recipe is how forgiving it is. I have made it for last-minute dinner parties by preparing the crust and filling in the morning and letting it set all day. Family members often request extra apple butter on the side so they can add a spoonful to each slice. The crunchy rim of graham against the silky filling always gets compliments, and I enjoy how the lemon juice keeps the dairy bright so the apple butter flavor shines through.
Store the cheesecake tightly covered in the refrigerator for up to 4 days. To prevent the crust from softening, avoid storing it in very humid conditions and keep it on a higher shelf where temperatures are most stable. For longer storage, freeze individual slices on a tray until firm, then wrap each slice in plastic wrap and foil and place in a freezer-safe container for up to 3 months. Thaw in the refrigerator overnight before serving. When serving from chilled, allow slices to sit at room temperature for 10 to 15 minutes to soften slightly for the best mouthfeel.
If you need to swap ingredients, use digestive biscuits instead of graham crackers for a different but compatible flavor, or substitute a vegan butter to make the crust dairy-free while keeping in mind the filling will still contain dairy. For a lighter sweetness, reduce granulated sugar to 3/4 cup and taste the filling before chilling. If apple butter is unavailable, use a smooth apple puree cooked down with a pinch of cinnamon and a tablespoon of brown sugar to mimic the intensity. For a tangier profile, replace the lemon juice with 1 teaspoon of apple cider vinegar.
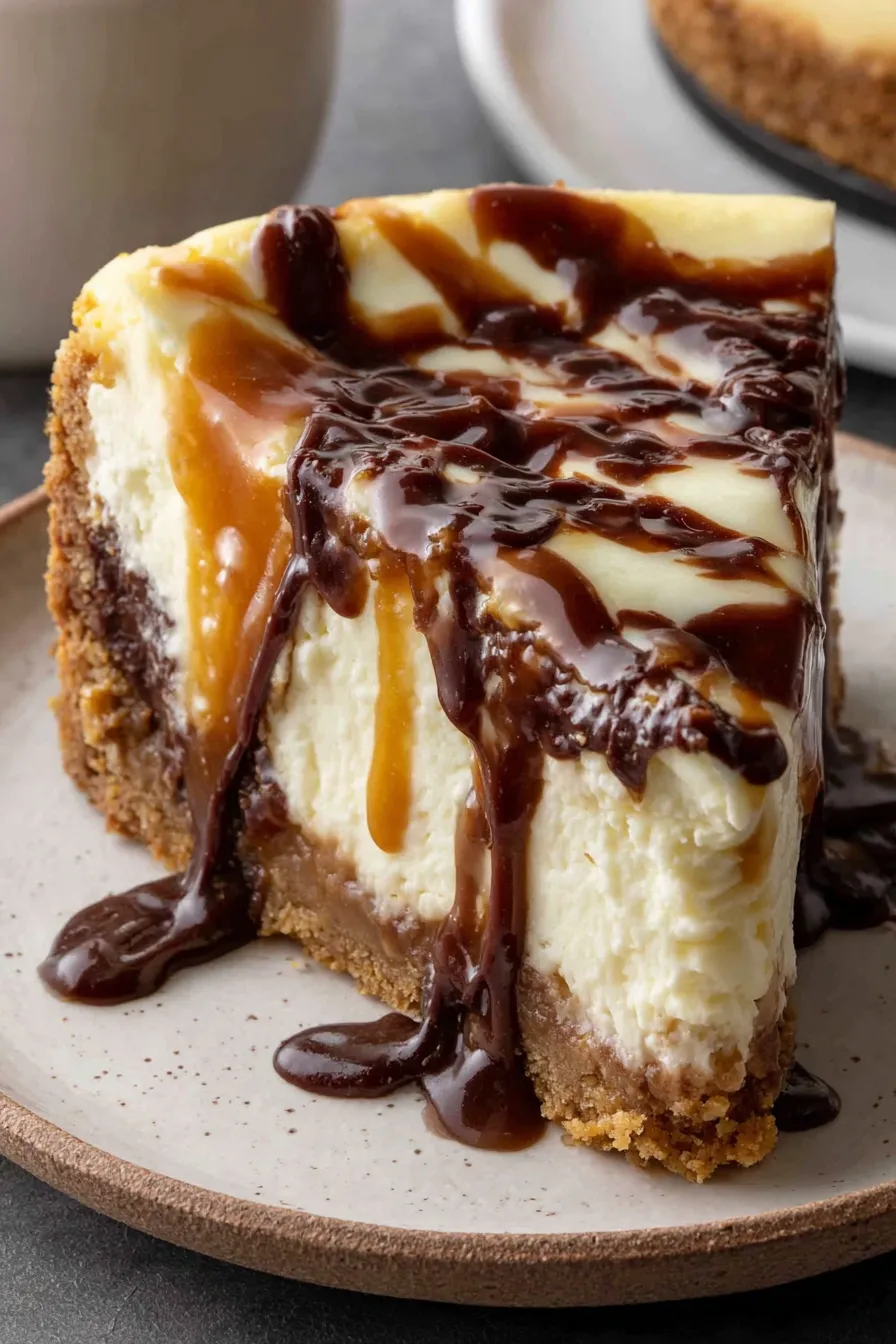
Serve slices with an extra spoonful of warmed apple butter, a dollop of lightly sweetened whipped cream, or a sprinkle of crushed toasted pecans for texture contrast. This dessert pairs beautifully with black coffee or a late-harvest Riesling. For a seasonal touch, top with a thin slice of caramelized apple or a dusting of cinnamon just before serving. Present on a simple white plate so the swirls stand out and garnish with a small mint leaf for color contrast.
This dessert combines two favorite American traditions: the graham-cracker crust popularized in early 20th century North America and apple butter, a preserved spread with roots in colonial and rural cooking where slow-cooking apples with spices concentrated orchard flavors for winter use. Swirling spreadable preserves into chilled dairy has become a home-kitchen technique to achieve complex flavors without baking. The result is a modern, no-fuss homage to harvest flavors enjoyed across many regions of the United States.
For winter gatherings, add 1/4 teaspoon ground nutmeg to the filling and use spiced apple butter. In summer, swap apple butter for peach butter or berry jam and reduce the cinnamon in the crust for a brighter profile. For holiday presentations, top each slice with candied pecans and a drizzle of caramel. The technique is flexible—simply choose a fruit butter that reflects the season.
Make the crust and filling up to 24 hours ahead and keep the assembled cheesecake chilled until serving. Store in a single layer in the refrigerator; avoid stacking. If you need to transport, freeze for 30 minutes to firm the top, then place on a sturdy platter and re-cover; this reduces jostling during travel. For individual portions, chill in small ramekins and swirl apple butter into each for portable, single-serve presentations.
This apple butter cheesecake is a dessert I return to whenever I want something that looks special but is deceptively simple to make. It rewards patience with a texture that is both creamy and light and a flavor profile that is warmly spiced and bright. Give it a try and make the apple butter your own by choosing a favorite jar or making your own at home—either way it will feel like a small celebration on the table.
Soften cream cheese to room temperature before mixing to avoid lumps.
Chill the crust after pressing it in to prevent separation from the filling.
Beat the heavy cream to soft peaks and fold gently into the cream cheese for a light texture.
Use a warm knife wiped between cuts for the cleanest slices.
This nourishing apple butter swirled no-bake cheesecake recipe is sure to be a staple in your kitchen. Enjoy every moist, high protein slice — it is perfect for breakfast or as a wholesome snack any time.
Yes. Cover tightly and refrigerate for up to 4 days. For longer storage freeze slices wrapped tightly for up to 3 months.
Use a thin, sharp knife dipped in hot water and wiped dry between cuts to make clean slices.
This Apple Butter Swirled No-Bake Cheesecake recipe makes perfectly juicy, tender, and flavorful steak every time! Serve with potatoes and a side salad for an unforgettable dinner in under 30 minutes.
Spray a 9-inch springform pan with nonstick cooking spray and line the bottom with parchment if desired. Chilling the pan briefly makes pressing the crust easier.
Combine graham cracker crumbs and cinnamon in a medium bowl. Add melted butter and mix until crumbs are evenly moistened. Press firmly into the bottom and up the sides of the prepared pan and chill for at least 10 minutes.
Beat softened cream cheese and sugar until smooth. Add chilled heavy cream and lemon juice and beat for 1 to 2 minutes until light and thick with soft peaks.
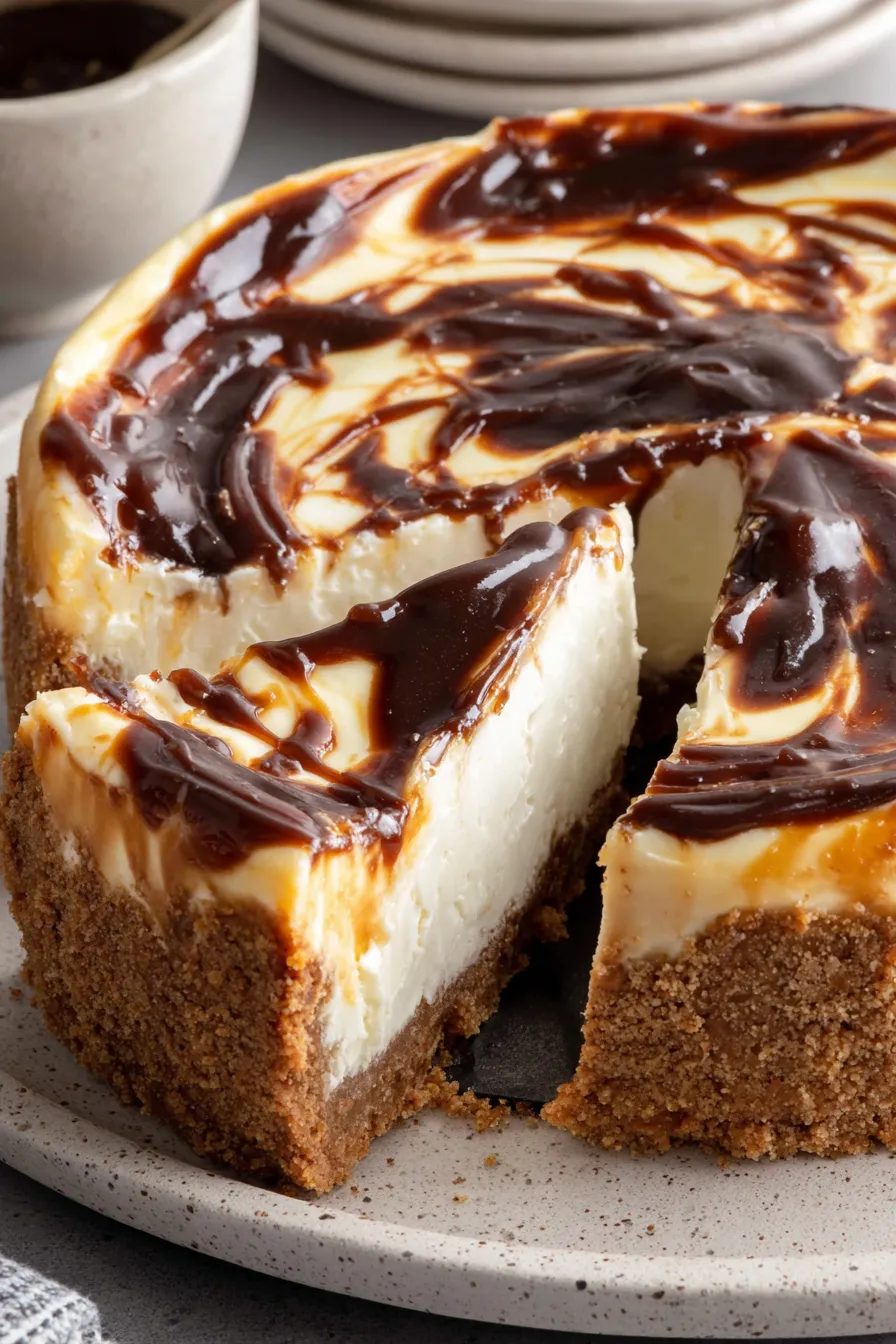
Pour filling into chilled crust, smooth the top, then drop dollops of apple butter and gently swirl with a knife or offset spatula in a figure-eight pattern.
Cover and refrigerate for at least 6 hours or overnight until firm. Run a thin knife around the edge before releasing the springform and slice with a warm, clean knife.
Last Step: Please leave a rating and comment letting us know how you liked this recipe! This helps our business to thrive and continue providing free, high-quality recipes for you.
Leave a comment & rating below or tag
@yumelle on social media!

Juicy chicken meatballs baked with Parmesan and herbs, spooned with marinara, and covered in melty mozzarella on toasted slider rolls. Irresistible for parties.

Twirl eerie-colored spaghetti and top it with gooey, cheese-stuffed monster meatballs complete with olive eyes for a delightfully spooky family dinner.

Silky egg ribbons swirl through savory chicken broth, scented with sesame and scallions. Simple pantry staples, ready in just 10 minutes.
Leave a comment & rating below or tag @yumelle on social media!
Enjoyed this recipe? Share it with friends and family, and don't forget to leave a review!
This recipe looks amazing! Can't wait to try it.
Comments are stored locally in your browser. Server comments are displayed alongside your local comments.

Join to receive our email series which contains a round-up of some of our quick and easy family favorite recipes.
